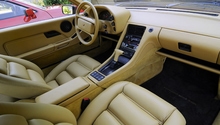
Porsche 993: How to Replace Side Window
Replacing the door windows on the Porsche 993 is not a simple task, but it is doable. With the right tools and mindset, you can get it done. This guide will show the way.
This article applies to the Porsche 993 (1993-1998).
Replacing a side window is a complicated DIY job because it requires special tools. The cost difference between getting a professional auto glass repair service and doing it yourself isn't high, so if you have insurance that will cover the costs, you're probably better off going with a professional to replace your side window(s). Whether you're looking to remove or replace your side windows, this guide will show you the best procedure.

Materials Needed
- Electric cutter - Part #VAG1561
- Twin-cup suction puller - Part #VAG1344
- Bonding gun - Part #VAG1628
- Flashing knife - Part #6.39.03.113.02.2
- Curved cutting knife - Part #6.39.03.103.01.7
- Adhesive sealant
- Body primer
- Cleaning solution
- Masking tape
- Clean cloth or towel
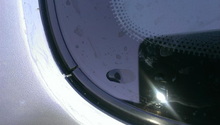
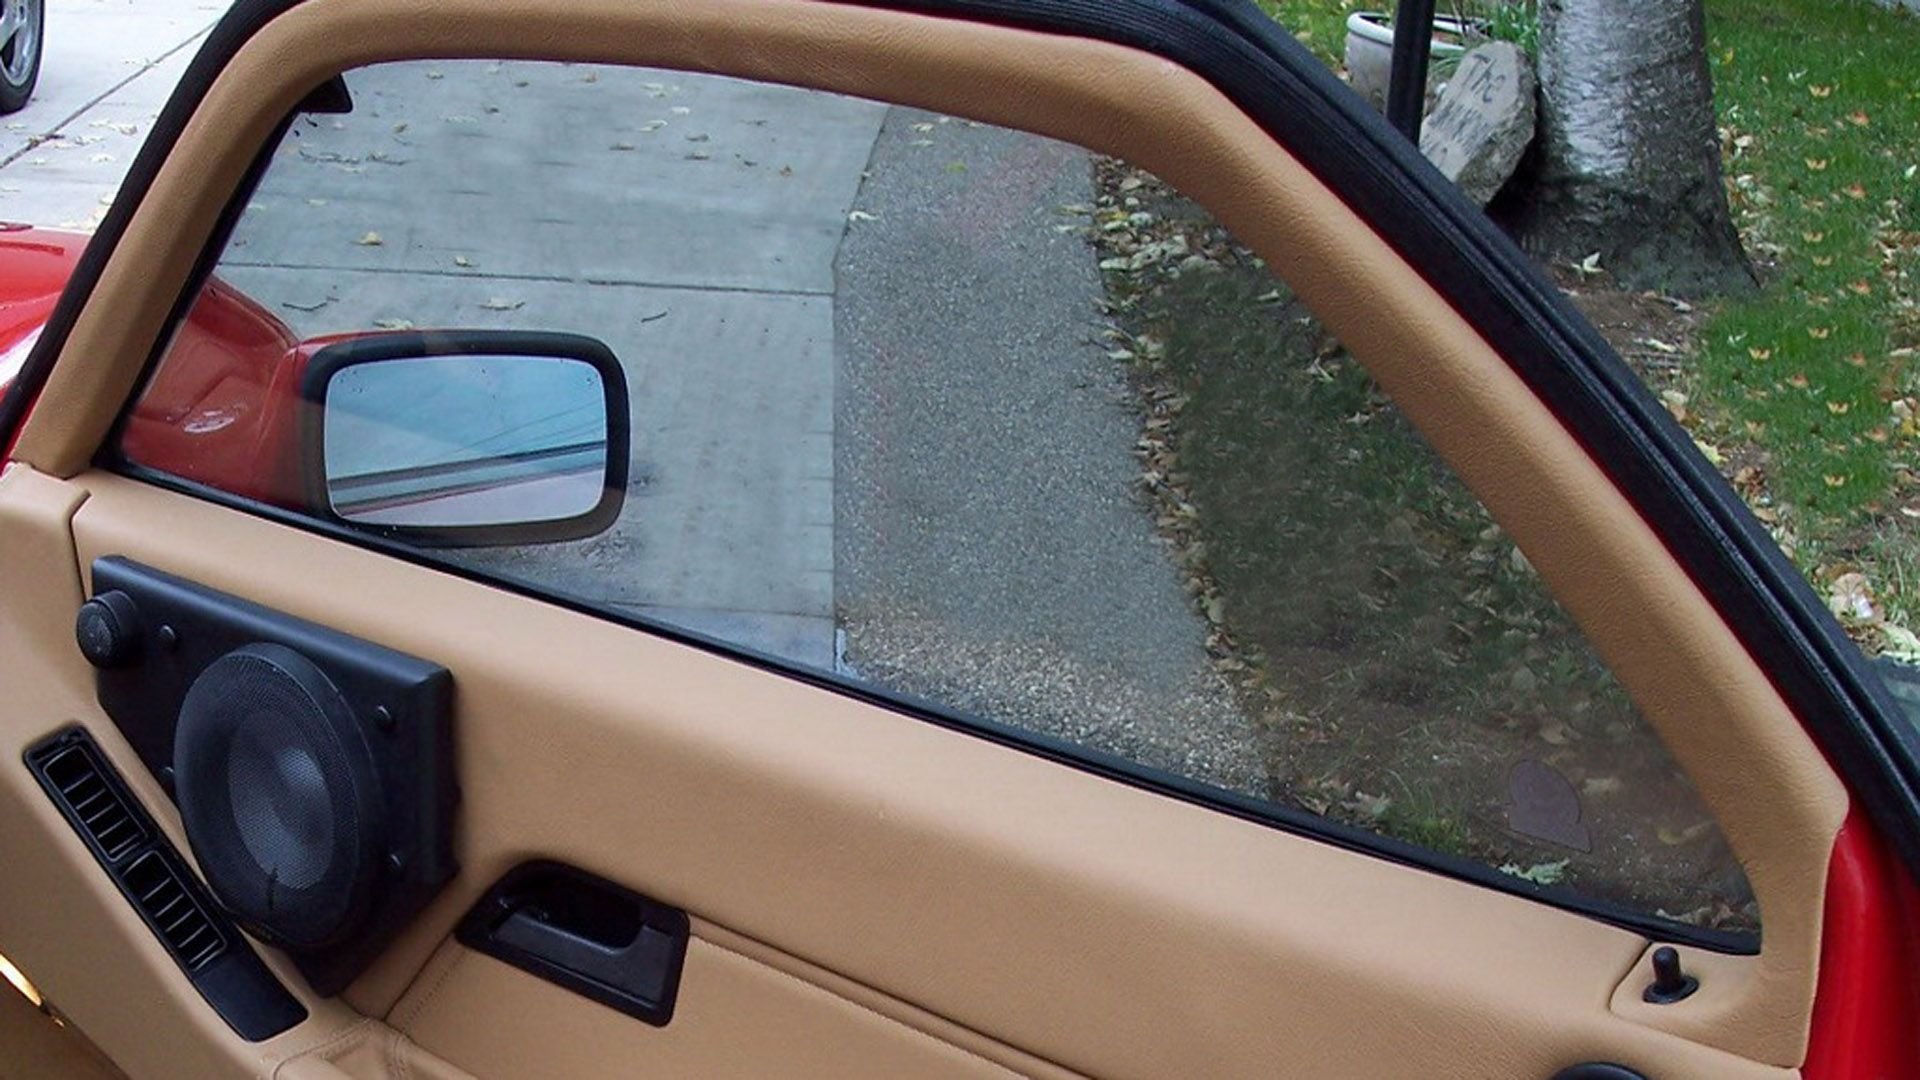
Step 1 – Cut the rubber seal and remove the side window
Removing the old window is fairly straightforward. Attach the curved cutting knife attachment to the electric cutter. Cut through the rubber seal going all along the side of the window frame. When you've cut all around the window, it should make it easy to remove. After you have the window removed, clear away the debris left behind by the rubber seal and peel the rest of it off the window frame.

Pro Tip
If you are planning on leaving off the windows for a track car, be sure to take off the door panel and remove the window regulator assembly inside the door after you remove the window.
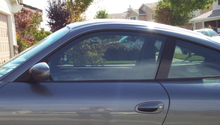
Step 2 – Clean around the window frame
Place masking tape all around the door frame to protect the paint where visible. Then, attach the flashing knife attachment to the electric cutter. Cut away at the adhesive sealant. When that is finished, apply cleaning solution to both the door frame, the new side window, and the new rubber seal. Then wipe all these components dry. You may also want to apply body primer to touch up any areas that were damaged during the cutting.

Step 3 – Install rubber seal
Using a bonding gun, apply adhesive sealant along the window channel of the rubber seal. Then, place the rubber seal along the inside of the door frame. There should also be an assembly cord that you can place inside the rubber seal.

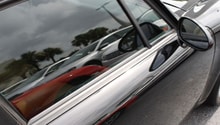
Step 4 – Install new side window
In the same manner you did for the rubber seal, apply adhesive sealant all along the window frame. Place the window inside the window frame by aligning it and pressing it into place. Then, working from inside, pull the rubber seal over the spot weld flange of the car by pulling on the assembly cord. Clean off any sealant that has spilled over and apply cleaning solution all around the window.
Related Discussions
- Removing and Installing the Side Window - Rennlist.com
- Removing Side Windows - Rennlist.com
- What's the Best Way to Remove and Re-install Driver's Side Electric Windows? - Rennlist.com
- Race Car Side Window Options - Rennlist.com