Porsche 997: How to Install IPD Plenum
Helping the air enter your engine with ease is a simple way to make more power for your Porsche 997. Learn how to install an IPD plenum with these simple steps.
This article applies to the Porsche 997 (2005-2012).
Any time you can help air enter and exit the engine more efficiently, you have the possibility of making more power, as well as quicker, smoother throttle response, and helping an engine's ability to move through the rev range. Sometimes, car manufacturers design parts that are functional in order to save cost, most likely not made as well as they can be. That seems to be the case with the intake plenum on the 997 3.8L engine. It is made out of a molded plastic material, and while it does effectively perform its job well, there are some improvements that could be made to increase its performance.
There are a few companies that have stepped up to improve and manufacture their own designs. One of these companies is Innovative Pro Design (IPD). They make a variety of different plenums for various applications. This article outlines how to install an IPD intake plenum on a Carrera S 3.8 engine.

Materials Needed
- 7mm socket
- 8mm socket
- Long flat head screwdriver
- E10 Torx bit/socket
The IPD plenum is visually very different than the stock Porsche plenum. Obviously, this is mostly due to the fact that it is made out of aluminum. However, you can also see the improvements made to the inner part of the plenum where the air flows through. It's also plausible, due to the fact of it being metal, that it is going to react to temperature very differently than the stock plenum. It will also be easier to clean in the future.

Figure 1. IPD plenum (left) and Porsche OEM plenum (right). 
Figure 2. Inside of stock plenum. 
Figure 3. Inside of IPD plenum.
Step 1 – Remove air inlet tube
The air inlet tube is the tube that attaches the air box to the throttle body. There are three hose clamps you will need to loosen in order to remove it. If you want to make it even easier and give yourself more space, then you can remove the air box as well. This is not necessary but will allow more space and an opportunity to change the air filter if that's needed at this time.
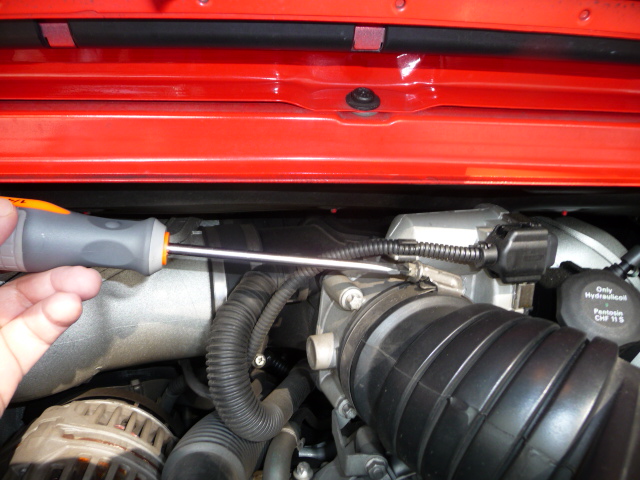
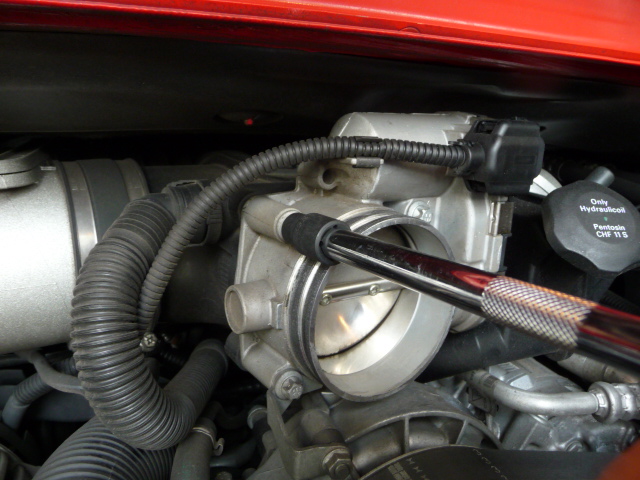
Step 2 – Remove throttle body
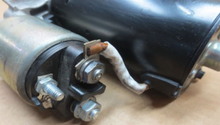
There are four E10 bolts that hold the throttle body onto the stock plenum. Loosening and removing these will allow you to remove the throttle body. But first, you will need to remove the plenum support bracket and connector that connects to the throttle body.
Pro Tip
IPD also makes an improved throttle body for this application which is a good complimentary upgrade.
Step 3 – Remove stock plenum
The stock plenum is held onto the intake manifold by hose clamps. It also has a ribbed breather vent line on the left side that will need to be disconnected in order for the plenum to be removed. After you have disconnected the vent line by squeezing the clamp and pulling it off, loosen the hose clamps. The hose clamps secure rubber boots that make a joint between the plenum and intake manifold. After you have loosened the hose clamps as much as possible, you will need to slide these rubber boots either onto the intake manifold or onto the plenum.

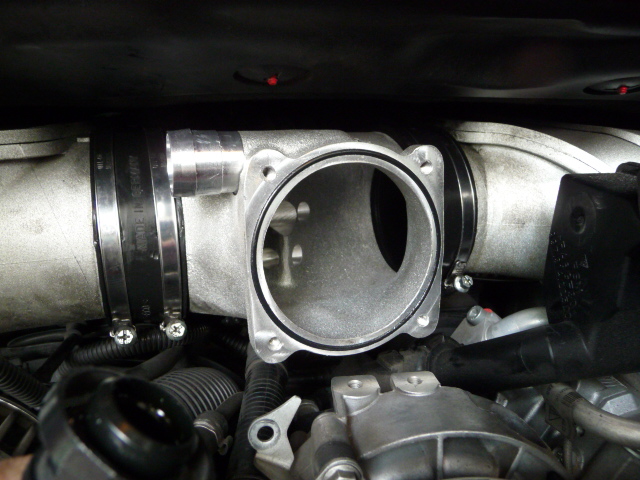
Step 4 – Install IPD plenum into place
Once you have the stock plenum removed, go ahead and wipe down the area where the new IPD plenum is going to meet up to. Then, you can position the IPD plenum in between the rubber boots. Once in place, you can carefully slide the rubber boots correctly into position until they are seated inside the groove of the plenum and intake manifold. Tighten down the hose clamps but leave them slightly loose so you can align the plenum.
Step 5 – Align the IPD plenum
Once you have the new plenum in place and secured it with the hose clamps, center the plenum by matching the gaps between the intake manifold on the left and right side. After the plenum is centered, angle the plenum so it is almost horizontal/flat. An easy way to do this is to screw a throttle body bolt through the plenum support bracket that attaches to the power steering pump housing and into the plenum until the bolt is stable. Once it is aligned, finish tightening the hose clamps.
Step 6 – Re-install other components that were removed
Once the new plenum has been aligned, you can then re-install the throttle body, air box (if removed), and air inlet tube.

Step 7 – Test drive
IPD claims it will take 5 to 50 miles in order for the ECU to recognize that air flow to the engine has increased with the new plenum and make the necessary adjustments. As such, this is a great excuse to get out and go for a test drive. Consider resetting the engine computer before taking off to give the computer an easier time relearning the changes in airflow.
Pro Tip
Once you have increased the airflow into the engine, it is always a good idea to make upgrades to your exhaust to help air exit the engine. This will help maximize the performance of your new plenum.
(Related Article: Porsche 997: Exhaust Modifications - Rennlist.com)
Related Discussions
- IPD Plenum Install - Rennlist.com
- DIY Mod: IPD Plenum - Rennlist.com
- How to Reset ECU - Rennlist.com