Porsche 997: How to Replace 997.1 Spark Plugs
Don't let routine maintenance fall to the wayside. Porsche recommends changing the spark plugs every 30,000 miles, or every two to three years, depending on how it's driven.
This article applies to the Porsche 997.1 (2005-2012).
You want to keep your high-performance sportster in tip-top shape. This means taking care of your Porsche 997's maintenance at the correct time, every time and not skipping over anything. Routine maintenance such as replacing your spark plugs can be anything but routine when dealing with a Porsche. Although the process is pretty straightforward, they can be a tricky to get to. There are no special tools needed, but one plug is a real pain to access. With the 997.1, removing the mufflers adds about 30 minutes to the job, but it makes a world of difference. As painful as this job may be, the pain is greatly diminished by the $300-400 or more of savings that you'll have by not taking your car to a professional to get the job done. With just a few tools, you can do this job in your own garage in just a few hours.

Materials Needed
- Torque wrench
- 10, 13, 19mm sockets
- Ratchet drive, drive extensions and drive universal joint
- Spark plug socket (short)
- T30, T40 and E10 Torx drives and socket
- Flat blade screwdriver
- 10 mm ratchet box wrench
- Hydraulic jack and jack stands
Step 1 – Lift the rear end up and remove tires
Use a hydraulic floor jack to lift the rear end of the car up and place it on jack stands. Use the appropriate positions for the jack stands. Remove the rear tires.
(Related Article: Porsche 997: How to Jack Up Your Car - Rennlist.com)

Step 2 – Remove wheel well strut
Use a 10mm socket and a T30 Torx drive to remove the wheel well body strut in order to make more room to take out the muffler. There is a ground cable that may impede your access to the upper bolt on the strut. If you can't get to the strut otherwise, just disconnect the ground wire and push it to the side.
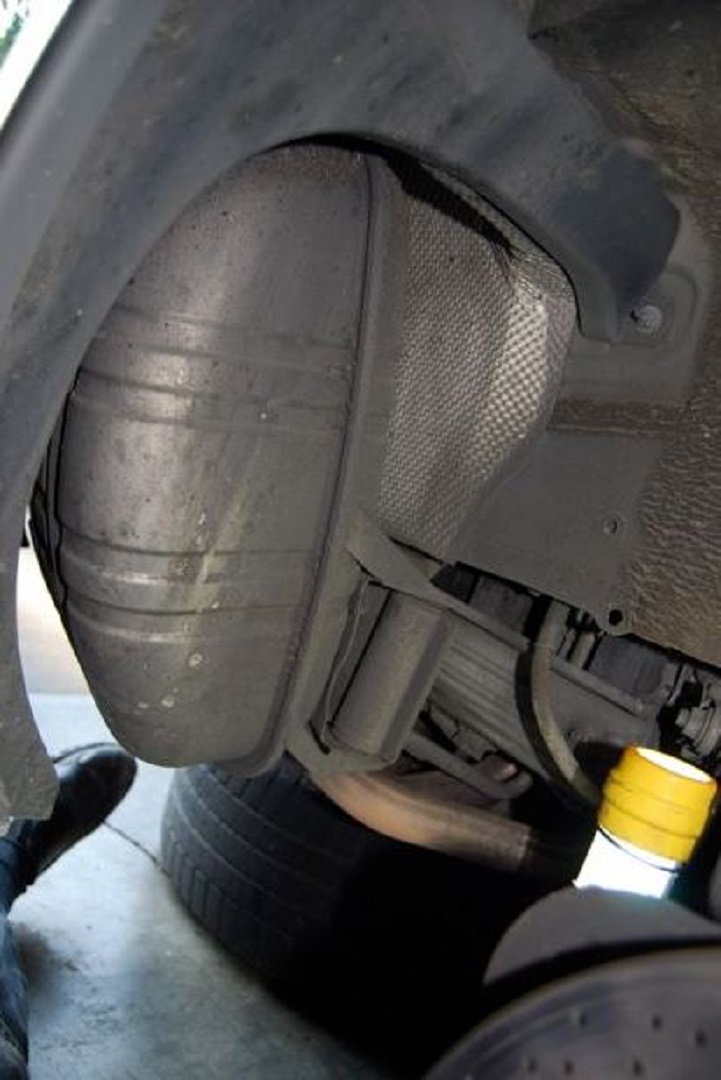
Step 3 – Remove muffler
Removing the muffler is a necessary evil when replacing your spark plugs. This step adds some time to your job, but without removing the mufflers, the plugs are nearly impossible to remove.
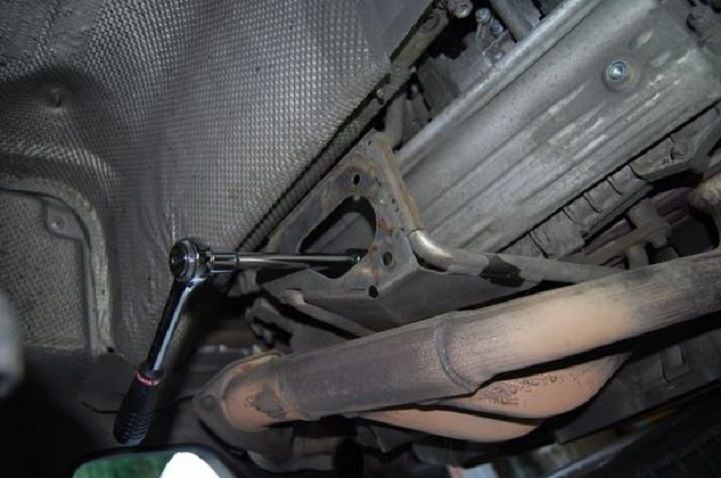
- Loosen the two 13mm nuts connecting the muffler cuff to the catalytic converter. Slide the cuff toward the cat.
- Remove the three 13mm nuts holding the muffler bracket to the engine bracket.
- Pull the muffler into the wheel well and rotate it until it comes out.

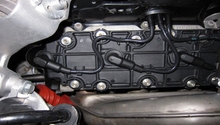
Step 4 – Disconnect heat shields
Unbolt the cylinder heat shield and slide it out of the way (the engine bracket will hold the left heat shield in place, but the right heat shield will come off completely). Removing the shields will provide access to the coil packs which can be replaced at the same time as the plugs, but they normally do not need to be replaced as often. Since you are in here already, it's up to you if you want to replace them and save some time from doing this again in the near future.
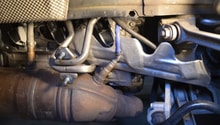
Step 5 – Remove coil packs
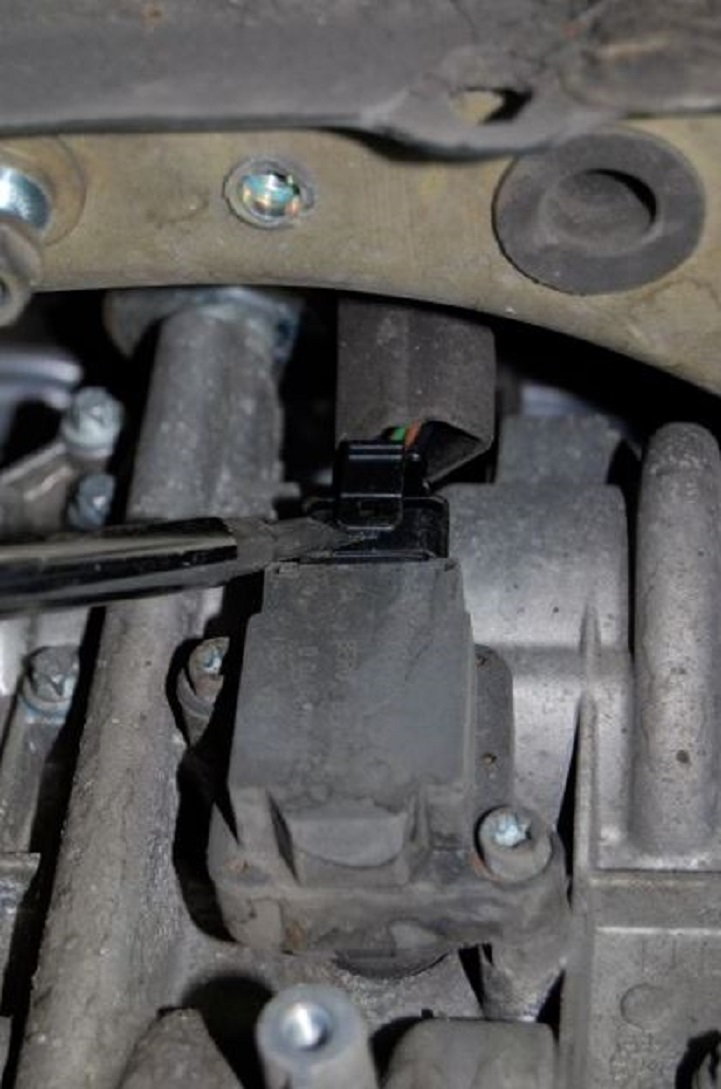
The coil packs come off to gain access to the plugs.
- Push the rubber boot up and insert screwdriver into the connector plug to un-clip it.
- Unplug the electrical connector.
- Take care when plugging them back in that you don't crush the connector; they are fairly delicate.
- Use two T40 Torx drive bits to remove the coil packs. Some are very difficult to remove from lack of clearance, but it can be done.
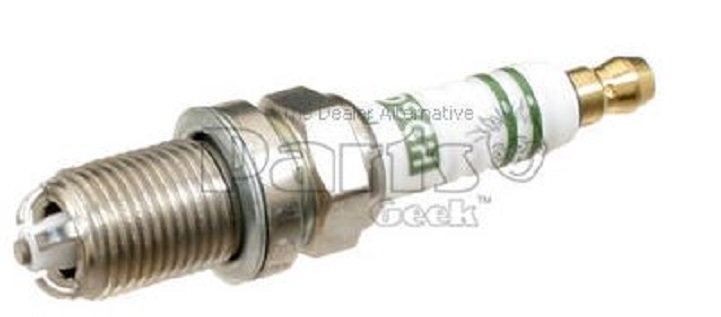
Step 6 – Remove and replace spark plugs
With the coil packs removed, you can now remove the spark plugs and replace with fresh ones. Torque them to 22 foot-pounds and make sure you don't cross thread them when installing.
Step 7 – Reassembly
With all six plugs replaced, it is time for the reassembly of some parts.
- Reconnect all of the coil packs.
- Re-install the exhaust heatshield.
- Re-install the rear muffler.
- Refit the wheel well brace.
- Re-install wheels and torque bolts to spec.
- Lower car and test drive.
Related Discussions and Site
- 997.1 Spark Plug and Coil Pack Replacement DIY - Rennlist.com
- Questions About Changing Spark Plugs and Coil Packs on 997.1 - Rennlist.com
- Porsche Spark Plug Retailer - PartsGeek.com