Porsche 928/993: How to Check Tire Pressure
Proper tire pressure can help improve your gas economy and extend the life of your tires. It also prevents your tires from unevenly wearing.
This article applies to the Porsche 928 and Porsche 993 (1979-1998).
Riding around on under or over-inflated tires can affect your gas economy and/or cause your tires to unevenly wear or even blow out. Regularly checking and maintaining proper tire pressure can help prevent this from happening. It also can help extend the life of your tires. Aim to check your tire pressure at least once a month. You also should check your tire pressure in the spring and in the fall. Cold weather can decrease the air pressure in your tires, and warm weather can increase the air pressure. Even a novice DIY'er can do this, so there's no need to hire someone to do it for you.

Material Needed
- Tire gauge (digital or standard)
Step 1 – Prepare to check your air pressure
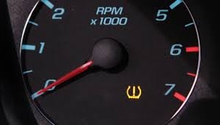
Plan to check your air pressure when your tires are cold. Tires are considered “cold” if they haven’t been driven for more than between 1 and 2 miles. The hotter your tires, the higher the air pressure, so you don’t get an accurate reading if you do it when your tires are warm.
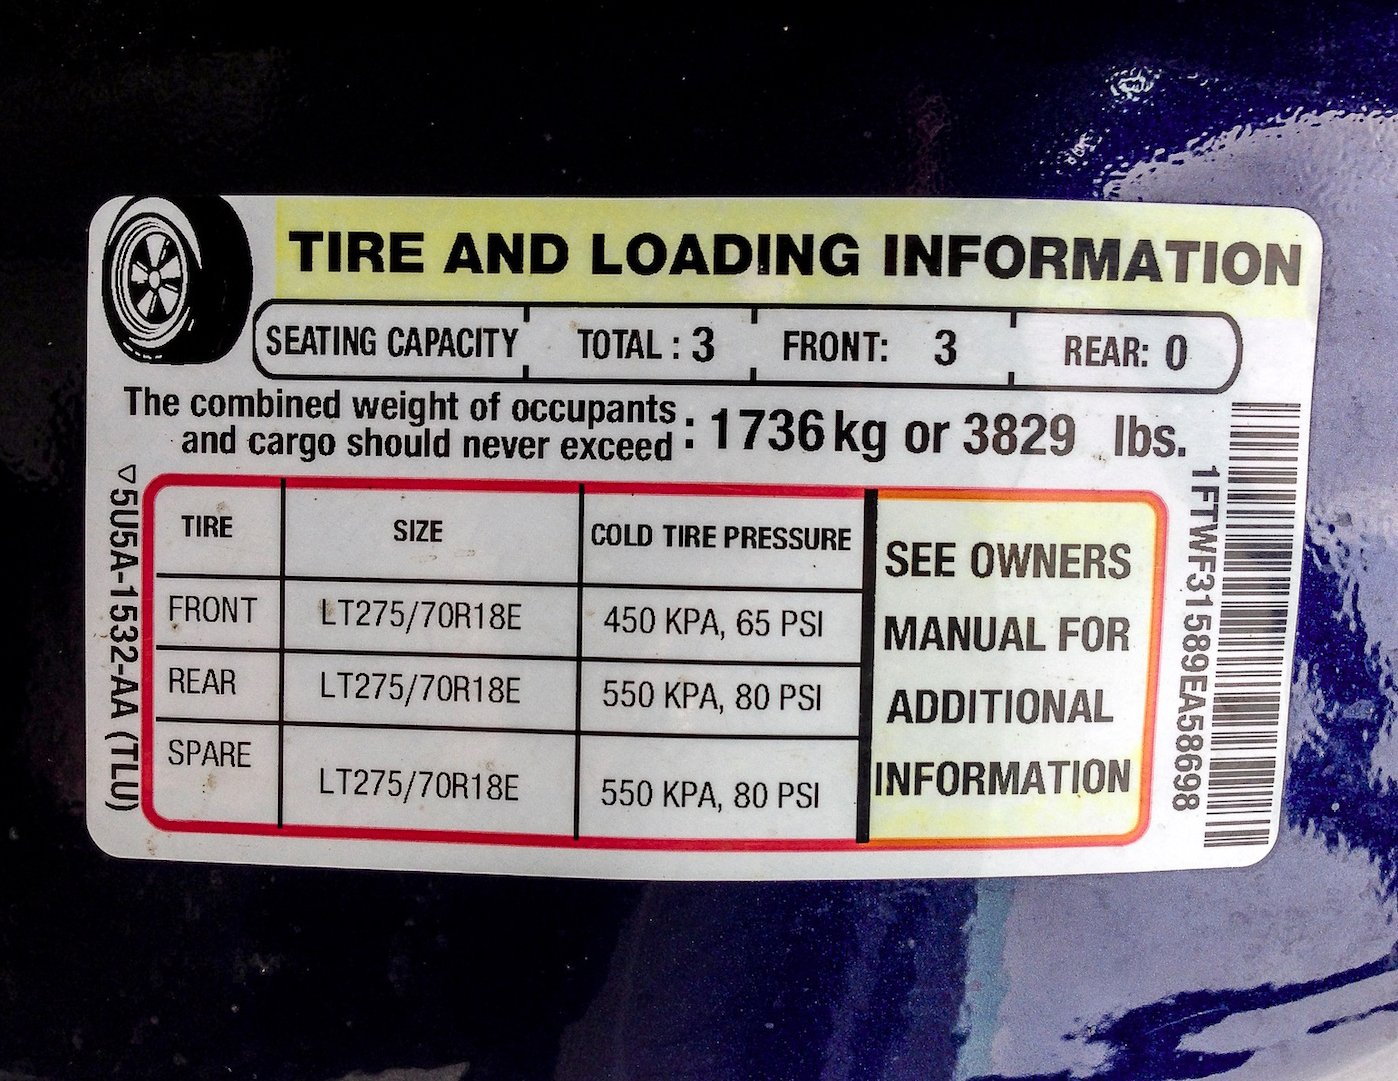
Step 2 – Confirm suggested tire pressure
Review information about tire pressure in your owner’s manual. Sometimes this information is also printed on the inside of the driver’s-side door. Be sure to note if the front and rear tires should be inflated to different pressures.
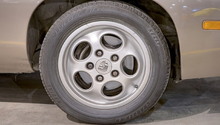
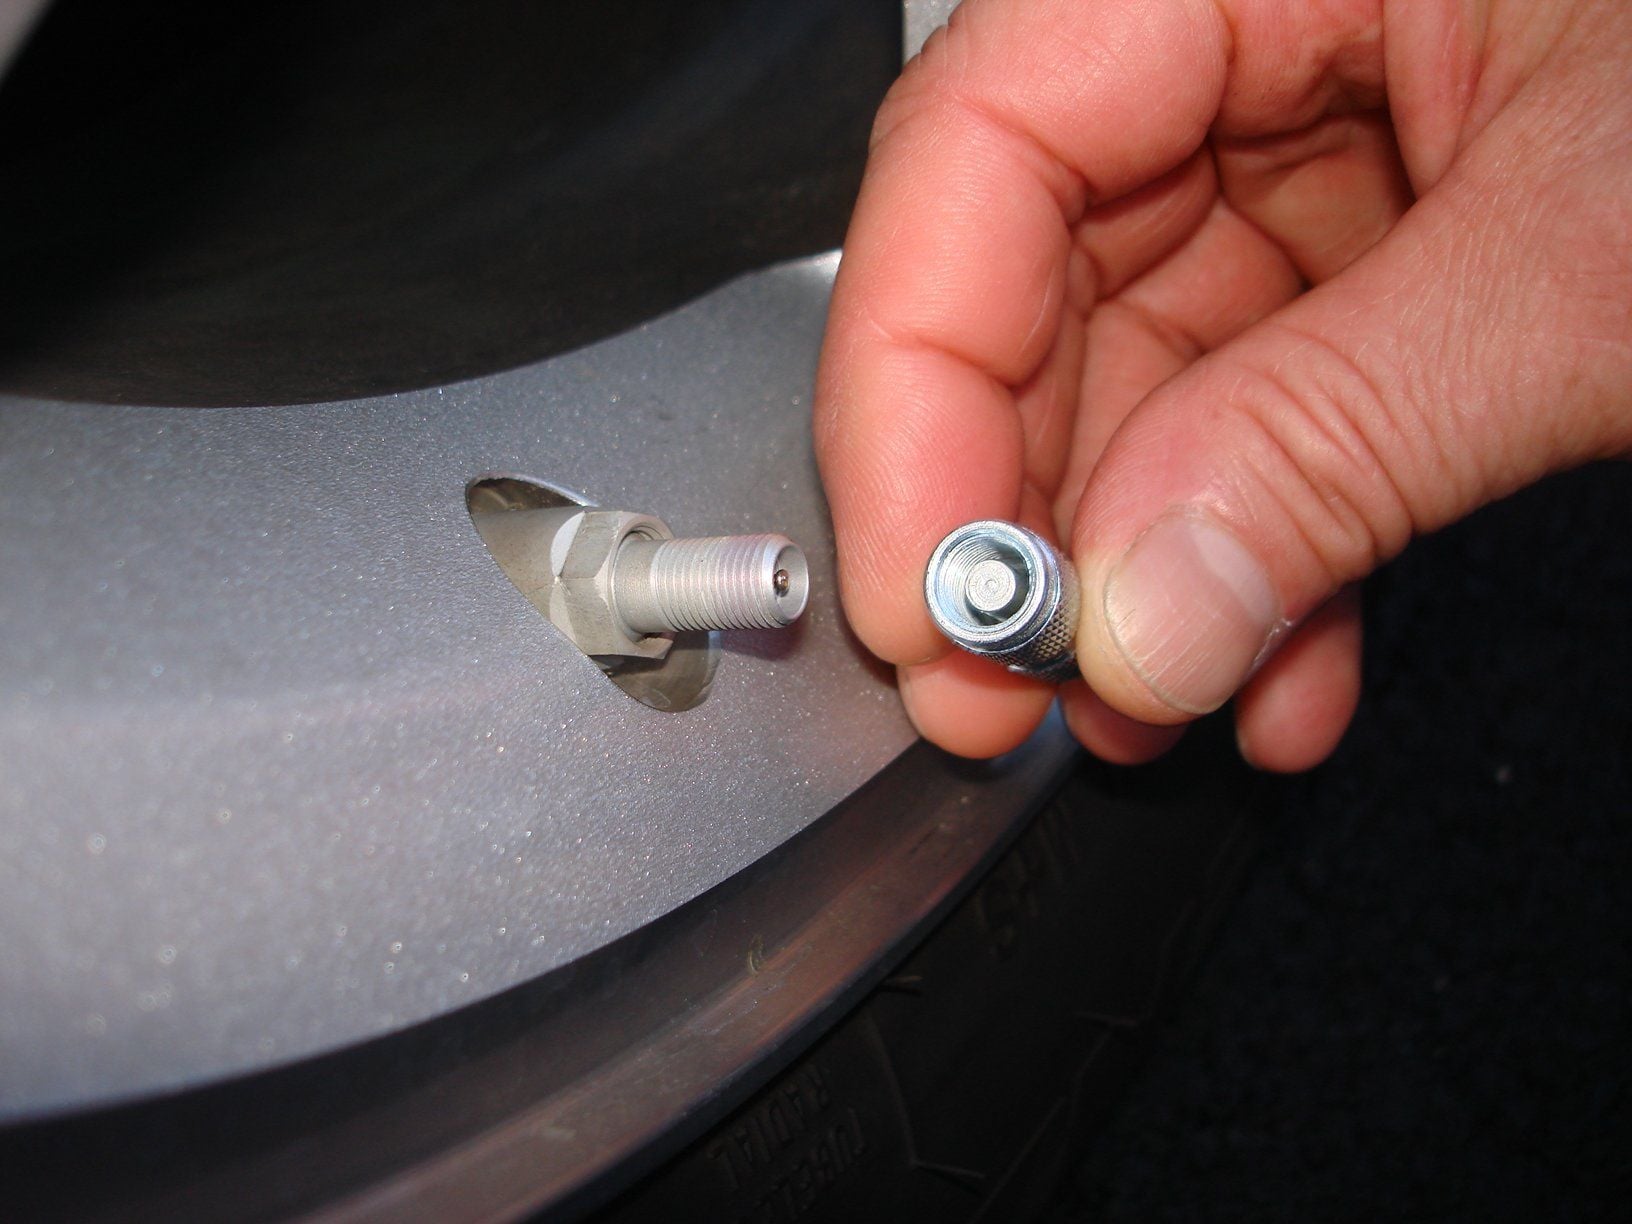
Step 3 – Unscrew valve stem cap
Locate the valve stem cap on the tire. It sticks out from your tire, and is usually near the hubcap. Unscrew the valve stem cap by hand. Set it aside someplace safe so you can replace it after you’ve checked your tire pressure.
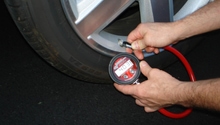
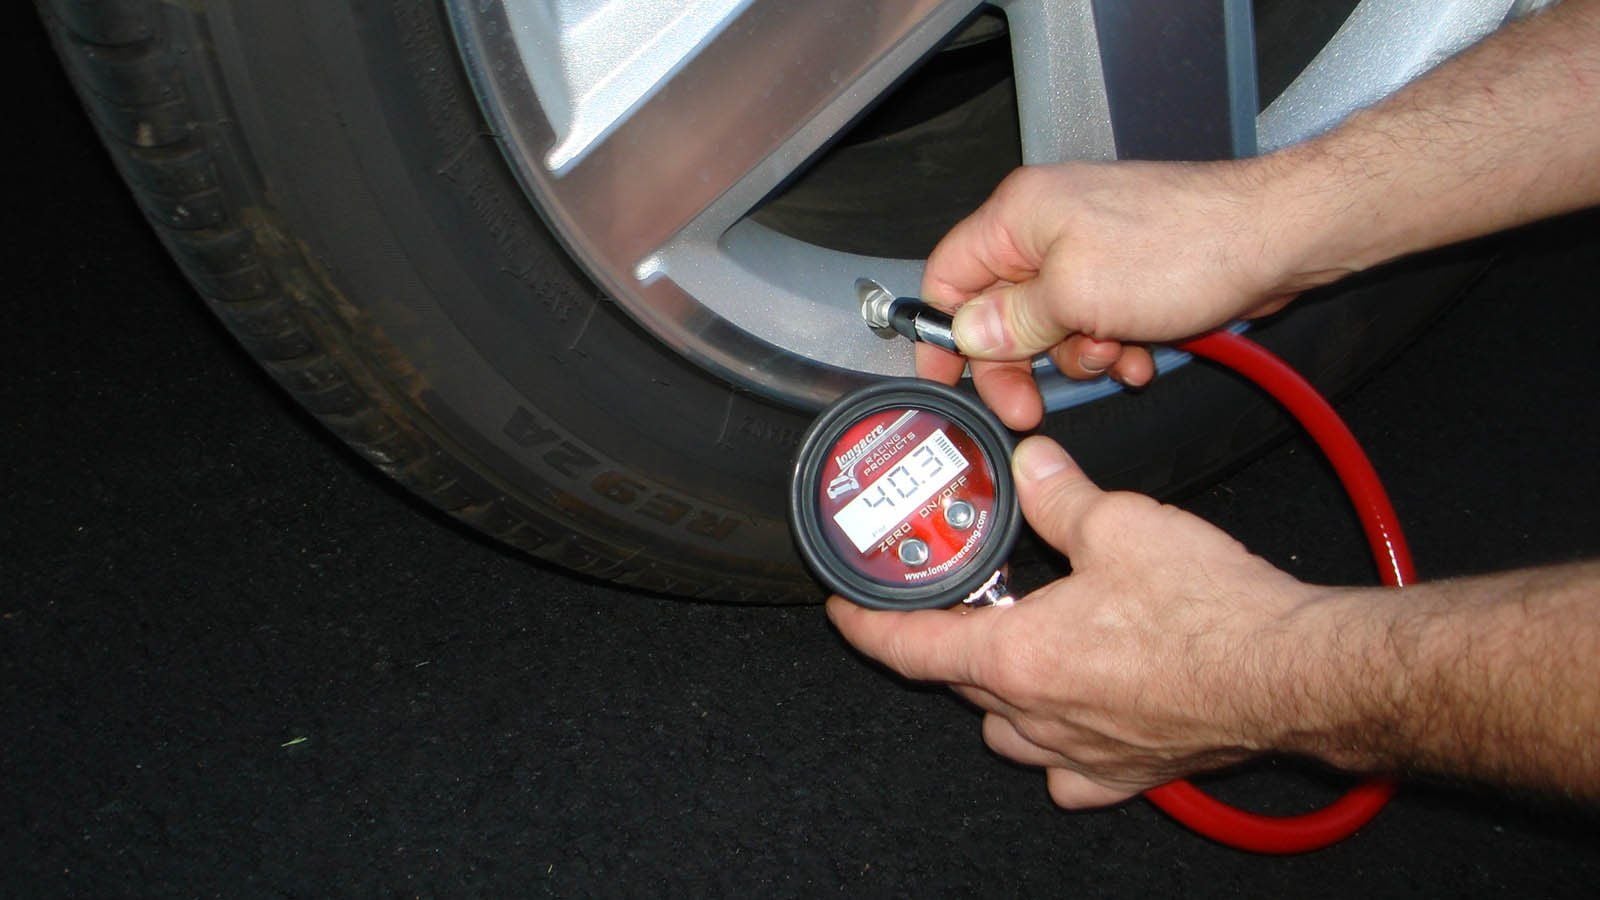
Step 4 – Position air pressure gauge on valve stem
Position air pressure gauge on valve stem and press down firmly. The gauge must tightly fit on the valve stem in order to get an accurate reading. If you use a digital gauge, you may need to push a button in order for it to read the pressure. If you use a more traditional gauge, a measurement stick should extend and indicate the air pressure in the tire.
Step 5 – Add or remove air if necessary
If the reading does not match the manufacturer’s recommendation, then add or remove air until the reading matches. Simply driving to the gas station and using the air machine is sufficient; there's no need to purchase a tire inflator, which cost $45 and up. Once the tire pressure matches the manufacturer’s recommendation, then you’re ready to replace the valve stem cap.
Pro Tip
To be bleed air from the tire, hold your pressure gauge at an angle on the valve stem. This pushes down on the valve stem and allows excess air to be bled out.
Step 6 – Replace valve stem cap
Position valve stem cap and twist it until it is tight. While this cap won’t prevent air from coming out of the tire, it can help prevent dirt or other debris from affecting the valve stem itself.
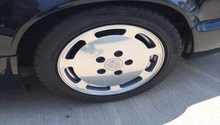
Step 7 – Repeat steps for each tire
Repeat Steps 2-6, checking the pressure of each tire and inflating or deflating as necessary.
Related Discussions
- 18 Inch Wheel Tire Pressure - Rennlist.com
- Factory Recommended Tire Pressure - Rennlist.com
- Tire Pressure and Tire Wear - Rennlist.com