Porsche: How to Repair a Tire Leak
Leaks in your tire tread are easy to repair, no matter what your skill level is. Read on to learn more about this DIY job.
This article applies to the Porsche 928, Porsche 993, and Porsche 997 (1979-2012).
Run over something sharp like a nail or screw and you risk puncturing your tire and causing it to leak. Even a novice DIY’er can repair certain tire leaks. For example, if the leak is from the tread, then you can easily plug it using a tire-repair kit, but a tire that has a leak on the sidewall is no longer safe to use — even if you repair it — and you should just replace it. Keep in mind that plugging a leak will help extend the life of your tire(s) but isn't a long-term solution; there are also some leaks that can't be fixed.

Materials Needed
- Tire-repair kit
- Jack
- Lug wrench
- Scissors
- Spray bottle filled with warm, soapy water or bucket of water
- Pliers
Step 1 – Prepare to fix tire leak
Park your car on a flat surface and then jack it up. Remove lug nuts with a lug wrench. Set lug nuts aside, as you’ll need them when replacing the tire. Remove tire by pulling it off.
Related Articles
- Porsche 928: How to Jack Up Your Porsche - Rennlist.com
- Porsche 993: How to Jack Up Your Porsche - Rennlist.com
- Porsche 997: How to Jack Up Your Porsche - Rennlist.com
Step 2 – Locate the leak
Remove the object causing the leak if you can see it. If you can’t pull out the object by hand, then use pliers. Use a tire kit reamer to ream the hole, which prepares it to be filled and adhere to the plug.
If you do not see the source of the leak, then spray the tire with warm, soapy water. Watch for bubbles, which will help you identify and locate where the tire is leaking. If you don’t have a spray bottle, you also can place your tire in a large bucket of water and watch for bubbles. This is a less-precise way of identifying leaks, but will likely help you identify why your tire is leaking.
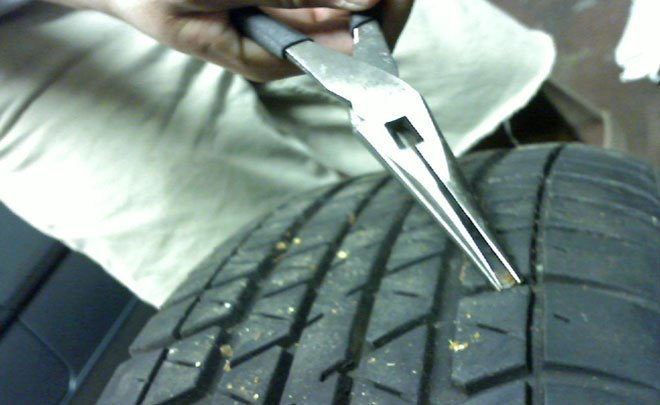
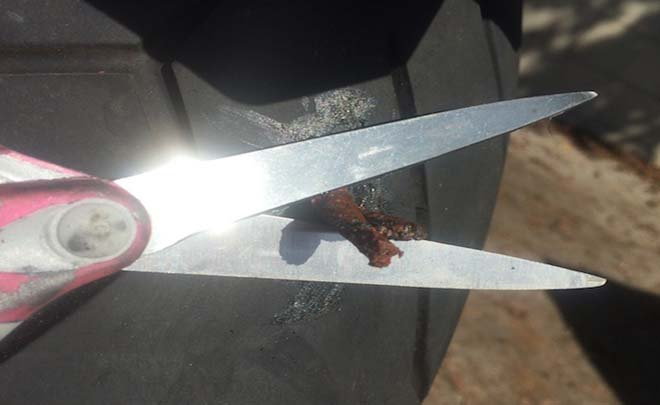
Figure 1. Use pliers to remove object that has punctured your tire, if object is visible or still lodged in your tire. 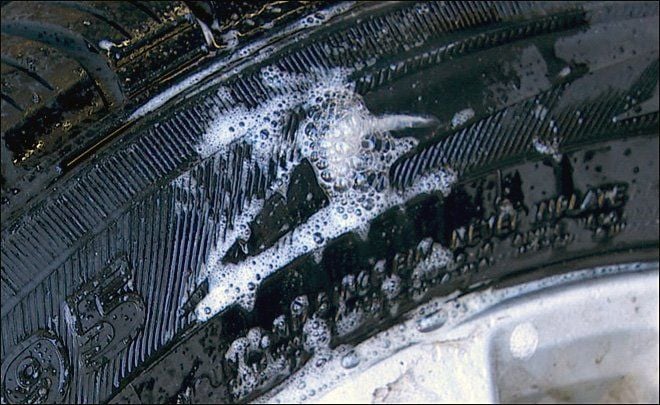
Figure 2. Use warm soapy water to help identify location of leak(s). 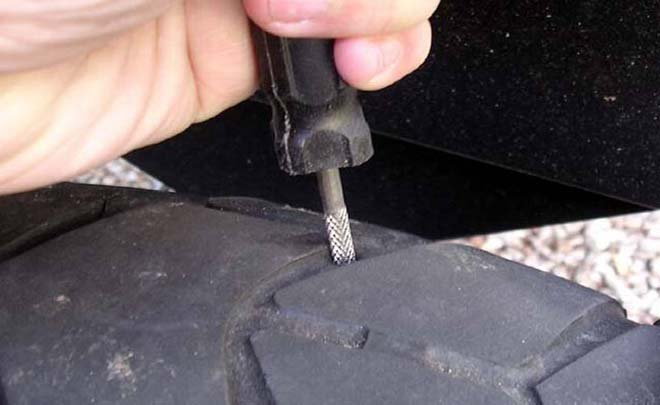
Figure 3. Use tire kit reamer to prepare hole to be plugged.
Step 3 – Prepare to plug hole
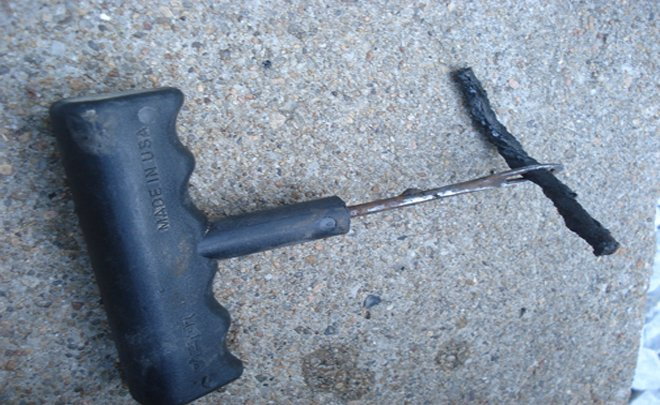
Insert cord from tire kit into the tool. There is an eyelet at one end of the tool, and this is where you’ll thread the cord. Apply rubber cement (which should come with the tire repair kit) to end of cord you’ll insert into tire.
Step 4 – Insert repair cord/plug
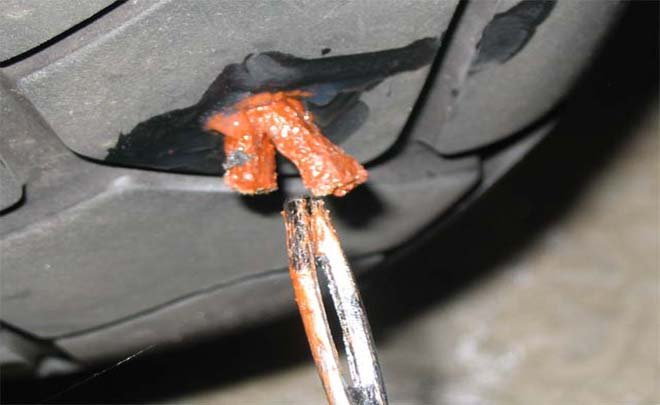
Insert the plug into the source of the leak. Use tool to push in plug until only about one-third of it sticks out of the tire. Slide repair tool off of the cord. The cord itself should remain behind in the tire.
Step 5 – Trim cord/plug
Use scissors to cut plug until it is flush with the tire tread.
Step 6 – Test for leaks
Spray tire with warm, soapy water, or submerge tire in bucket of water if this is the route you took before, and look for bubbles. If you see bubbles, then you may have another leak to plug.
Featured Video: How to Fix a Tire Leak
Related Discussion and Sites
- Tire Leak: Can It Be Fixed? - Rennlist.com
- Fixing a Slow Air Leak in Rear Tire - 6SpeedOnline.com
- Fix a Flat Tire (Porsche Boxster) - CarCareKiosk.com