Porsche 993: How to Adjust Your Brake Pedal to Any Position
Adjusting your 993's brake pedal can make the car more comfortable, or help you to learn and execute one of the trickiest driving techniques: the heel toe downshift.
This article applies to the Porsche 993 (1993-1998).
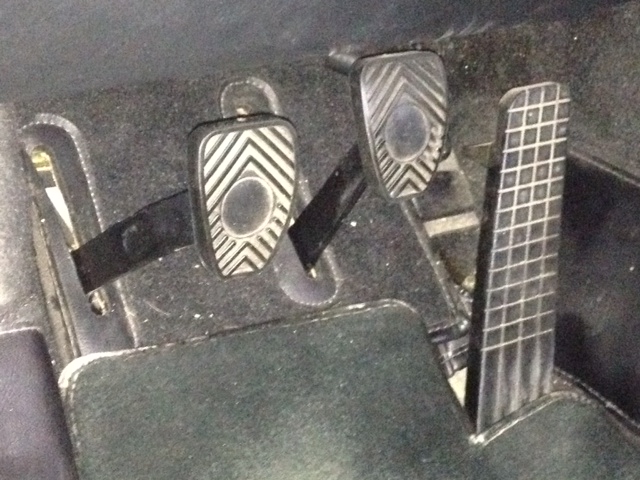
So you want to drive like the pros, do you? Been reading up and watching videos on heel and toe downshifting, but can't quite get your foot position right in your 993 to pull it off? You aren't alone. Porsche's pedal box isn't for everyone, and while a downshifting veteran might be able to make it work, someone trying to learn the new technique might struggle with the position of the gas and brake. Or maybe you don't really care much for attacking corners, but just can't get comfortable with the stock brake pedal height. There's good news! The brake pedal is actually adjustable, and you can fine-tune it to your needs.

Materials Needed
- Open-end wrench set
- Screwdriver
Step 1 – Determine your adjustment
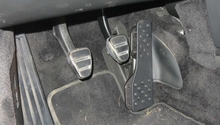
Before you can take any action, you need to know exactly what you are trying to accomplish. If you just feel cramped with the pedal too close to you, simply moving it further back should solve your problem. If you are trying to perfect the position for heel and toe downshifting, it's going to require a little more thought.
You must first know what sort of brake pressure will you be using while blipping the throttle. If you are using the car on track, that pressure is likely quite high, and you are pushing the pedal down further than on the street. Get a feel for how hard you will be braking, then replicate that pressure while parked. At this depressed position, is the gas pedal too close or too far away to give it a good kick with your heel? Now you know which direction and how far to adjust the brake.
Step 2 – Make an adjustment
Now it's time to make a change. Undo the screws holding down the floorboard under the pedals, and remove it. This will reveal the mechanisms that make the pedals work. Loosen the adjuster's jamb nut, and twist the rod to move the brake pedal. Twisting in will move the pedal closer, twisting out will move it farther away. Now tighten the jamb nut back up, and sit in your normal driving position. Try the pedals out with a few mock downshifts, and keep making adjustments to the rod until the pedals feel just right.
Pro Tip
For heel and toe, many drivers like the gas and brake pedal to be nearly even while you are applying "full stop" brake pressure. Of course, you will develop your own preference.
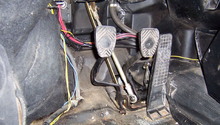
Step 3 – Adjust the brake light switch
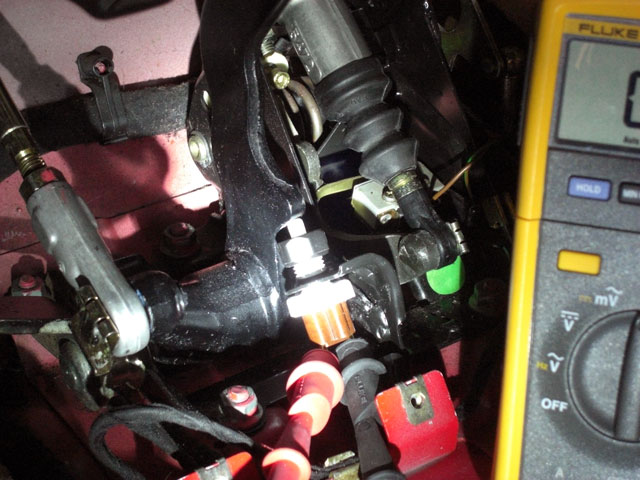
Once the pedal is where you want it, you will need to adjust the brake light switch to match the new position. In Figure 2, the switch is the brown and white threaded component in the center of the image. Thread it in or out so that the plunger is depressed while the brakes are not applied, but is immediately lifted when the pedal is pushed. Have a friend watch the brake lights to confirm proper operation.
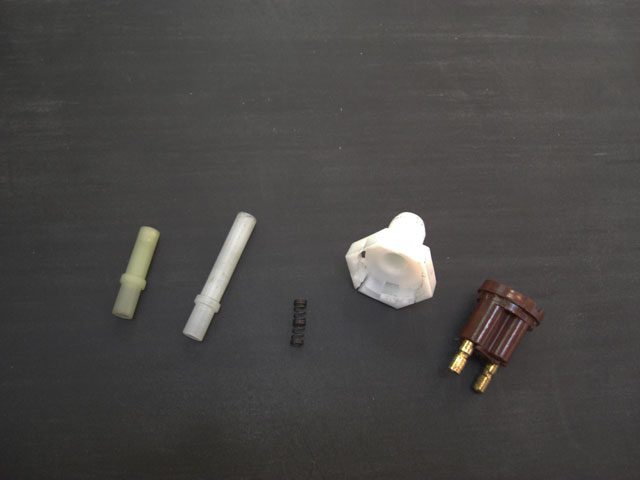
Sometimes, the factory adjustment won't be enough. One forum member went as far as disassembling his brake switch, and fabricating a longer plunger to give it some extra reach. Any machine shop should be able to help you with this, if your car requires it.
Related Discussions
- How To Adjust The Brake/Gas Pedal To Any Position You Want - Rennlist.com
- How To Heel-Toe 993? - Rennlist.com