Porsche 997: How to Align Your Wheels
While adjusting the camber and toe settings is not difficult to do, the usual hang up for most enthusiasts is how to get accurate readings on those values. Fortunately, the aftermarket has responded and camber/castor gauges are now inexpensive purchases.
This article applies to the Porsche 997 (2005-2012).
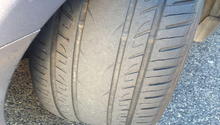
Thanks to imperfections and various hazards on the roads that one travels on every day, it's inevitable that one will need an alignment every so often. This can happen suddenly if you hit a deep pothole at speed, or slowly over time as you navigate side roads. If your car has started to exhibit symptoms such as uneven tire wear, pulling to one side, loud humming noises, or a wobbly wheel, it's likely time to realign your suspension. While most people take their cars to dealerships or reputable repair shops to complete the job, it's very possible to do it yourself at home. Keep reading as this article will show you how it is done.

Materials Needed
- 6' carpenter's level
- Castor/camber gauge (or a regular level with blocks)
- Steel tape measure
- Wrench set
- Torque wrench
- 4 Jack stands
- String
Step 1 – Find a level surface
Use a 6' carpenter's level to find a completely leveled, side-to-side surface in your driveway or garage. If you can't find a completely leveled surface to work on, you can also use vinyl floor tiles or Masonry shims to compensate for low spots. Before you begin, verify that all four tires have the same air pressure and adjust as necessary.
(Related Article: How to Check Tire Pressure - Rennlist.com)
Step 2 – Measure castor and camber
When looking at it from the front of the car, the camber is the tilt of the wheel (in or out). You can use a castor/camber gauge—or a regular level with a block attached to it—to fit on the wheels and measure. If you choose to use a regular level, you will need a scale to read off the distance from the level, and then convert it into degrees. Measure the camber of each wheel and write it down. Then measure and record the castor settings. On the front, turn the wheel full lock to the left and measure the camber on both wheels. Then, turn the wheel full lock to the right and repeat. Subtract the two left camber numbers to get the left wheel castor setting, and the two right camber numbers to get the right wheel castor setting.

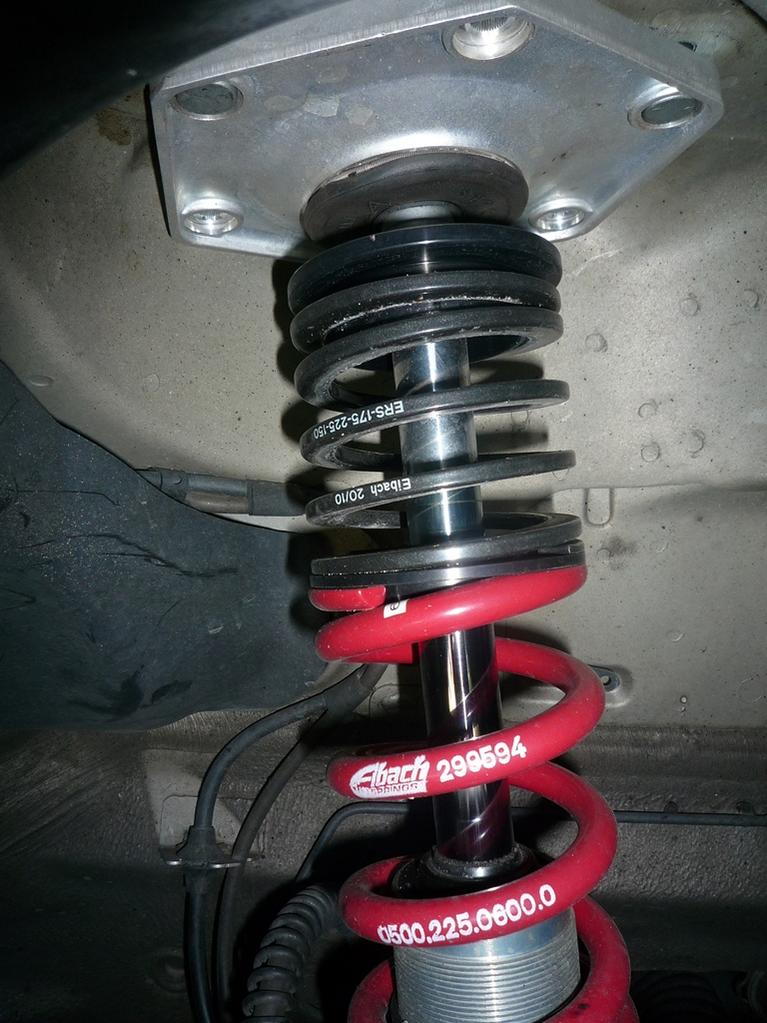
Step 3 – Adjust castor and camber
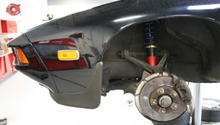
Compare the numbers you recorded for castor and camber to factory specifications. To make adjustments, jack up the front of the car and place it on jack stands. Under the plastic cover (where the battery resides) you will find the front strut tower. The strut top mounting bolt holes are slotted, so that you can adjust camber from the top with the eccentric bolts on the inner ends. Castor is adjusted by rotating the upper spring perch cups; although, castor adjustment is generally very limited. Once adjusted, lower the car and let the suspension settle. Then, measure again. Repeat as needed to achieve the desired settings.
For cars that are going to be seeing a lot of track miles, it is highly recommended to max out the negative camber in the front axle. This will keep the tires in better contact with the pavement under hard cornering.
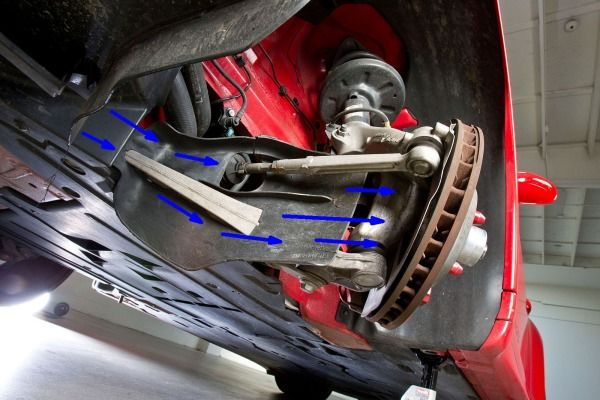
Step 4 – Measure and adjust toe
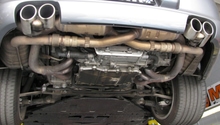
To measure toe, use a steel tape measure to measure the distance between the two front tires, and then the rear. Subtract the two numbers to find the toe. If the front measurement is greater than the rear measurement, you have toe-in. You should have a minimal amount of toe-in (around 1/16"), but if it is excessive, this will need adjustment.
To adjust toe, you will need to adjust your tie rods. Loosen the clamping bolts that hold the adjusting sleeves to the point where you can rotate the sleeves with a pair of pliers, or your hands. Make small adjustments, one side at a time, until you achieve around 1/8" toe in total for both sides. Once you achieve the desired numbers, drive the car around the block to make sure everything is adjusted correctly.
Related Discussions
- Factory Alignment Numbers for 997 - Rennlist.com
- Wheel Alignment Numbers for 997 - Rennlist.com