Porsche 997: How to Repair Paint Chips
Whether you've recently purchased a Porsche 997 with a dinged up exterior or you want to repair paint chips that have accumulated over the years, it's much cheaper (and more rewarding) to take on the challenge yourself. This article will guide you through the steps of repairing those ugly paint chips in your Porsche 997.
This article applies to the Porsche 997 (2005-2012).
Your Porsche 997 is a good-looking car, so don't let paint chips mar its shiny exterior. Whether you've done DIY projects before or this is your first one, it's worth noting that this repair is quite simple and inexpensive. As an added bonus, you'll get to thoroughly clean the exterior of your car.

Materials Needed
- Paint chip repair kit (Dr. ColorChip Basic Paint Chip Repair Kit)
- Small paint brush
- Bucket and hose
- Microfiber and lint-free cloth
- High-quality car wash soap
- Degreaser
- Straight edge (or the side of an old credit card)
- Cleanup solution (SealAct blending solution)
- Girot's Speed Shine surface product (optional)
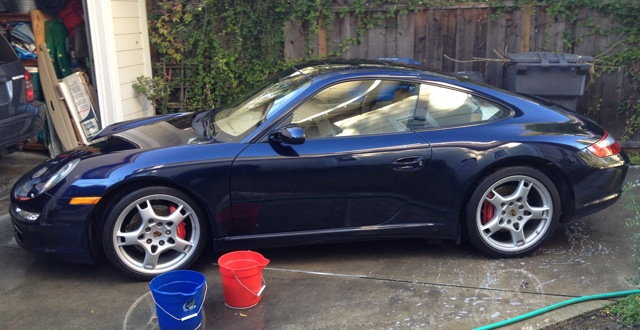
Step 1 – Wash your car
To avoid dirt and debris from getting stuck to the paint, you'll want to thoroughly wash your 997. Use high-quality, professional car soap. Wash the car as you normally would, and depending on how dirt it is, you may need to wash it twice.
Pro Tip
Rinse the bucket, sponge, and any other cleaning materials you're using before washing a second time.
Step 2 – Prep and smear the affected areas
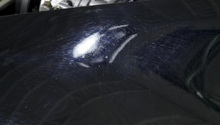
Once the car is clean, prepare the affected areas with a degreaser for the best possible adhesion. With a paint brush, apply a small amount of paint (Dr. ColorChip) directly to and around the paint chip. Use a straight edge or the edge of an old credit card to move the paint over the chip, and smooth it out. Repeat this process again to create a thin smear. Once this step is complete, let the paint dry for at least one hour before proceeding.

Figure 2. Prepare the paint chip with degreaser. 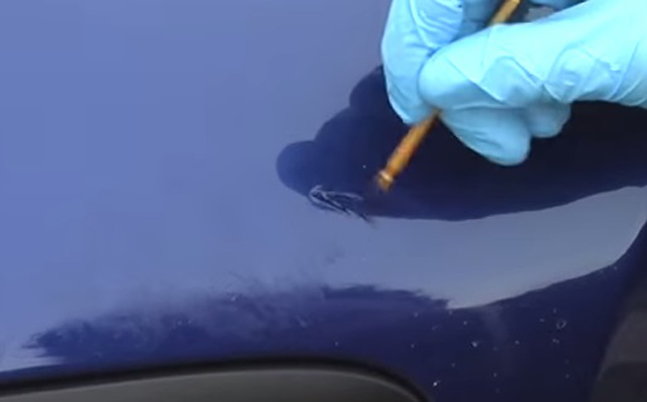
Figure 3. Apply the paint.
Step 3 – Apply the cleanup solution
The cleanup solution is used to remove excess paint. Apply the SealAct blending solution to a lint-free cloth, and gently wipe the painted area in small, circular motion. Follow this up by wiping in a linear motion, until the smear is gone.
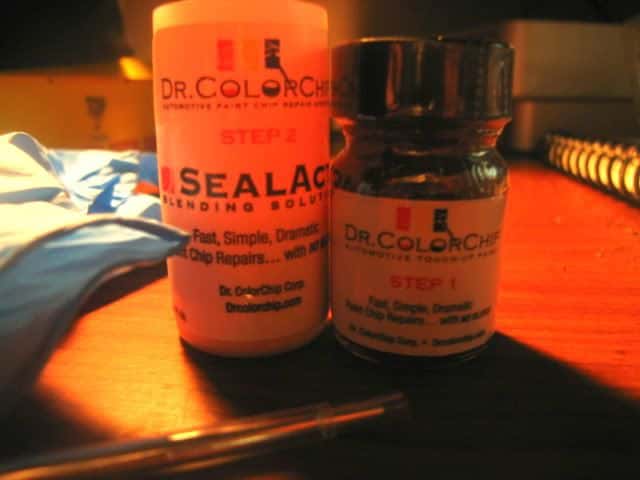
Figure 4. Purchase SealAct or similar cleanup solution product. 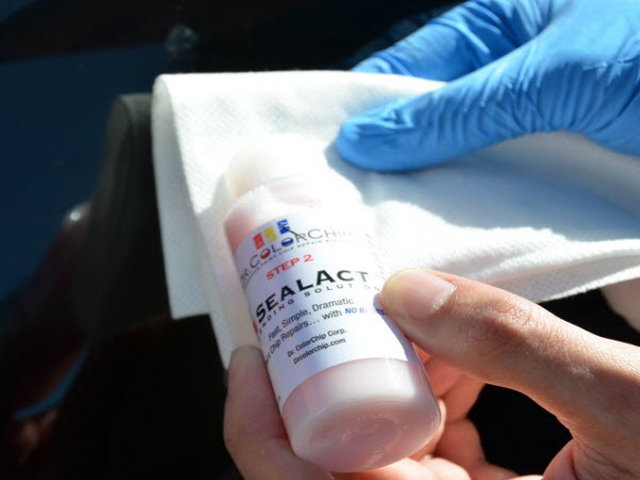
Figure 5. Apply SealAct blending solution to a lint-free cloth. 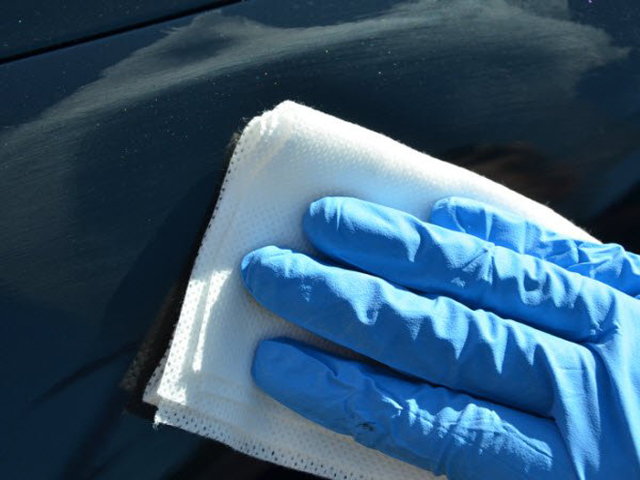
Figure 6. Lightly wipe the solution in circular motions.
Step 4 – Repeat if necessary
Those stubborn, deeper paint chips might not vanish after the first round. If this is the case, you may need to repeat the previous steps until the painted surface is leveled with the original finish. It's best to wait at least 24 hours before starting because it will give the previously painted area time to properly cure.
Related Discussions
- Paint Chip Repair - Rennlist.com
- Doctor ColorChip Paint Chip Repair FTW - Rennlist.com
- How to Repair Scratches and Paint Chips - Rennlist.com