Porsche: How to Repair Leather Tears
Tears in your Porsche's leather can mar the vehicle's interior appearance. Whether it's large or small, you'll want to fix the tear as quickly and as efficiently as possible.
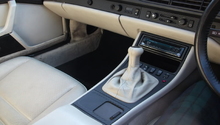
This article applies to the Porsche 928 (1979-1995), 993 (1993-1998), and 997 (2005-2012).
As leather upholstery becomes worn and dried out over time, it's often more prone to cracking. Whether it's because of age or an accident, leather seats can easily tear. Even a small tear can quickly become larger if it's not repaired right away. If you'd rather not spend hundreds of dollars to repair the leather at a dealership, the following DIY project can be quite helpful.

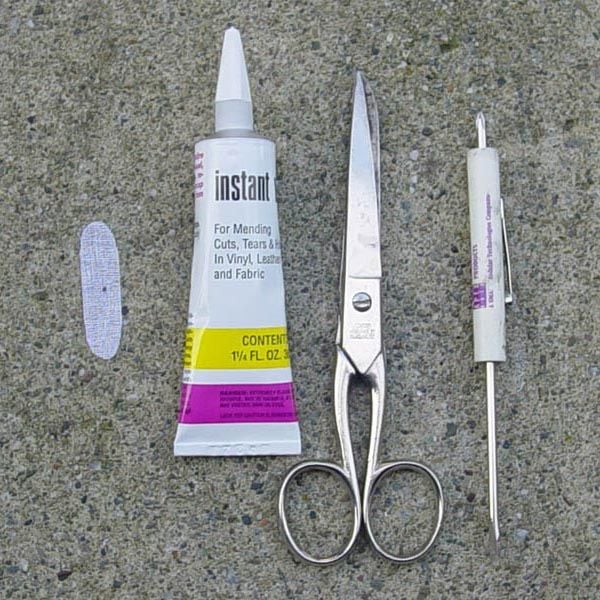
Materials Needed
- Rough fabric (slightly larger than torn area)
- Leather glue (color should match the seat as closely as possible)
- Scissors
- Small screwdriver
- Seat dye, such as Leatherique
- Crack filler, such as Leatherique (optional)
- Disposable brushes (optional)
Step 1 – Prepare the materials
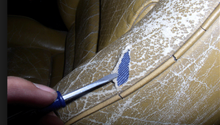
You'll want your materials to be easily accessible once you get started. To keep them clean and ready, you might want to place the materials on a soft cloth next to your work space. It's also crucial to trim the fabric you're using to cover the existing tear. In order to avoid clashing or mismatching colors, you should find a fabric that's as similar to the existing leather as possible in terms of color and appearance.
Step 2 – Glue the fabric to the tear
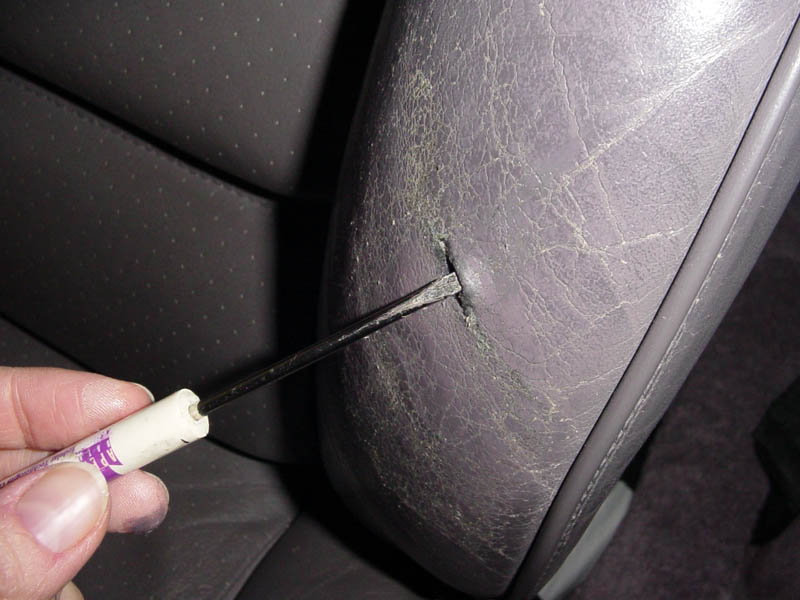
You'll want to begin by gluing the fabric to the back of one side of the tear. If you're unsure of the positioning or just want to be precise, use a screwdriver to help position the material. Once you've successfully glued it to the back of the tear, glue the other end of the fabric to the other side of the tear. As with the first side, you may want to use a screwdriver to help glue and position the material.
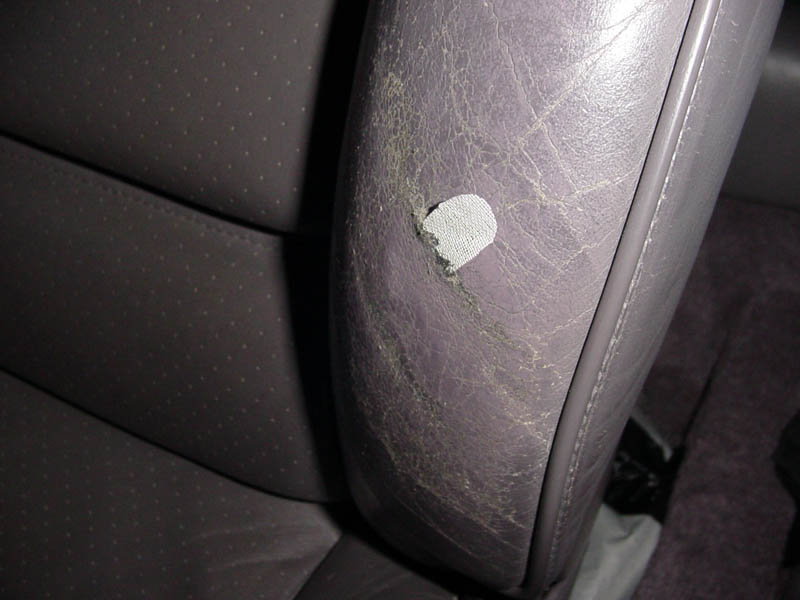
Step 3 – Fill the tear with leather glue
Try to avoid using too much glue during this step, otherwise you may need to sand down the area after the glue has dried. The idea is to fill the tear with the leather glue without having the glue spill over. If there are cracks in your seat's leather, use a leather crack filler such as Leatherique to fill them in.
Step 4 – Dye the seats
It can be hard to match the dye with your seat color. For this reason you might consider bringing a swatch of fabric or a photograph with you when selecting the dye. Keep in mind that the color may wear over time, so you may want to give it a few weeks before deciding that it needs to be redone. If this is the case, you can use an airbrush to even out the color.

Figure 4. Dye the seats. 
Figure 5. You may need to wait a few weeks to see if the dye color matches.
Related Discussion
- Repairing a Tear in Your Leather Seat - Rennlist.com