Porsche 928: How to Replace Brake Fluid
If you can turn a wrench, you can change your brake fluid. Read on to find out how to do this simple procedure yourself.
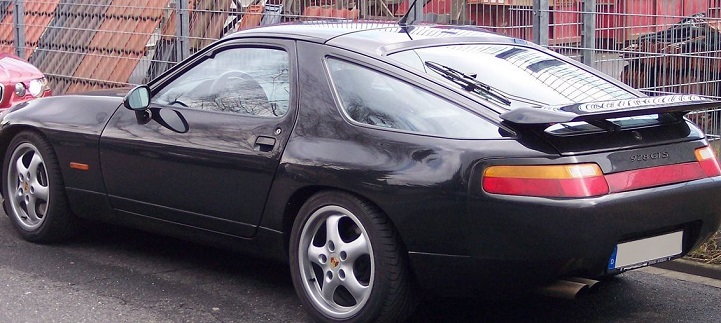
This article applies to the Porsche 928 (1979-1995).
There are few things more important than your brakes. With the power of the 928, braking should be considered vitally important and never to be neglected. While your brake pads may be top-of-the-line and never need replacing, your brake fluid is not. It should be changed every two years, and that is under normal driving conditions. If you are a weekend tracker or your car serves dual duty on the track and on the street, you should change it more often. A professional can do this job in a matter of minutes and you'll be on your way, but you are going to notice that your wallet is considerably lighter. This is a very basic job that any novice can do without any special tools; although, the special tools used for this job will save time and frustration and are well worth the extra money spent. Continue reading to learn how to bleed your brake lines and save a lot of money in the process.

Materials Needed
- Bleeder tubing
- Power bleeder kit (optional)
- Receiving container of at least 60 ounces
- About 48 ounces of new brake fluid (preferably a different color than the existing)
- 5/16" clear tubing with a 3/16" internal diameter
- 11 mm open-end wrench
- Hydraulic floor jack
- 4 jack stands
- Assistant (optional)
These instructions will make use of a power bleeder kit because it makes the job much easier. Removing all four wheels at once makes the job go quickly.
Step 1 – Get your tools ready
A power bleeder kit makes this job extremely fast and easy. There is just a little prep work before getting started:
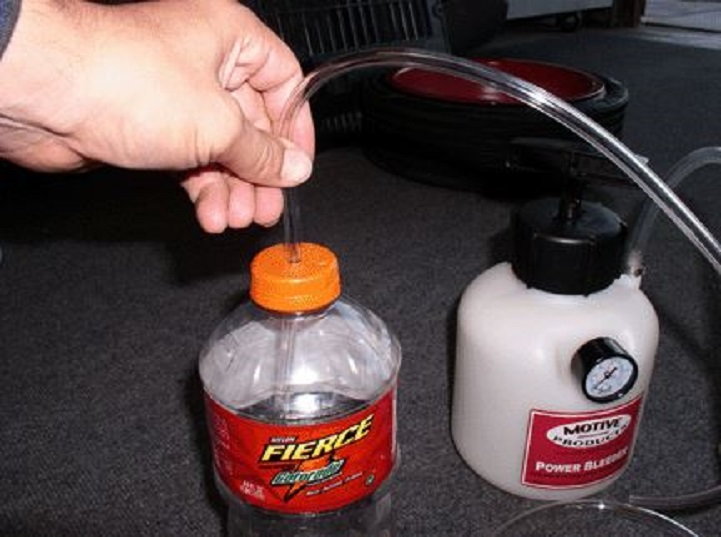
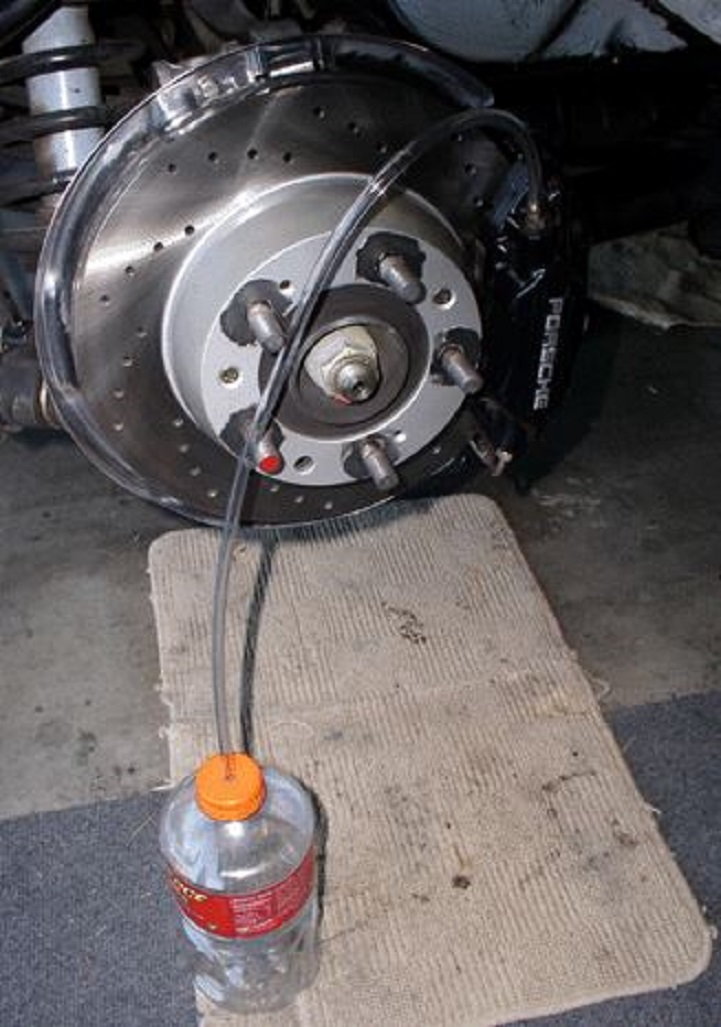
- Take your receiving receptacle (plastic bottle works well) and drill a 5/16" hole in the cap.
- Cut a length of clear plastic 5/16" tubing (3/16" interior diameter) about 35 inches.
- Stick the tubing all the way down into the plastic bottle.
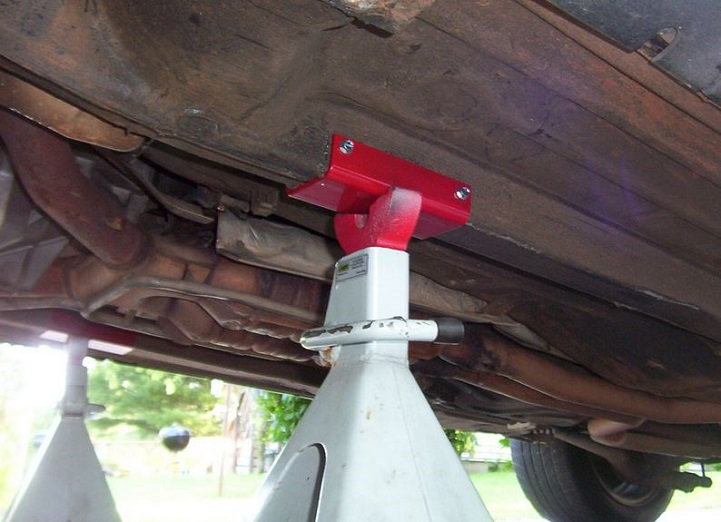
Step 2 – Jack up your car and remove wheels
Loosen your lugs first before raising the car. Jack up the car according to the proper jacking location and then sit it down onto jack stands, again at the proper location. Remove all four wheels.
(Related Article: Porsche 928 How to Jack Up Your Car - Rennlist.com)
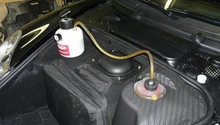
Step 3 – Attach the power bleeder to reservoir
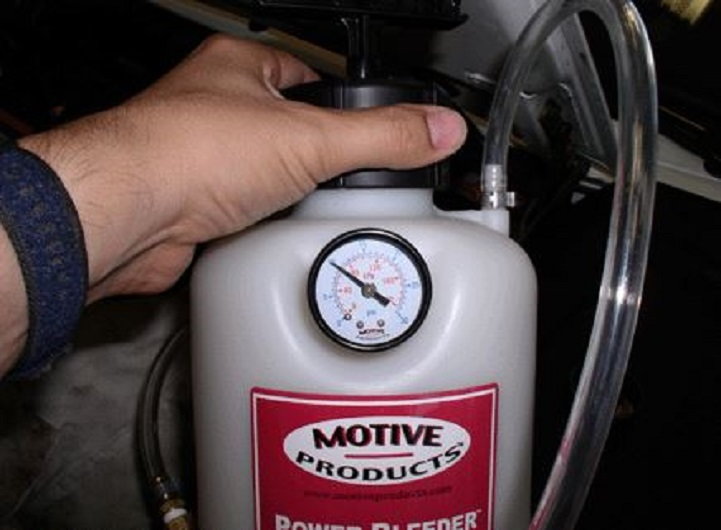
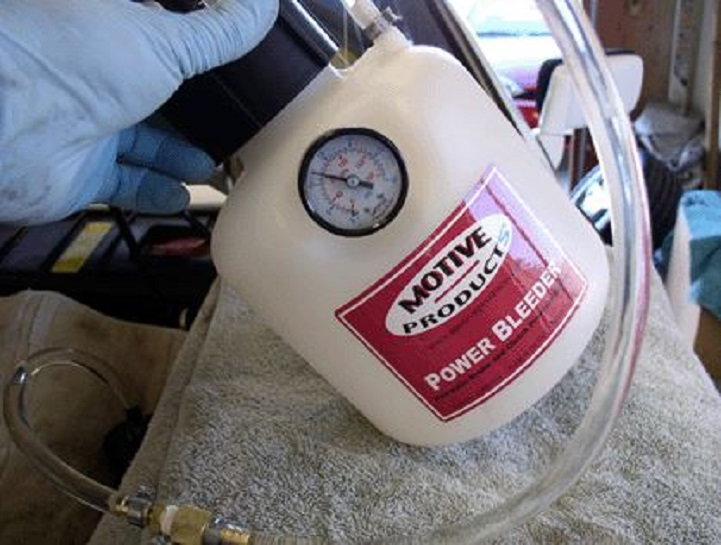
Take the cap off of the master cylinder reservoir and replace with the cap and hose connection to the power bleeder. Stuff some shop rags around the base of the reservoir to catch any spills. You do not want to get brake fluid anywhere except inside the brake system. Make sure that the power bleed connection is very snug on the reservoir. Pump the power bleeder handle until you hit about 10 PSI. Once you get to 10, hold it there for a few minutes to make sure that the pressure stays and doesn't drop from any leaks. After a few minutes, slowly unscrew the lid of the power bleeder to remove that pressure.
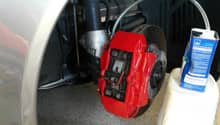
Step 4 – Attach the old fluid receiving receptacle
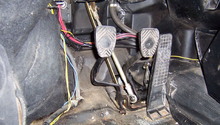
There are two nipples on each caliper: an inside and an outside one. Start on the rear, passenger caliper outside nipple. This is the farthest away from the reservoir. After working both nipples, move to the driver's rear, passenger front and always end with the driver's side front.
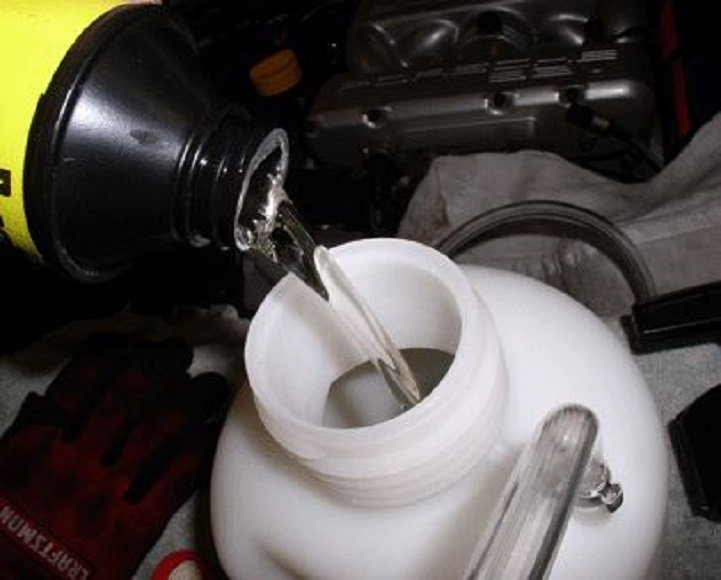
Step 5 – Fill the power bleeder tank with new brake fluid
Use about 48 ounces of new brake fluid to fill the power bleeder tank. Your 928 should only use about a liter of brake fluid; however, you will be using much more than that pumping out the old fluid. Once filled, pressurize the tank to anywhere between 10 - 15 PSI. Your best results may vary. Check the pressure periodically throughout this procedure and especially in between wheels to maintain the correct pressure. Pump if necessary. So long as you do not let too much new fluid run clear through the system, you should have plenty.
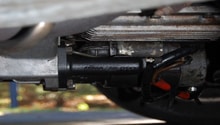
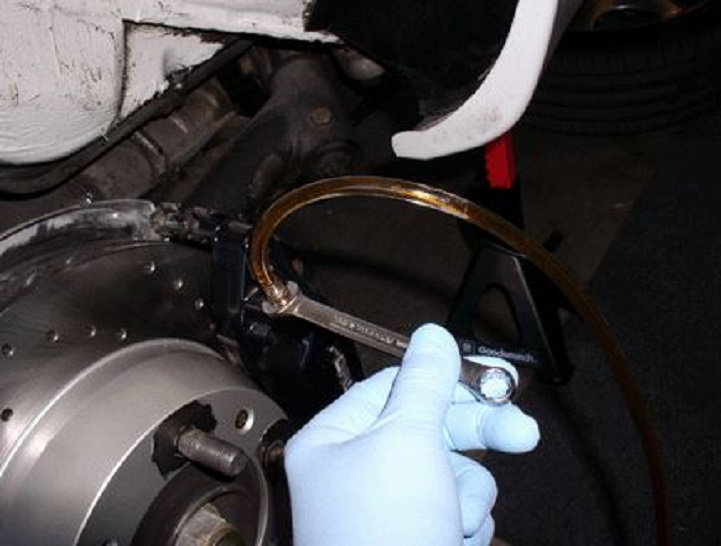
Step 6 – Slowly open the bleeder nipple on the caliper
Use an 11 mm wrench and slowly open the bleeder valve on the nipple to which you are connected. Keep turning slowly until you see a consistent flow of old brake fluid through the tubing and into your catch bottle.
Step 7 – Continue bleeding until the fluid in the line runs clear
Continue bleeding until the line flows with the color of the new fluid you purchased. If you purchased clear synthetic, wait until the tube flows clear. This is why it is a good idea to use a different-colored replacement fluid from the color of the existing fluid. You will be able to easily see when the new fluid has purged the old fluid from the line. Once the changeover has occurred, close the bleeder valve tightly and repeat for the other nipple on this caliper. This initial flush should take a couple of minutes. The rest of the calipers will not take as long as they are getting closer and closer in proximity to the reservoir; as such, there will be less old fluid in the lines. Repeat this bleeding process for all four wheels.

Pro Tip
Be very careful when removing the bleeder hose from the nipple. Use a shop rag around the bleeder valve and hose and nipple to catch any brake fluid that may spill.
Step 8 – Stop the flow at the last wheel when the reservoir is at max level
When you are basically done at the last wheel (driver's side front), tilt the power bleeder tank so that the intake tube is now sucking air. You may want to enlist an assistant to help with this last part, but it is not necessary. While the fluid is still flowing through the bleeder valve and you've tilted the tank to suck air, watch the reservoir closely. When the fluid reaches the max fill line, quickly close the bleeder valve to stop the flow and not allow any of that air to get into the line. Slowly loosen the cap on the power bleeder tank to relieve the pressure, and then remove the connection to the reservoir. Double-check the fluid level at the reservoir, and then replace the reservoir cap.
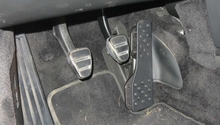
Step 9 – Test brakes for leaks
This step will be much easier with an assistant. While the wheels are still off the car, start the engine and press the brake pedal several times. Make sure the brake pedal feels normal and not mushy. With each press, check all your fittings at the calipers and make sure they are not leaking. Once you are satisfied, replace the wheels, tighten the lugs, drop the car, and then torque the lugs back to specs and take her for a test drive. If you happened to have replaced the brake pads while doing this project, make sure that you go easy for the first 125 miles until those new pads are baked in properly.
Related Discussion
- Brake Fluid Flush Procedure - Rennlist.com