Porsche 928: Why Does My Brake Pedal Go to the Floor?
The worst feeling is when your brake pedal goes to the floor. Here's why this is happening.
This article applies to the Porsche 928 (1979-1995).
Your vehicle's braking system is one of the most critical components of your ride. It needs to be serviced regularly and always working optimally. Like many other components of your vehicle, when it wears, there are some signs that indicate needing replacement or service. Pedal feel is one of the ways you can tell that your brake system needs to be serviced. The cause of a soft pedal or one that goes to the floor can be due to a number of reasons. Several components make up your brake system. This involves everything from the brake pads, brake rotors, brake fluid, brake fluid reservoir, brake lines, vacuum lines, master cylinder, and brake booster. Depending on which component is affected, related service applies. In the case of the Porsche 928, it is common to hear of a brake booster failure, but often it could be the seals to the master cylinder.

Materials Needed
- Power bleeder
- Brake booster
- Master cylinder repair kit
- Funnel
- Ratchet set with assorted sockets
- Assorted screw drivers
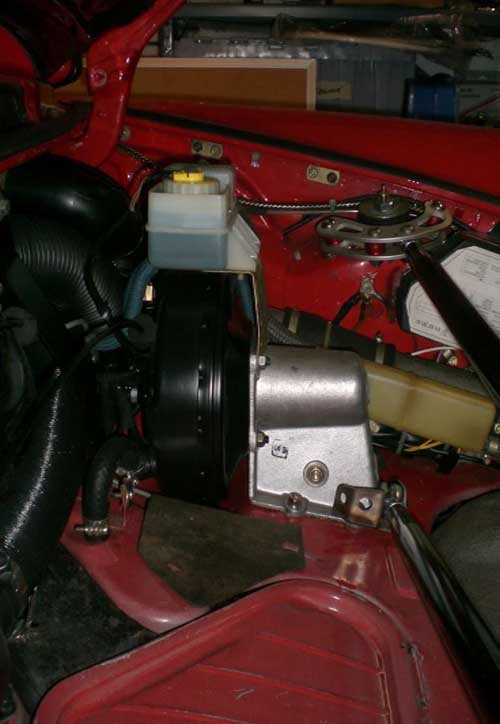
Step 1 – Visual inspection
Determine the source of the problem; there are several areas of the braking system that could be causing this issue, so it is wise to narrow down the problem.
- Check brake fluid level (top off if low).
- Inspect brake lines.
- Inspect brake vacuum hose leading to brake booster.
Step 2 – Check brake booster for proper functioning
There is a possibility of air being trapped in the braking system.
- Depress and release brake pedal several times to remove any air from the booster.
- Hold brake pedal and start your engine. Observe if the brake pedal goes underfoot once the booster kicks in.
If the above test doesn't pass, it may be necessary to replace the brake booster and master cylinder. Proceed to Step 3.
Step 3 – Replace brake booster
If it is determined that the brake booster is the problem, you will need to replace it. In doing so, you will also need to replace and or repair the seals for the master cylinder.
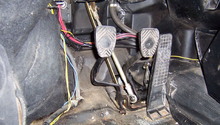
- Disconnect operating rod.
- Remove/disconnect vacuum hose.
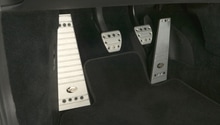
- Remove foot board and lock pin.
- Remove the master cylinder mounting bolt.
- Remove cruise control.
- Remove AC duct hose.
- Drain brake fluid (use syringe or bleeder tool).
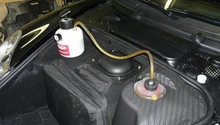
- Disconnect reservoir hoses.
- Disconnect brake switch connectors.
- Disconnect brake lines from master cylinder.
- Remove bolt from brake booster brace.
- Remove four nuts from brake booster and lift out.
- Separate master cylinder from brake booster.
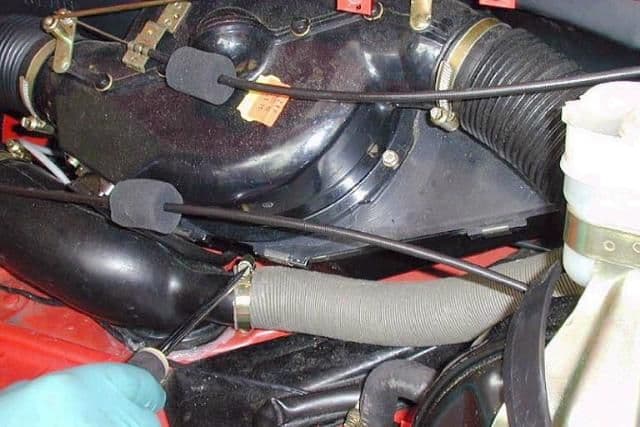
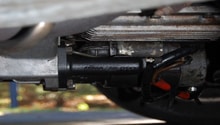
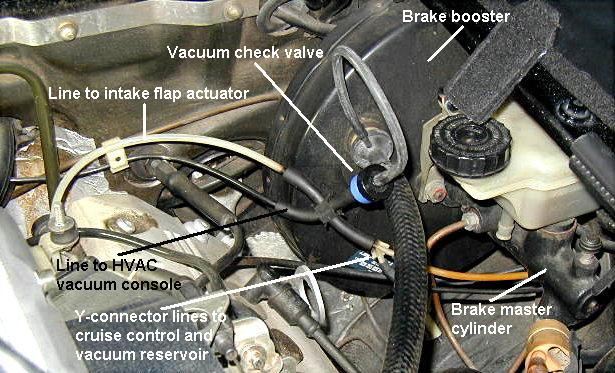
Figure 3. Disconnect vacuum hoses going into the brake booster. 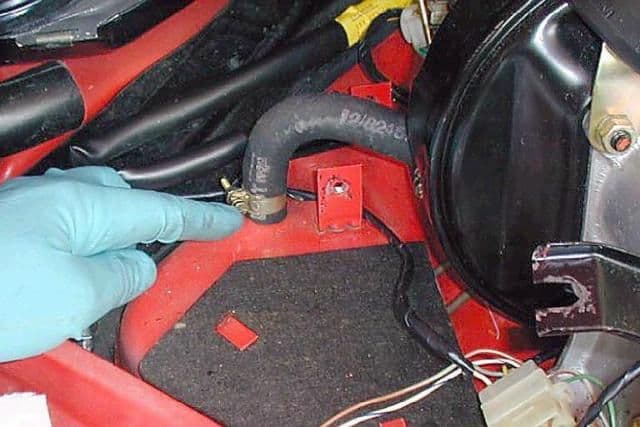
Figure 4. Disconnect hoses. 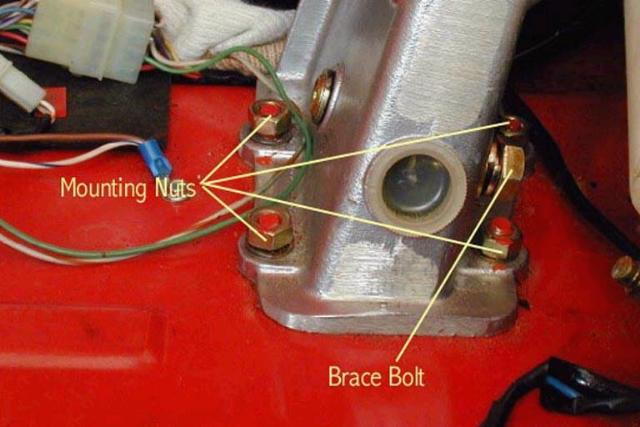
Figure 5. Remove the brake booster's mounting bolts. 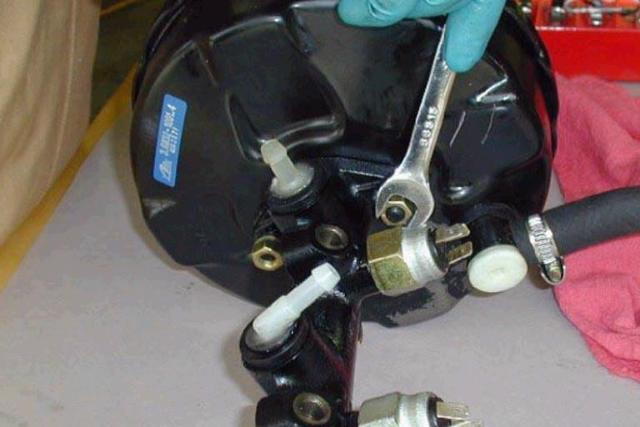
Figure 6. Disconnect brake switch connectors. 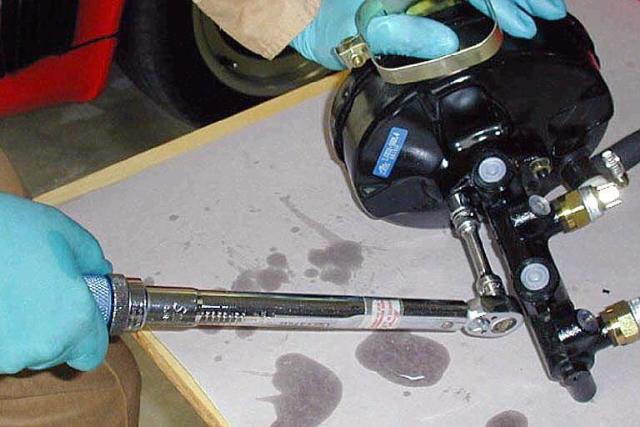
Figure 7. Remove brake booster.
Step 4 – Installation is reverse of removal
Once you have serviced the brake booster and master cylinder by way of using new units or replacing related seals, the system can go back together.
- Reconnect the reservoir hoses to the master cylinder.
- Re-install the master cylinder/brake booster assembly, and reconnect the brake light connections, brake lines, and vacuum hose.
- From inside the car, reconnect the brake operating rod and re-install the master cylinder mounting bolt.
Step 5 – Bleed the brakes
Now that the faulty components have been replaced, it is time to bleed the system of new fluid.
- Fill reservoir to the top.
- Using a pressure/power bleeder, start with the caliper farthest away from the master cylinder (right-rear).
- Monitor the reservoir to ensure it is topped off and to prevent any more air from entering the system.

Figure 8. Use a brake bleeder kit to bleed the reservoir. 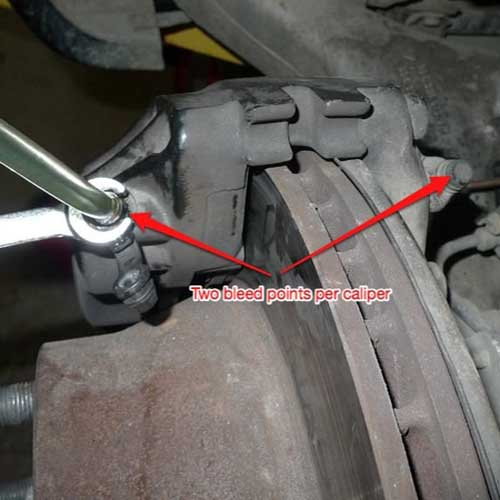
Figure 9. Loosen the bleeding valves on the calipers.
Pro Tip
A power bleeder is the best tool if you don't have an extra set of hands to help bleed the system effectively.
Related Discussions and Sites
- Brake Master Cylinder Replacement- Pelicanparts.com
- Brake Bleed Procedure- Rennlist.com
- Brake Booster and ABS Replacement - Pelicanparts.com
- Brake Pedal to Floor Discussion- Rennlist.com