Porsche 928: How to Change a Tire
If you're going to drive, then you should know how to change a tire. There's no need to take a class because this article will show you how to change the tire on your Porsche 928. So read on!
This article applies to the Porsche 928 (1978-1995).
Changing a tire is one of those skills that you should know, even if you have never needed to do it. There's nothing worse than getting a flat tire late at night on a poorly lit road, find that you have no cell service, and realize that you're out of luck until someone passes by or stops to help. You should regularly check your spare tire to make sure it is inflated enough to use—should you need to use it. Keep in mind that you should drive no further than 50 miles or so on a standard spare tire, or just far enough to buy a replacement tire.

Materials Needed
- Replacement or spare tire
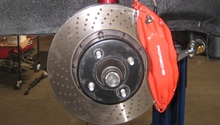
- Jack
- Cross wrench
Step 1 – Prepare to replace your tire
Park on a flat surface, and then put your car in “Park.” If you need to replace your tire during an emergency, then pull over as far as you can from the street or road, turn on your emergency lights, and put your car in “Park.” In both situations, consider putting on your parking brake as well. Locate the spare tire, tire iron, and jack in the trunk to remove the tire.
Step 2 – Loosen lug nuts and jack the car up
With the car still on the ground, loosen all five lug nuts. This will insure that the wheel doesn't spin as you remove the lugs after the wheel is in the air.
Position the jack next to the tire you need to replace. The jack should be in contact with the frame of your car before you begin to jack it up. Slowly jack up your car until it supports your car with the offending tire in the air.
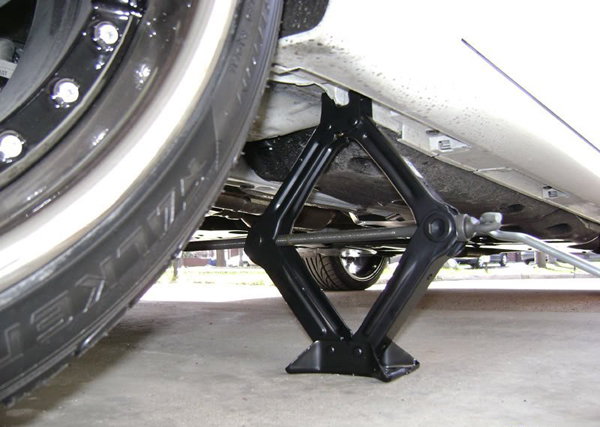
(Related Article: How to Jack Up Your Car - Rennlist.com)
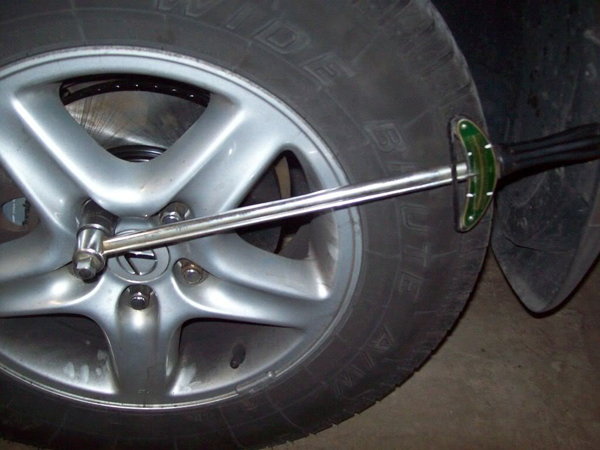
Step 3 – Remove the lug nuts
Use a cross wrench to turn the nuts counterclockwise. You may need to exert a lot of pressure in order to turn the nuts. Some report needing to position the cross wrench in place, and then stomping on it just to get the nut to easily turn. Loosen the nuts in a star pattern.
Step 4 – Remove and replace the tire
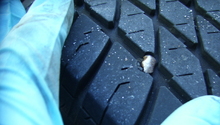
Pull tire straight off and away from your car. Set it aside. After replacing your tire, you can check to see if the tire you removed is repairable.
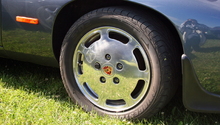
Align the rim of the tire with the wheel bolts, push it into place, and then replace the lug nuts. Turn the nuts clockwise by hand until you cannot further tighten them. Use the cross wrench to continue tightening the lug nuts. Tighten the nuts in a star pattern.
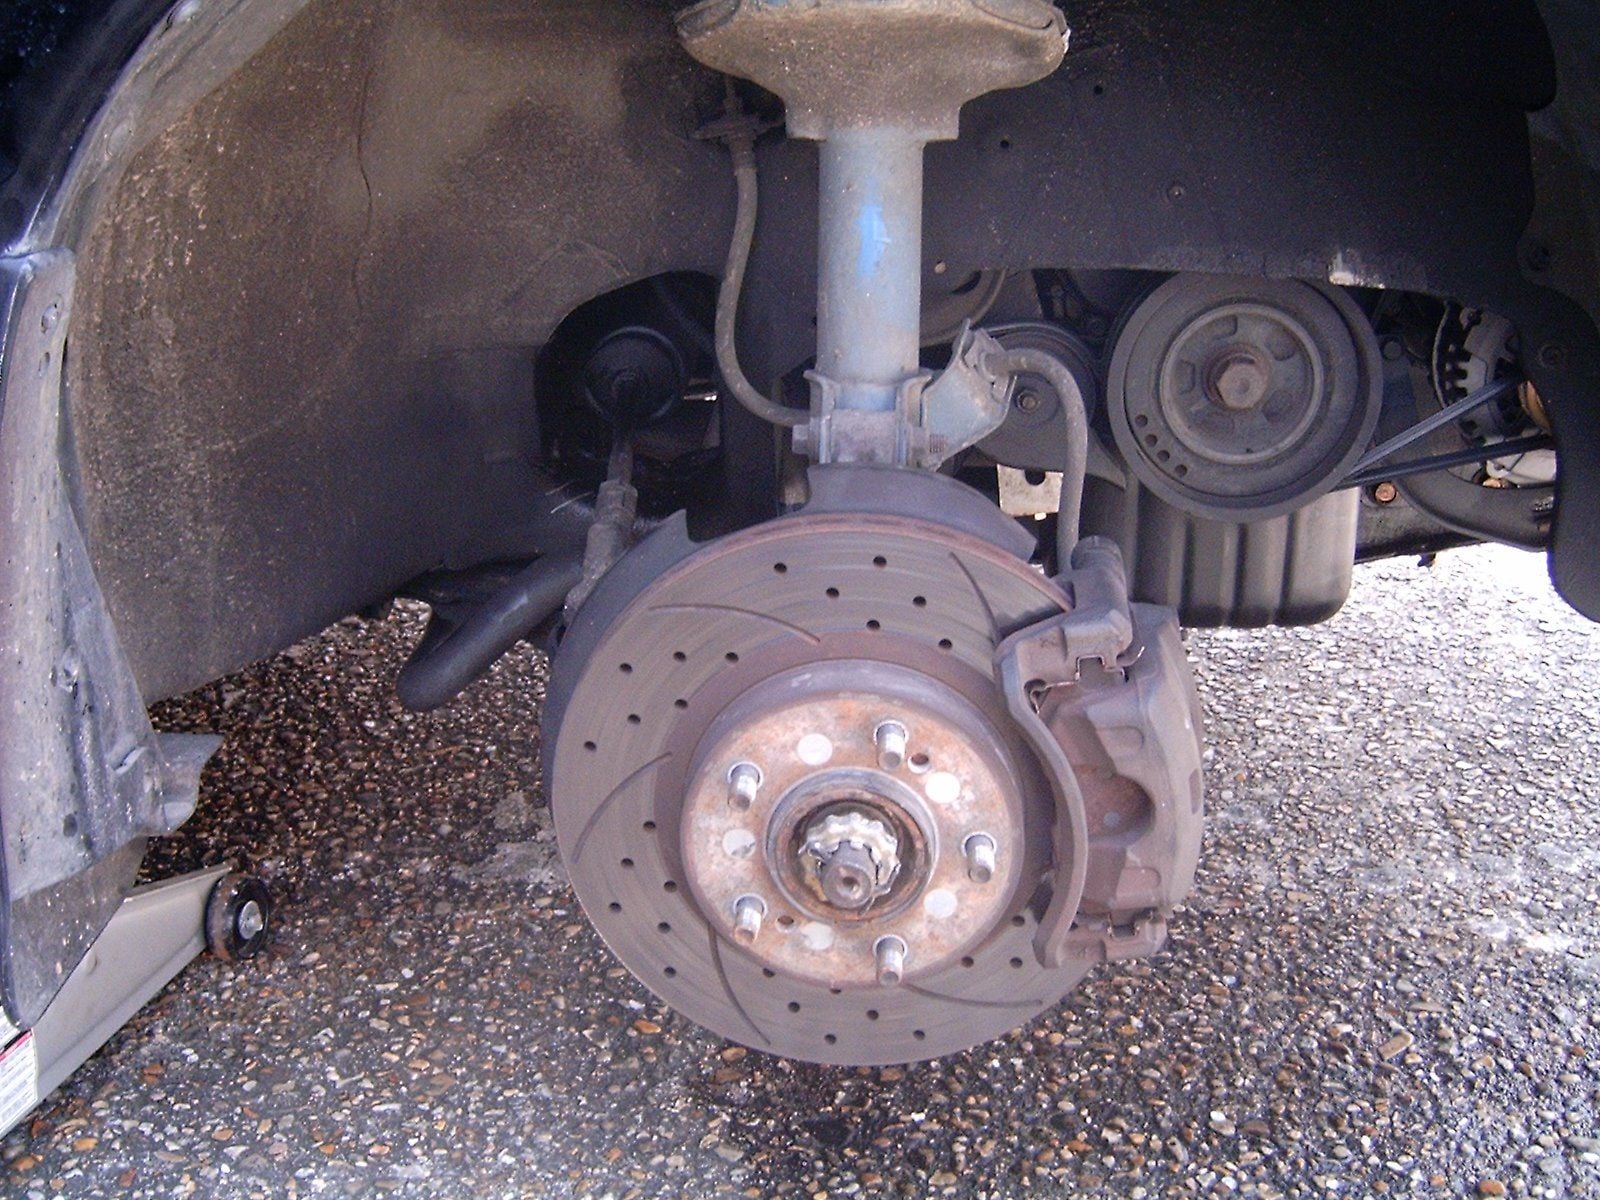
Figure 3. Pull the tire straight off and away from car to remove it. 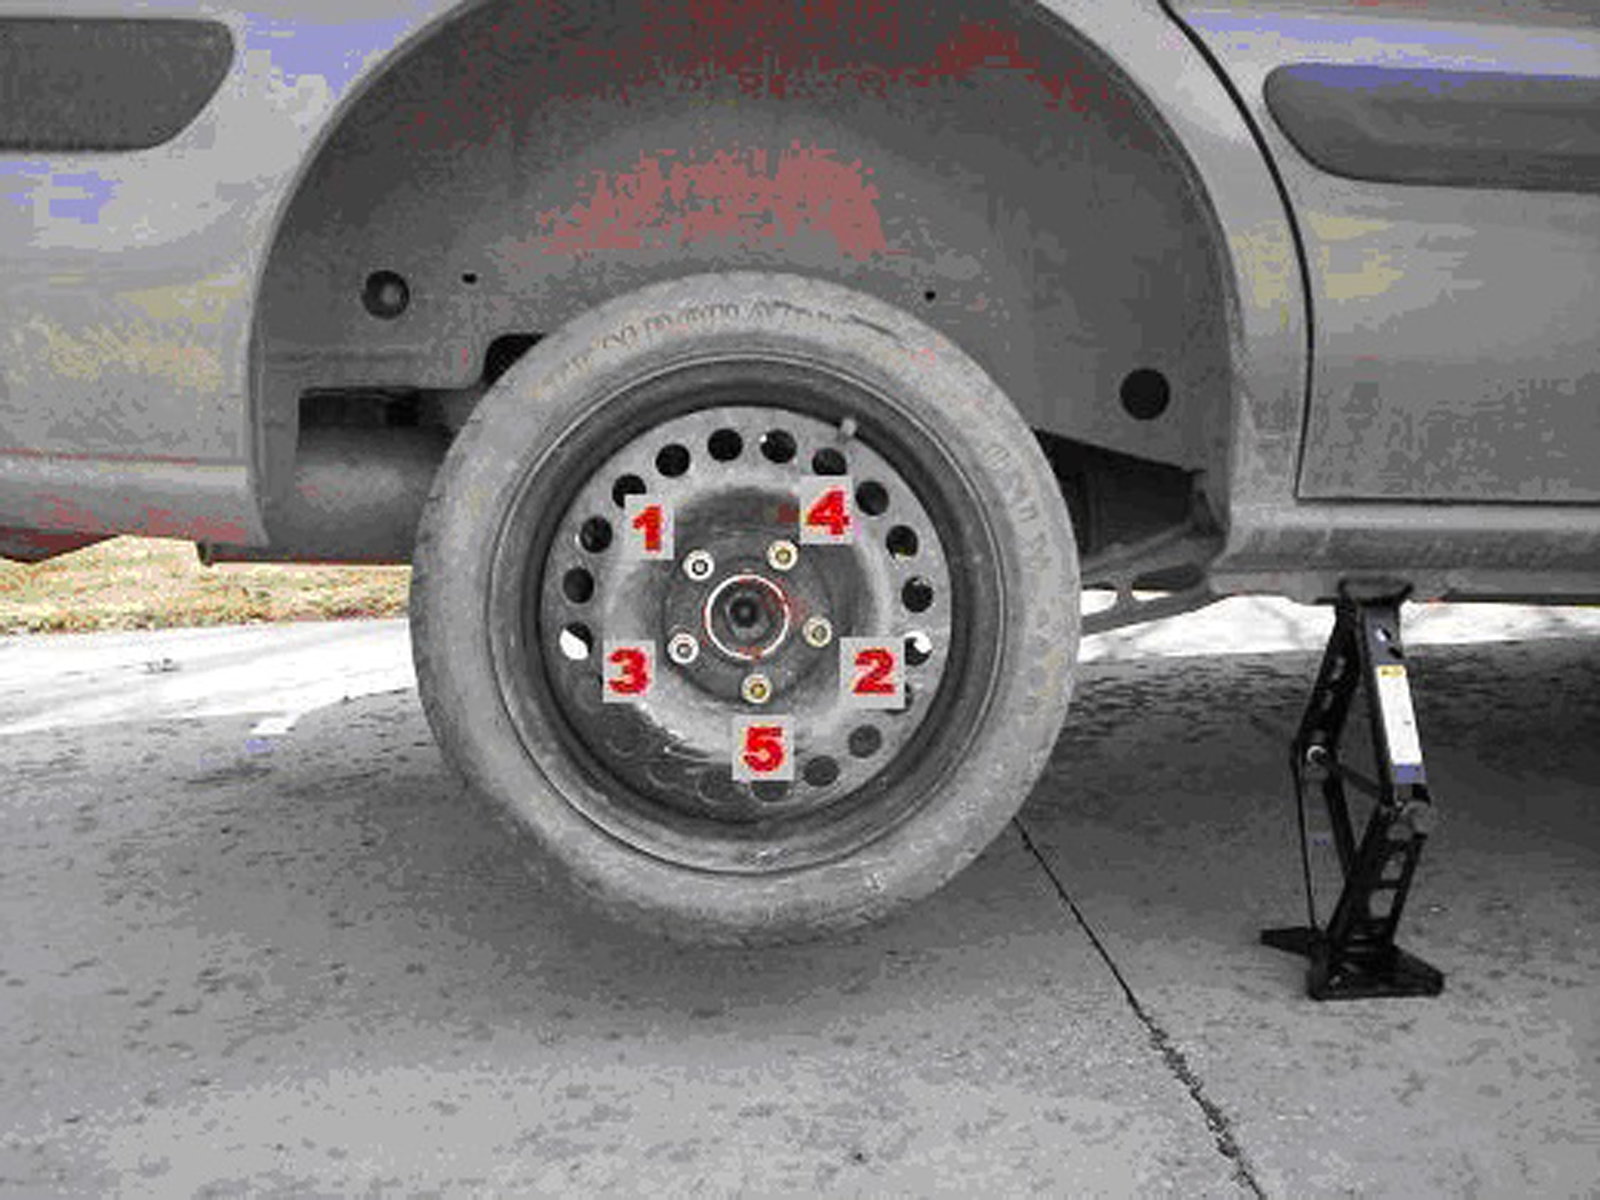
Figure 4. After installing new tire, tighten the lug nuts in a star pattern.
Step 5 – Lower the car
Lower the car until the tire is on the ground, and the jack is fully descended. Pull it out from under the car, and set it aside. Use the cross wrench to further tighten the nuts as much as you can. Again, do this in a star pattern.
Related Discussion
- Porsche 928 Tire Iron - Rennlist.com