Porsche 928: How to Flush Your Radiator
Typically speaking, you should flush out the cooling system once a year. Doing this removes dust, deposit, and contaminants from the Porsche 928's cooling system. While it can be done professionally for about $75, it's a fairly inexpensive procedure to do at home.
This article applies to the Porsche 928 (1979-1995).
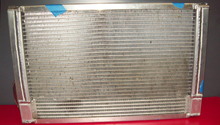
The radiator in your Porsche 928 is responsible for keeping your engine cool. To keep your radiator running at full capacity, you need to maintain it by flushing it and replacing the coolant. Here is how to do it yourself at home.

Materials Needed
- 2 gallons of coolant (prices vary)
- 2 gallons of distilled water
- Brush or rag
- Drainage pan/bucket
- Gloves
- 13mm socket
Step 1 – Ensure the car is completely cool
A Porsche 928 is coolest when it has not been operated for at least 90 minutes. This is an extremely important step as coolant in a recently used engine is very hot and can burn you.
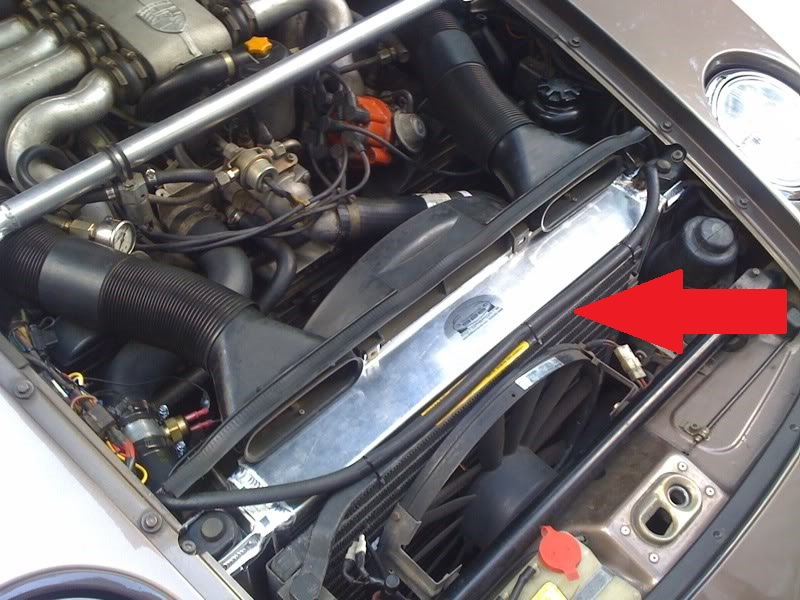
Step 2 – Locate and clean area around radiator
Using a safe brush or rag, clean the front and back of the radiator to better allow air to move throughout. You can use sudsy water to get that extra layer of grime off.
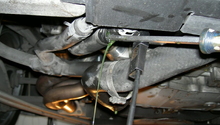
Step 3 – Center bucket or drainage pan under radiator’s drain valve
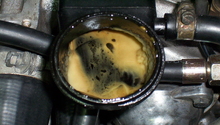
Center a pan under the radiator's drain valve. Put on a pair of gloves and drain the radiator by loosing the radiator’s drain valve/screw with a 13mm socket. The gloves are important as radiator coolant is considered toxic. Once the coolant has left the radiator, put a top on the bucket/drain pan, and set it aside. You can speed up the drainage process by loosening the cap on the radiator.
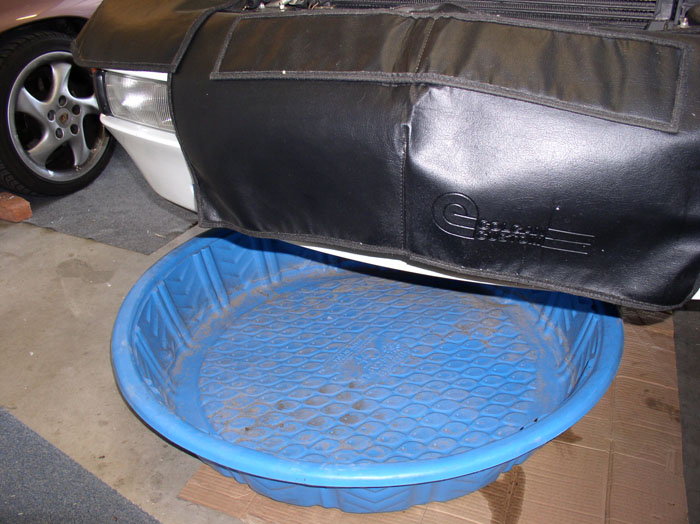
Figure 2. Drain pan positioned. 
Figure 3. Drain bolt location. 
Figure 4. Second drain bolt being removed.
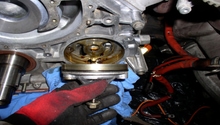
Step 4 – Check radiator parts
First, check the radiator cap—the tension between the seal and spring allows the radiator to maintain proper pressure. If the cap is loose or otherwise looks worn out, you may want to use this opportunity to replace the part.

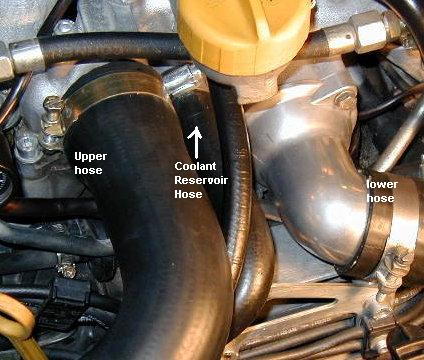
Next, check the hoses that run to the radiator. One is responsible for taking the heated coolant away, and the other flushes the radiator with cold coolant. Check to make sure these hoses do not have cracks, and that the clamps holding them in place do not show signs of rust or wear. Again, if there are signs of damage, use this opportunity—wherein the system is empty—to replace these parts.
Step 5 – Fill the radiator with water
This is to rinse the compartment out. Something as simple as a garden hose can be used. Once the radiator is full, pull on the handle again and drain the water from the system.
Step 6 – Add new coolant
Good rule of thumb: the best coolant is 50% water and 50% antifreeze. For best performance, combine these two together before pouring into radiator. You can also buy the one that is already mixed together.
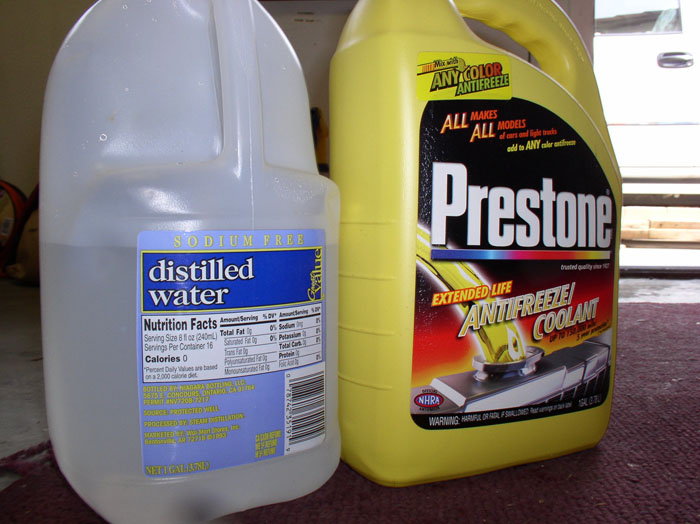
Figure 7. Mix antifreeze with water. 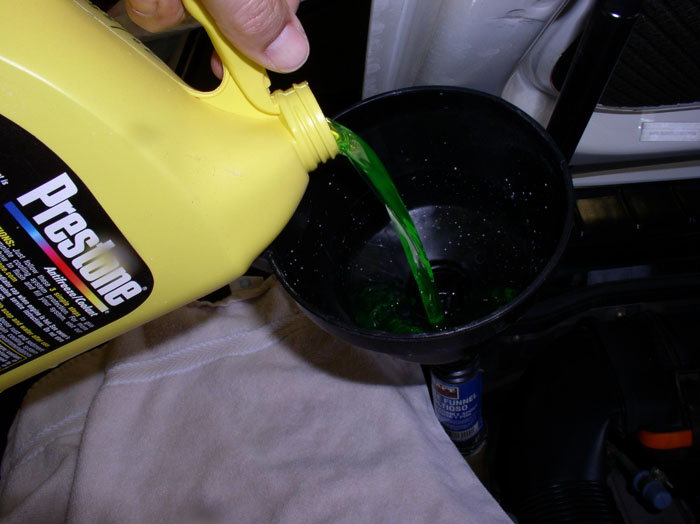
Figure 8. Pour coolant mixture into system.
Step 7 – Bleed the radiator
Take the cap off and let the car run for about 15 minutes to allow all air voids that got into the system during the flush to leave. This happens as the coolant heats up—leaving the cap off gives it the chance to escape. And as the air escapes, there will be new room for more coolant. Add more as appropriate.
Related Discussions
- Coolant Flush - Rennlist.com
- Coolant Drain Procedure - Rennlist.com