Porsche 928: How to Not Ruin Your Clutch
The clutch on the Porsche 928 is sturdy, and not prone to malfunction. However, when these cars start to get old, there is a risk that the material deteriorates due to age. This article explains how to maintain a proper clutch function.
This article applies to the Porsche 928 (1977-1995).
Since the clutch is a wearing part, it needs to be replaced after a number of kilometers/miles. Exactly how many kilometers/miles depends a lot on the driver's driving style. A worn down clutch is commonly noticeable with the clutch pedal being hard to depress, and it is also common to experience some slippage when the clutch pedal is released.
High RPM while releasing the clutch could result in a nice “burnout,” which will cause the rear wheels to spin and produce a lot of smoke. This wears out the rear tires of course, but also puts a lot of stress on the clutch (and the entire transmission for that matter). A too cautious driving style could also ruin the clutch, especially in a high performing car like the Porsche 928. If the clutch is released very slowly, the clutch slides against the flywheel for an unnecessarily long period of time. This makes the clutch grind against the flywheel, which produces heat and makes the clutch wear out early.
The best way to avoid having the clutch wear out prematurely is to avoid both high RPM and too cautious handling of the clutch. Rev the engine to a moderate RPM, and then gently (but firmly) release the clutch.
The Porsche 928 has a hydraulic clutch with a master cylinder attached to the brake pedal, and a slave cylinder pushing the clutch. The most common clutch failures are leaks in this hydraulic system. The general symptoms when something is wrong with the clutch is a clutch pedal being:
- Hard to depress
- Soft to depress
- Slow to return
- Hung mid-way up
- Stuck to the floor
If you experience any of these symptoms, odds are you have to replace the clutch, the master cylinder, or the slave cylinder. By keeping the clutch fluid clean, many of these problems can be avoided for a long time.
The root cause for many of these problems can often be traced back to the hydraulic fluid in the clutch, which, by the way, is connected to the same hydraulic system as the brakes. Problems with the clutch/brake fluid include:
- Water contamination caused by condensation that can occur during heat-up/cool-down cycles.
- High heat generated from aggressive driving.
- Infiltration of clutch dust, which is extremely abrasive.

Materials Needed
- 11mm open ended spanner or box end wrench
- Jack and jack stands
- Power bleeder
- Brake fluid
Step 1 – Jack up the car
Using a garage jack, jack the car up and put it on jack stands. It must be high enough to elevate the front end of the car to get under it.
Pro Tip
The clutch and the brakes use the same fluid reservoir. Make sure that the brake fluid is new and fresh before you proceed with this procedure. If the brake fluid is old, replace it first!
Step 2 – Check for leaks
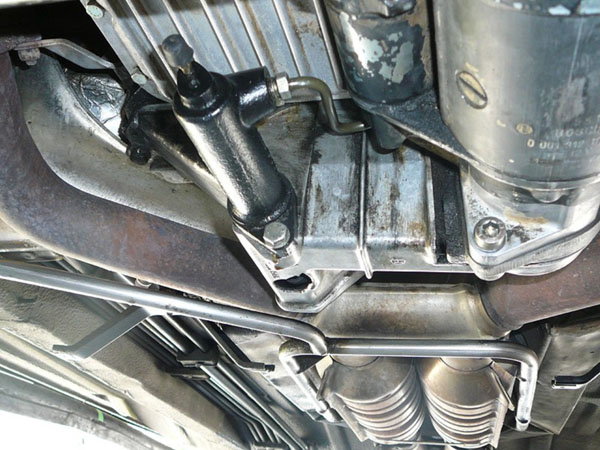
Over time, the seal of the piston in the clutch slave cylinder may deteriorate or weaken, making it prone to leak. It will leak down from the bell housing to the floor. Inspect the bell housing to make sure it is dry underneath. A dry housing indicates that there are no leaks.
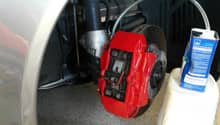
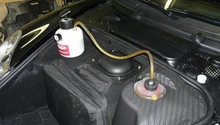
Step 3 – Connect a power bleeder to the brake reservoir
Use a power bleeder the same way you would bleed the brakes. Connect the power bleeder to the brake fluid reservoir, and make sure the power bleeder is pressurized.

Pro Tip
It is also possible to use more simple power bleeding devices. For example, you can attach a hose to an inflated tire's valve stem to bleed the brake fluid reservoir.
Featured Video: How to Bleed Your Brakes
Step 4 – Bleed the clutch slave cylinder
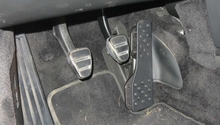
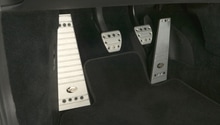
While the power bleeder is pressurizing the brake fluid reservoir, get under the car to loosen the bleeder valve on the clutch slave cylinder using an 11mm open ended spanner. Depress the clutch several times while bleeding. If necessary, add more brake fluid in the reservoir.
When you get clear brake fluid out with no debris, you are finished. Make sure to tighten the bleeder valve to a snug fit after finishing. Don't tighten it too tight.
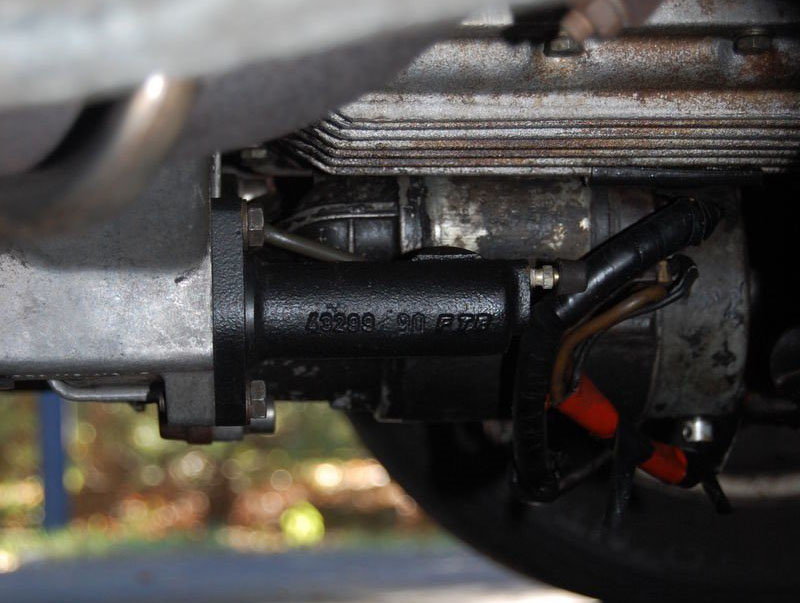
Figure 3. Clutch slave cylinder with the bleed valve to the right. 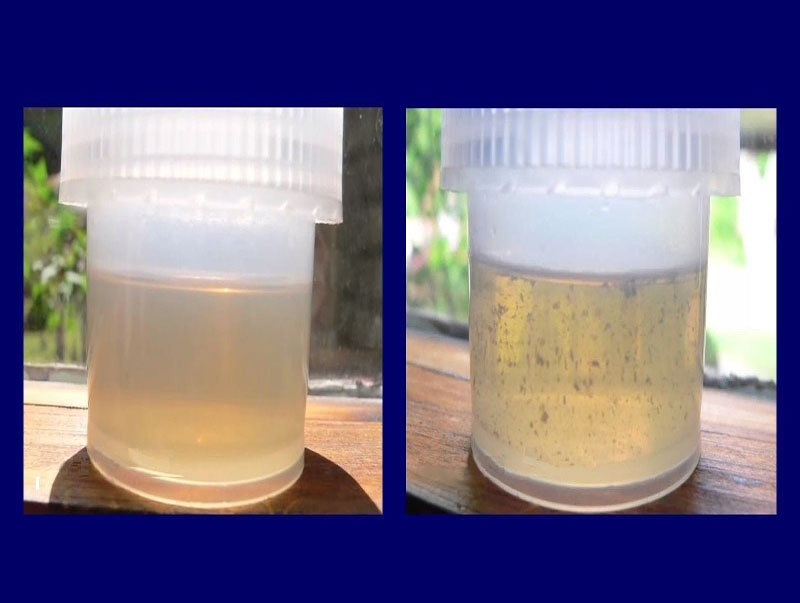
Figure 4. Clean clutch fluid on the left compared to clutch fluid with debris to the right.
Warning
Since bleeding means that you are removing brake fluid, you must absolutely make sure that the brake fluid reservoir does not run dry. If the reservoir runs dry, you will introduce air in the brake system. In that case, you will need to bleed the whole brake and clutch system to ensure that there are no air bubbles. Driving with air in the brake system is very dangerous.
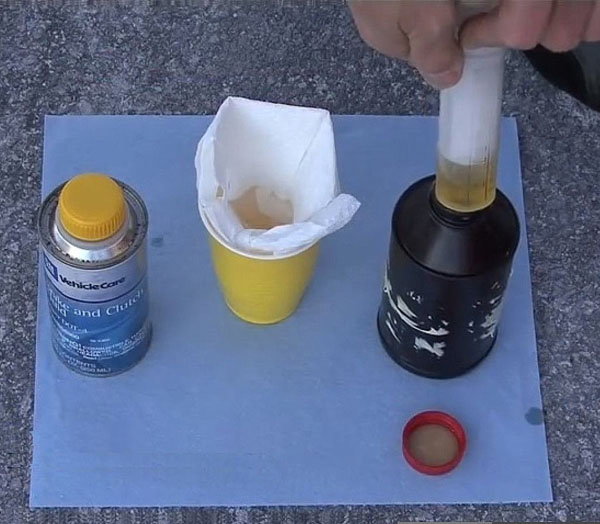
Step 5 – Clean up
Put the clutch fluid that you just bled out in a container, and properly dispose it. Clutch fluid is hazardous to car paint and to the environment, so dispose of it somewhere assigned by the local authorities.
Bleeding/flushing the clutch fluid as described above can be done every time the brake fluid is changed. Clean brake and clutch fluid is a cheap way to ensure that the brakes as well as the clutch works under all circumstances. This system should be serviced bi-annually as regular maintenance. With regular servicing, and not abusing the clutch with bad habits, your manual transmission will continue to shift smoothly for years to come.
Related Discussions, and Site
- Bleeding Clutch Slave Cylinder - Rennlist.com
- Another Way to Save Time on the Clutch Hydraulics - Rennlist.com
- Clutch Care - RangerAcceleration.com
- Clutch Replacement Dragging Problems - Rennlist.com
- Awesome Clutch System Bleeding etc for Dummies - Rennlist.com