Porsche 928: How to Replace Brake Fluid Reservoir
The brake reservoir can possibly leak, leading to brake fluid eating away at various components. Here's how to replace it yourself.
This article applies to the Porsche 928 (1979-1985).
Servicing your Porsche's braking system is crucial to the safety of you and your passengers. Braking systems all comprise of many common parts such as brake pads, rotors, and calipers. One other constant is the brake fluid. It is necessary to "bleed" your brakes and introduce new fluid to clear the system of trapped air and ensure a solid pedal feel. This step is equally as important, if not more important, than properly torquing down your wheels! However, sometimes it may be necessary to completely replace a brake component, such as the brake reservoir, due to failure or repair.

Materials Needed
- Flat head screwdriver
- Assorted wrenches
- Baster
- Drain pan
- Dow corning sealant
- Clear, slim and long tube
- Vice grips
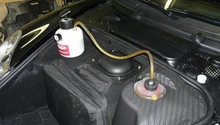
Step 1 – Remove old brake fluid
Before the reservoir can be removed, the old fluid must be taken out.
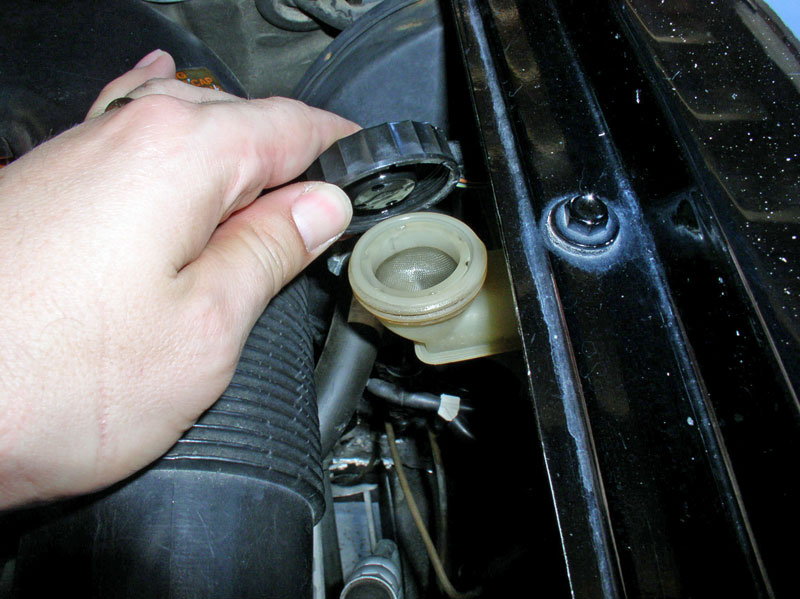
- Remove reservoir cap and use baster to "suck" old fluid out.
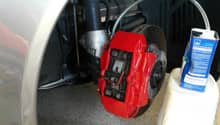
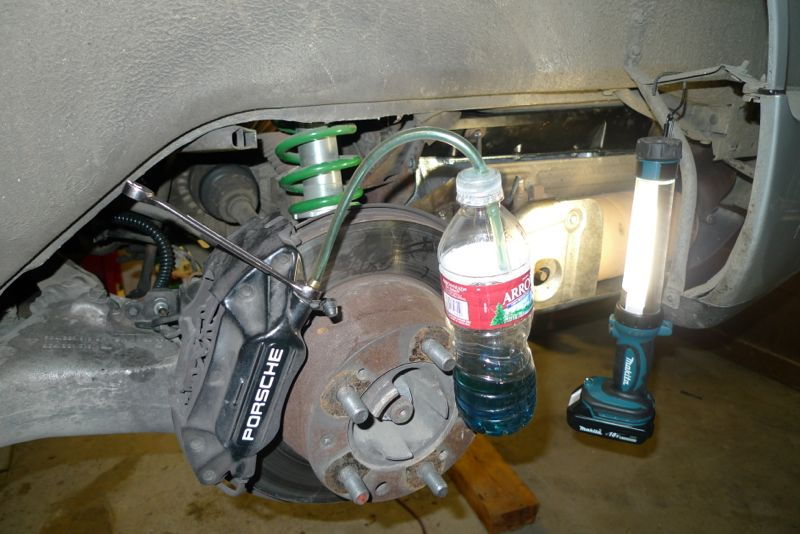
- Loosen lug nuts on the wheels, raise vehicle, remove the wheels, and loosen the two "bleeder screws" on brake caliper.
- Attach clear tube to bleeder ports and have a friend press the brake pedal to expel old fluid through caliper(s).
Related Articles:
- Porsche 928: How to Jack Up Your Car - Rennlist.com
- Porsche 928: How to Replace Brake Fluid - Rennlist.com
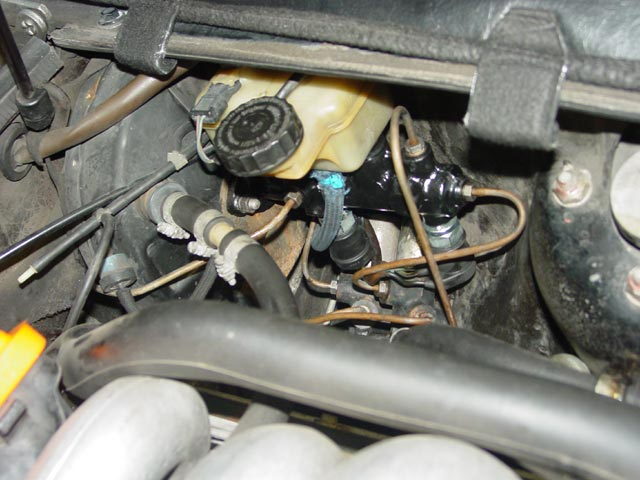
Step 2 – Remove old reservoir
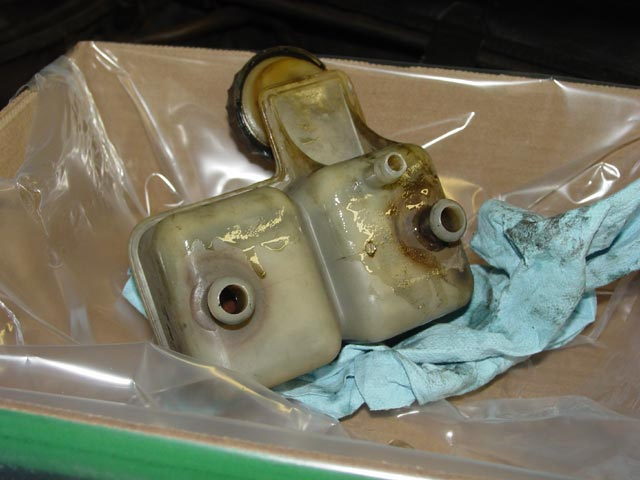
Now that the reservoir is expelled of old fluid, the reservoir can be removed for replacement. Remove everything that's connected to the brake reservoir.
- Remove vacuum line.
- Disconnect brake lines.
- Twist the reservoir to its side.
- Using a pry bar or flat head screwdriver, pry underneath the reservoir.
- Wiggle the unit back and forth until it comes loose.
Pro Tip
The reservoir, if never removed since factory, will definitely be an exercise in futility. Go slow and pry often.
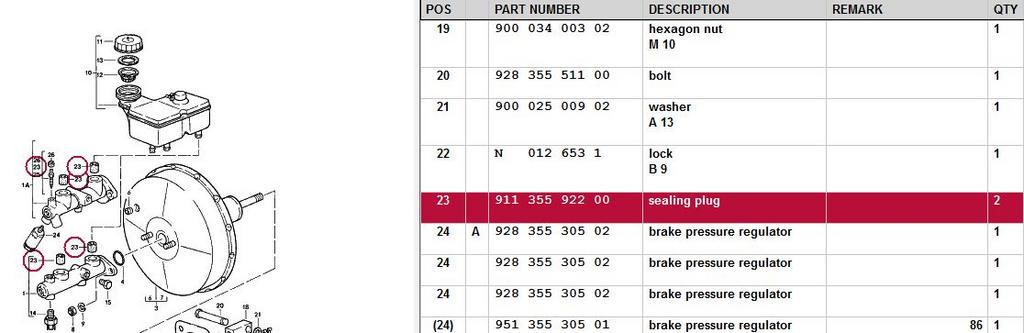
Step 3 – Replace seals/grommets
There are rubber seals or grommets which connect the reservoir to the master cylinder. These can be a source of a leak and should always be replaced when replacing a brake fluid reservoir.
- Pry old seals using flat head screwdriver.
- Affix new seals into master cylinder.
Step 4 – Install new reservoir
With the new seals in place, the new reservoir can be installed.
- Installation is the reverse of removal.
- Install reservoir onto master cylinder.
- Reconnect brake lines and vacuum line in the same ports they were in on the old reservoir.
Step 5 – Add new fluid
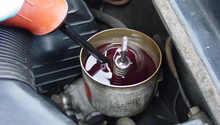
Add new fluid in the reservoir, pump the brake pedal a few times, then add some more fluid all the way to the proper line on the reservoir.
Related Discussions
- Brake Bleed Procedure - Rennlist.com
- Replacing Brake Reservoir - Rennlist.com
- More Information on Removing Brake Reservoir - Rennlist.com