Porsche 928: How to Repair Broken Odometer
Has your odometer stopped counting your miles in your Porsche 928? This article explains how to repair a broken odometer.
This article applies to the Porsche 928 (1979-1995).
Your odometer has one job–to keep track of the distance traveled. When it fails, it can cause some title issues as the mileage becomes exempt. Not only that, but it can also throw off your scheduled service intervals and inadvertently cause trouble to your engine. Do not worry; even though accessing the odometer requires gentle and precise handiwork, the provided instructions will effectively inform you on how to remove and repair your Porsche 928 odometer.

Materials Needed
- 13mm wrench
- 27mm socket
- 10mm socket
- Screwdriver
- 5mm Allen socket
- Pliers
- Flathead screwdriver
Step 1 – Remove the steering wheel
- Open the hood and disconnect the negative battery cable.
- Gently pry open the horn cover and disconnect the horn wire to reveal the steering wheel nut.
- Use a 27mm socket to break the steering wheel nut loose.
- Remove the steering wheel.
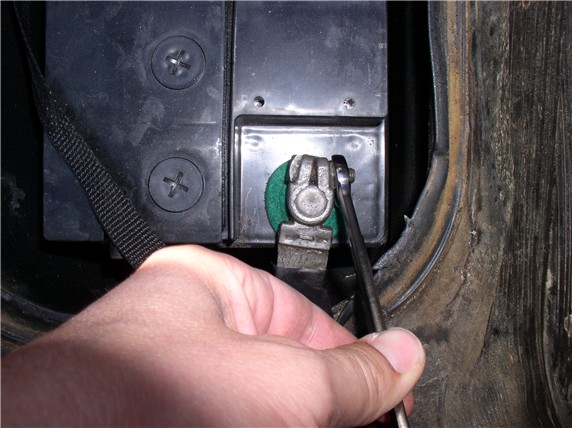
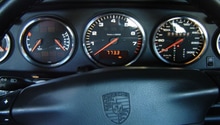
Figure 1. Disconnect the negative battery cable. 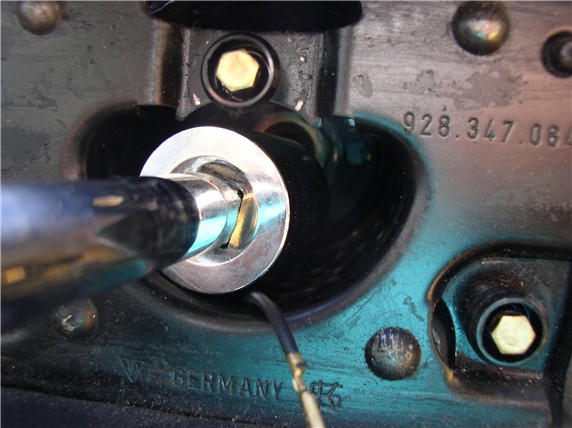
Figure 2. Loosen the steering wheel nut.
Step 2 – Remove the lower steering wheel panels
- Press the tilt wheel down.
- Find the lower access panel mounting screws and remove them.
- Remove the lower access panel.
- Remove the two 10mm bolts that mount the steering accessories to the gauge pod.
- Remove the screw for the lower steering wheel cover.
- Remove the cover.
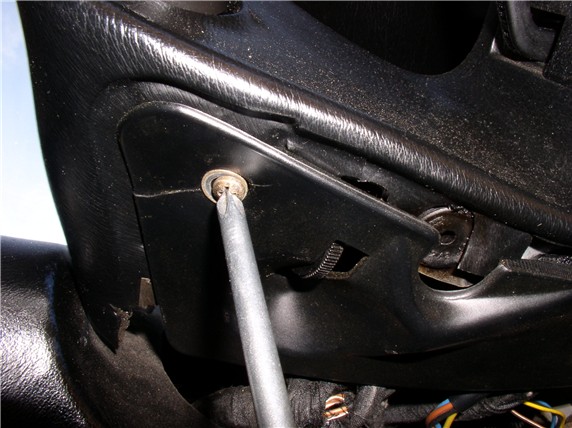
Figure 3. Remove the screws for the lower steering column. 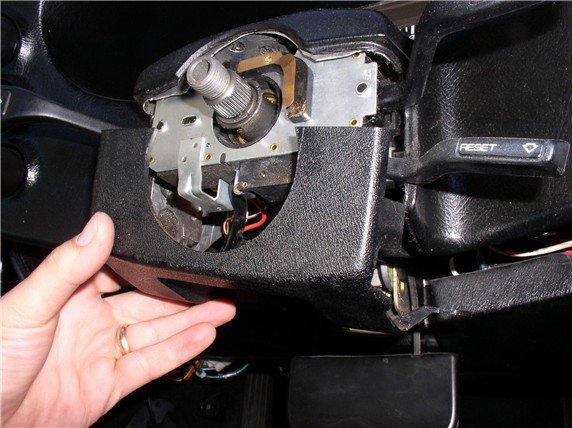
Figure 4. Remove the lower steering panel.
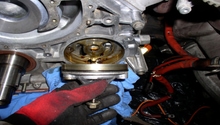
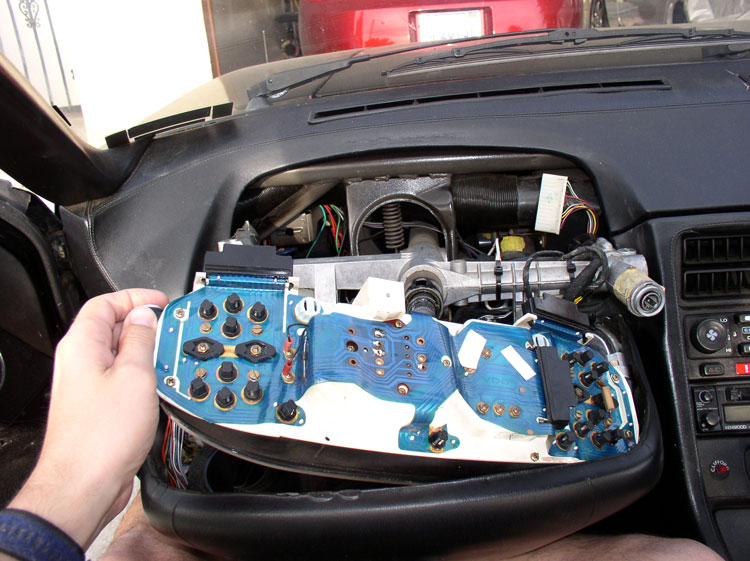
Step 3 – Remove the gauge pod
- Remove the Allen key bolt under the ignition switch and on the left underside of the pod.
- Pry off the key lock cylinder grommet.
- Pull out the gauge pod to access the accessory cluster switches on the steering wheel.
- Pull out and disconnect the cruise/signal/wiper cluster module off the steering column.
- Disconnect the instrumental panel plugs on from behind the cluster.
- Remove the gauge pod.

Figure 5. Remove the two Allen 5mm key bolts from under ignition switch and instrumental panel. 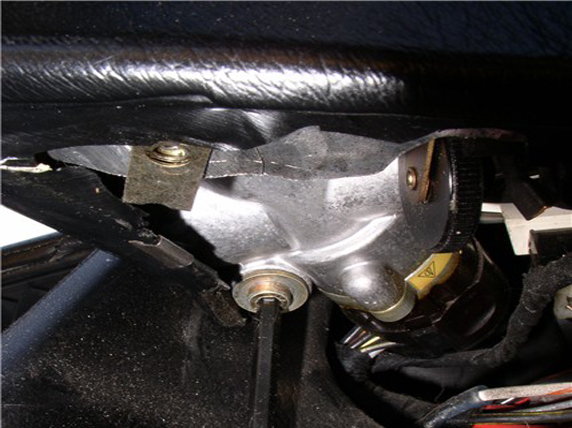
Figure 6. Remove the Allen key bolt from the ignition switch. 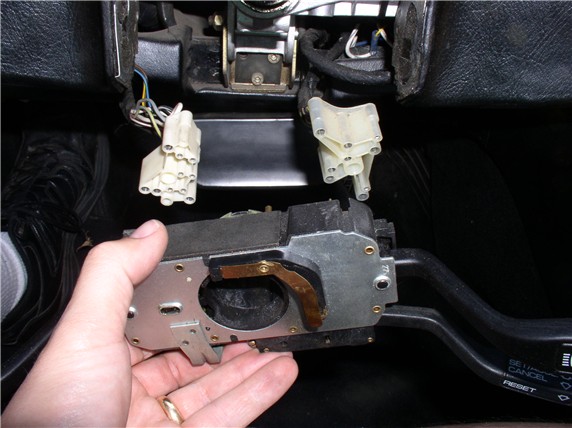
Figure 7. Remove the cruise/wiper/signal cluster from the steering column. 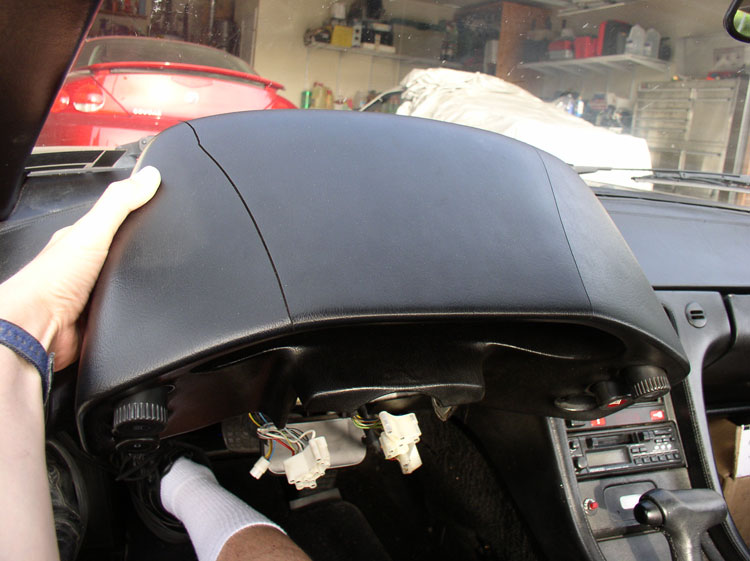
Figure 8. Remove the gauge pod.
Pro Tip
When removing the cluster module off the steering column, check for a clamping bolt. If there, loosen the bolt then remove the cluster.
Step 4 – Remove the gauge cluster
Lift the cluster from its left side and remove it from the gauge pod.
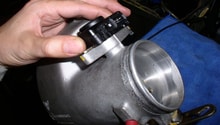
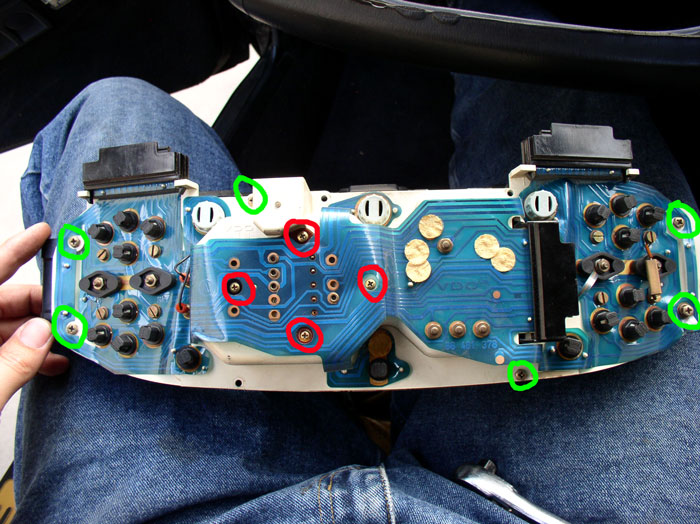
Step 5 – Remove the odometer
- Place the instrumental cluster face down on a flat surface.
- Loosen the six screws (marked in green in Figure 10) from the back of the cluster to remove the plastic cover.
- Remove the four screws (marked in red in Figure 10) that mount the odometer to the cluster.
- Pull upwards to remove the odometer.
Step 6 – Disassemble the odometer
The odometer is an electro magnetic mechanism that utilize a set of gears. When the teeth age, they may become brittle or stuck. This causes the odometer to stop turning. To access the gears, the odometer must be disassembled.
- Gently pry off the needle from the speedometer and remove the face plate.
- Loosen the four flat head screws that hold the odometer together, then separate the two halves of the unit.
- Use a small pin to push out the drum gear pin and, once accessible, pull it out with a pair of pliers.
- Use the pliers to remove the drum gear.
- Remove the circlips from the first and intermediate gears.
- Use pliers to pull off each gear.
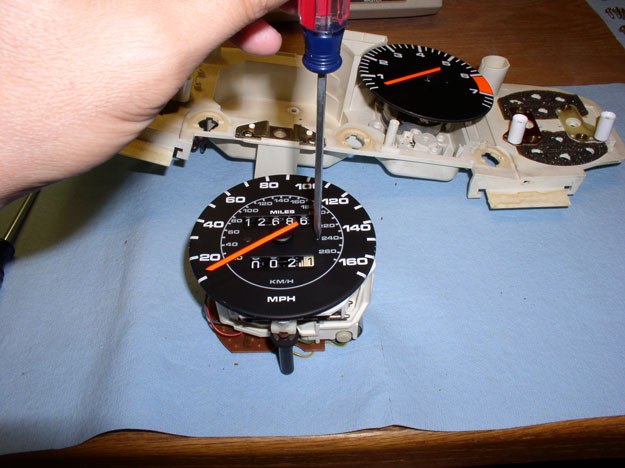
Figure 11. Remove the screws on the face plate. 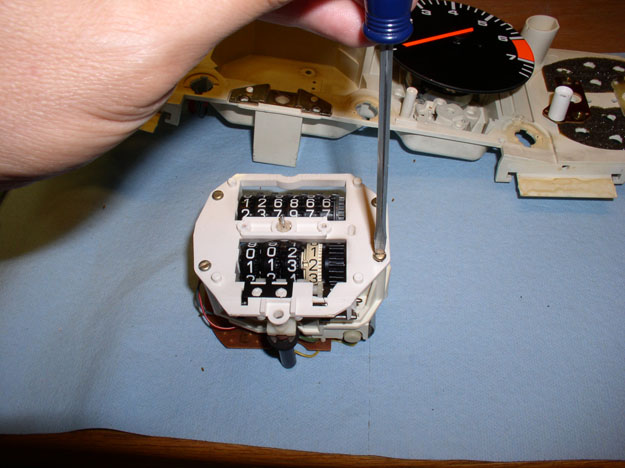
Figure 12. Remove the odometer screws. 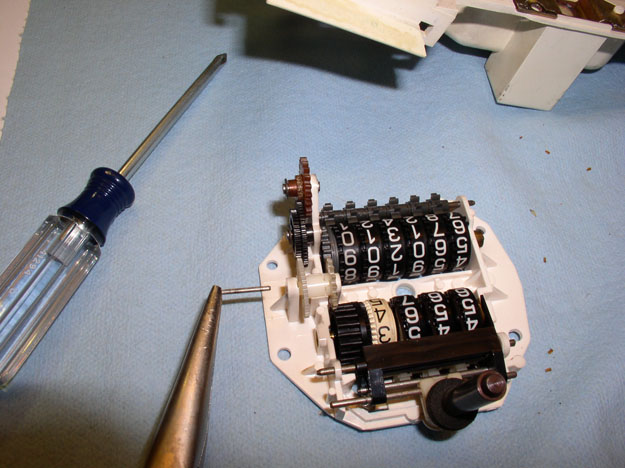
Figure 13. Remove the drum gear pin. 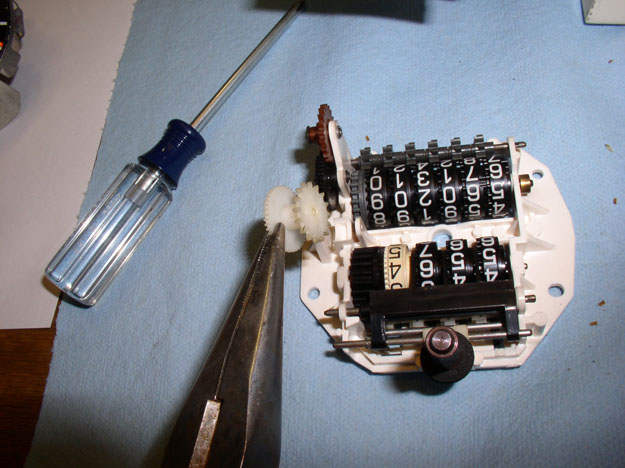
Figure 14. Remove the drum gear. 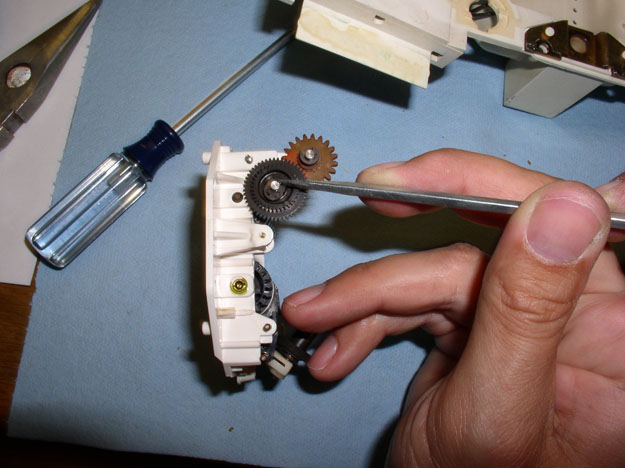
Figure 15. Remove the circlips. 
Figure 16. Remove the intermediate and first gears.
Step 7 – Replace the damaged gears
Before installing any of the new gears, be sure to use a file to smooth out any of the rough surfaces on the replacement pieces. Sometimes, the gears can have plastic in between their teeth causing the gears to get stuck when they are supposed to spin.
- Mount the first and intermediate gear with their respective circlips.
- Check the gears and ensure they spin freely.
- Install the drum gear and pin.
- Make sure the gears are spinning freely.
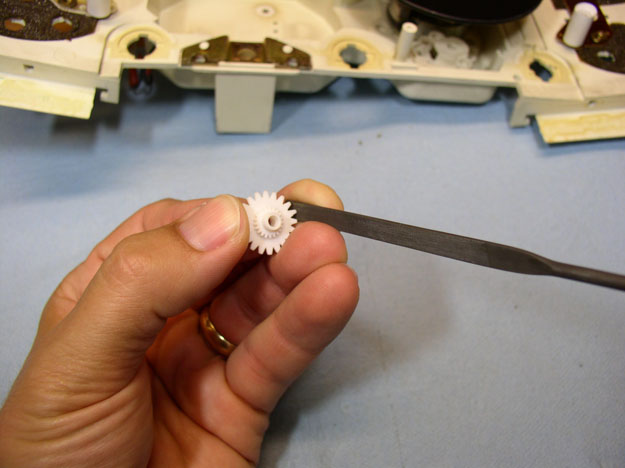
Figure 17. File down the plastic gears. 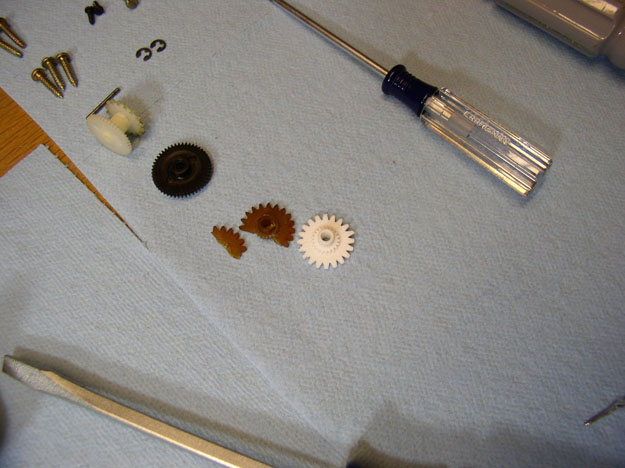
Figure 18. Replace the damaged gears. 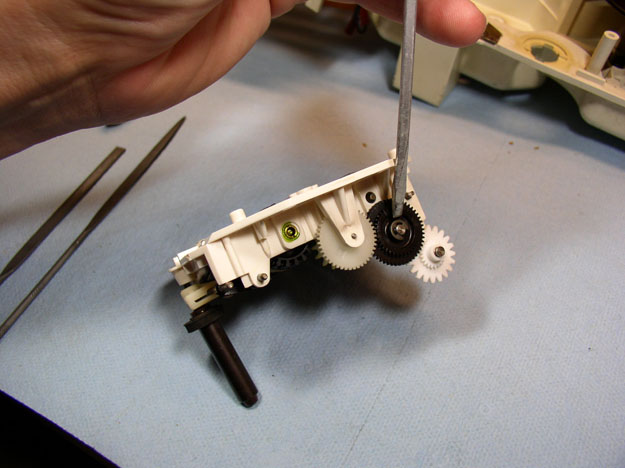
Figure 19. New gears installed.
Step 8 – Adjust the odometer tumblers
- Remove the tumbler shaft pin.
- Slide a washer on the end just before the 100,000 mile tumbler to make up for any gaps that may have be created.
- Reinstall the tumblers and adjust the mileage.
- Insert the tumbler shaft pin and turn it to make sure all of the tumblers spin correctly.

Figure 20. Remove the tumbler shaft. 
Figure 21. Install a washer on the tumbler shaft. 
Figure 22. Install and adjust the tumblers.
Step 9 – Assemble the odometer
- Put the two halves back together and tighten the screws.
- Attach the face plate by tightening its two screws and mount speedometer needle.
- Reset the magnetic cylinder and mount the odometer.
- Check the odometer reset button.

Step 10 – Mount and assemble the gauge pod
- Mount the four screws for the odometer on the cluster.
- Reinstall the plastic cover for the cluster.
- Slide the cluster into the gauge panel and reconnect the wire clips.
- Push the gauge pod into the dash.
- Mount the cruise control/wiper/signal cluster and connect the wire clips.
- Install the ignition grommet.
- Tighten the gauge pod mounting Allen key bolts.
- Reinstall the plastic trim pieces.
- Mount the steering wheel and reconnect the horn.
- Connect the battery.
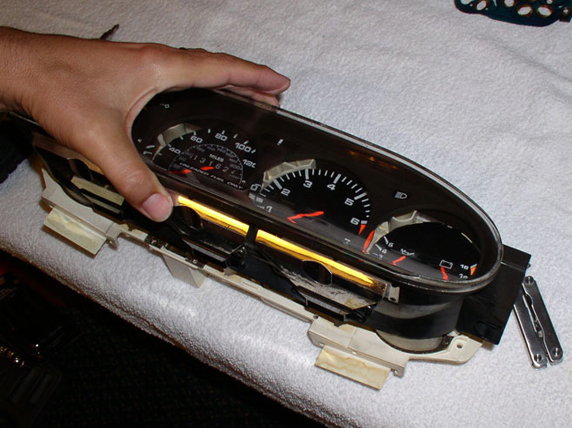
Figure 24. Reassemble the gauge cluster. 
Figure 25. Reinstall and connect the steering wheel.
Related Discussion
- Odometer Repair Procedure with Pics - Rennlist.com