Porsche 993: How to Install Car Stereo
Upgrade your sound today with our handy, step-by-step guide on car stereo installation.
This article applies to the Porsche 993 (1993-1998).
Let's face the facts – factory-installed car stereos are not as good as aftermarket ones. While the industry has made strides in recent years, owners of older model cars are stuck with some pretty awful sound. Thankfully, upgrading your car stereo is a relatively easy and inexpensive upgrade that anyone with an appreciation for music should undertake. It's the first step towards upgrading any sound system and a must if you plan on replacing factory speakers or adding an amplifier and subwoofer. Keep reading to learn about the installation process.

Materials Needed
- Wire cutters
- Wiring harness
- Car stereo removal tool
- Wire connectors
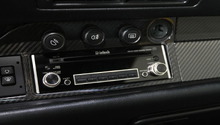
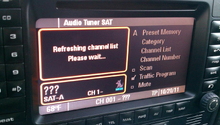
Step 1 – Remove the old car stereo
Disconnect the negative battery terminal before you begin. Look at each side of the factory car stereo and you will see a small notch. Insert each piece of the car stereo removal tool in each notch until you hear a click. Pull outward slightly on each piece of the tool and pull the radio towards you; it should slide out easily. Once you pull the radio out, remove all of the wiring plugged into the back side.
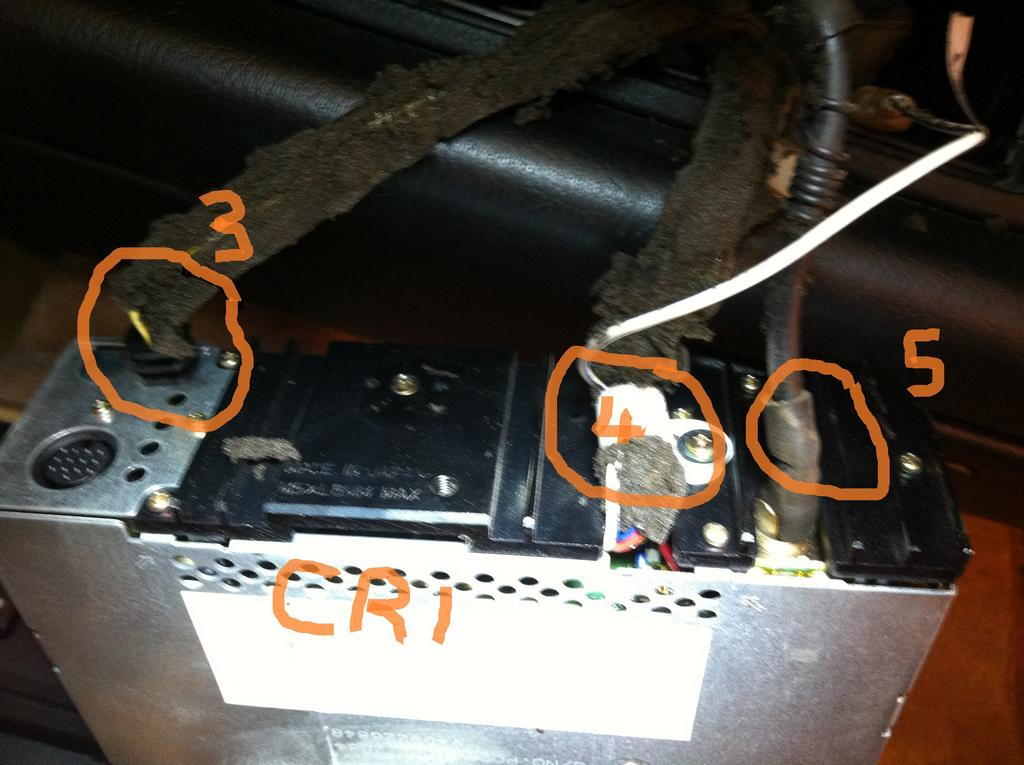
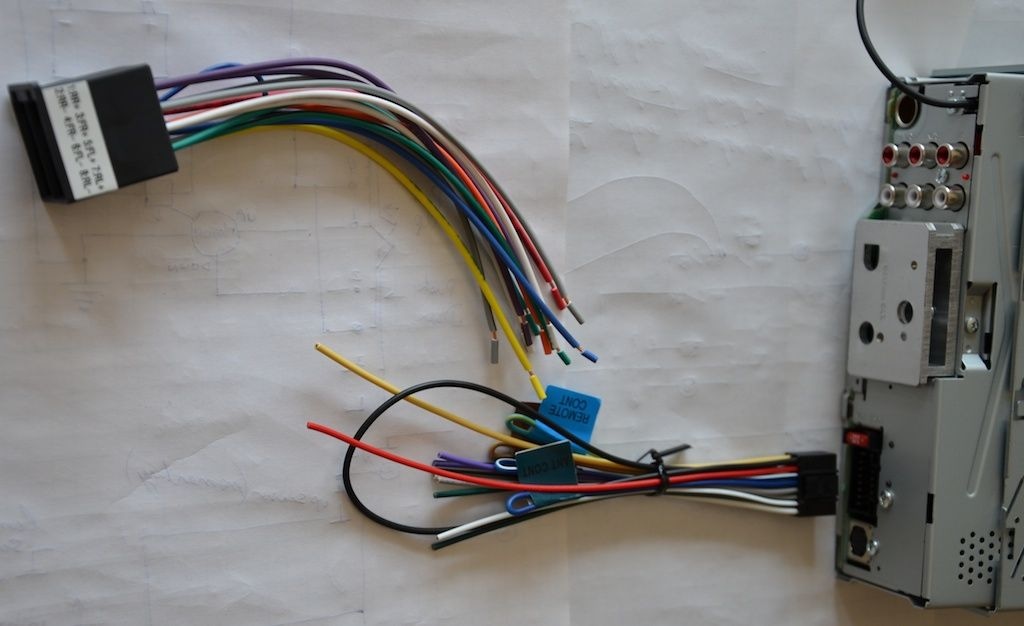
Step 2 – Install wiring harness
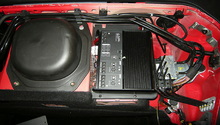
While it is possible to simply splice wires, spending the $10 on an aftermarket wiring harness will make this job a lot easier and cleaner. Use the diagram that comes with the harness to match up the factory wires with the wires on the harness. Carefully cut each wire and splice it to the corresponding wire on the harness using the wire cutters/crimps and wire connectors. You could use electrical tape in place of the connectors, but the connectors allow for a cleaner and more secure connection. Plug the antenna wire into the back of the aftermarket radio. If you are also installing an amplifier, you will want to plug in your RCA cables and run a remote wire at this time.
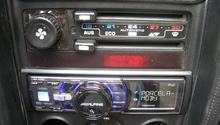
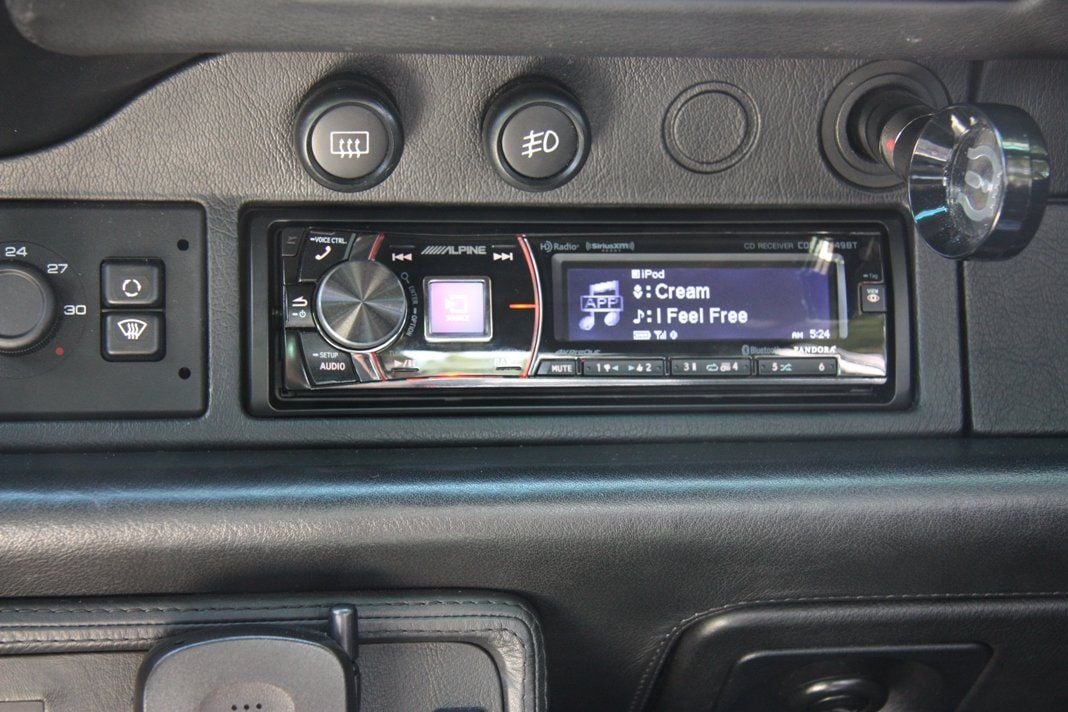
Step 3 – Install new car stereo
Once everything is wired up (including any additional wiring such as for the iPod/iPhone), it's time to put it all back together. Carefully push all that wiring back into the dash, taking your time to ensure nothing gets snagged or pulled out of its connector. Try and ensure all the wiring is out of the way and won't be disturbed by the new stereo. Then, carefully push the radio back into the dash until you hear it click into place. Replace the negative battery cable and enjoy your upgraded sound!
Related Discussions
- Radio Installation Help Needed - Rennlist.com
- Porsche 993 Car Stereo and Phone Upgrade - Rennlist.com
- 993 Stereo and Phone Upgrade - Rennlist.com