Porsche 997: How to Install Satellite Radio
This guide will show you how to get access to satellite radio through the factory equipment in your Porsche 997.
This article applies to the Porsche 997 (2005-2012).
Satellite radio is a must have feature, but due to the complex fiber optic setup used by Porsche 997's stereo, it is not a simple task. The 997 discontinued their own adapter for it, but there are others available made by NAV-TV, Dension and Cartronics. These harnesses are not cheap, but they come with everything you need including the antenna, tuner, and fiber optic cabling. Follow the instructions and you'll soon be listening to your favorite stations.

Materials Needed
- Satellite radio interface kit
- Torx screwdriver
- Flat head screwdriver
- Allen wrench
- Soft pry tool
- Pick tool
Disconnect the battery before you begin. Make sure that the kit you install is compatible with your version of PCM.
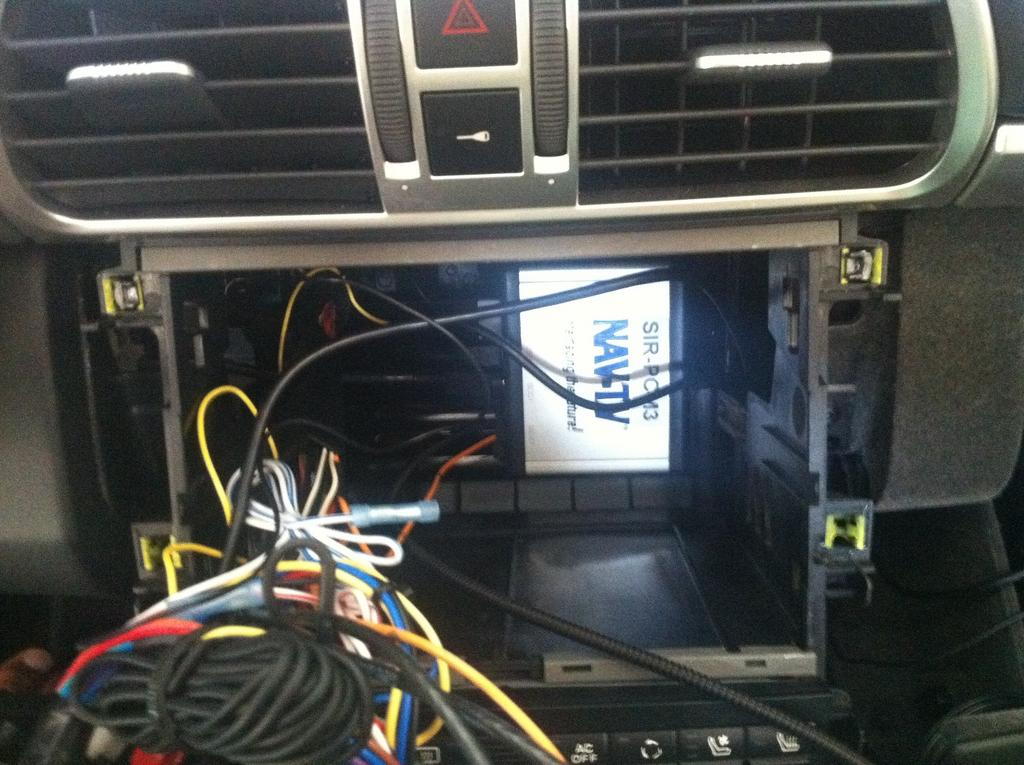
Step 1 – Remove the PCM
Remove the screws at the bottom of the side panels in the footwell areas. Pry out the side panels on either side of the PCM. Remove the long bolt on the passenger's side of the PCM, then untwist each of the four Allen screws a quarter turn counter-clockwise. Slide the PCM out and disconnect all the plugs.

Step 2 – Connect the fiber optic cables
Pry off the blue locks on both the factory fiber optic plug and the one that came with your kit. You should see labels for input and output. Hold back the little tab to pull out the cable on the output side of your factory plug. Insert the fiber optic cable from the kit into the output of your factory plug. Then, plug the factory cable you just removed into the kit plug's output. Double check that the interface output leads to the factory input.

Pro Tip
Be careful not to twist or kink the fiber optic cable or it will cause issues with your stereo.
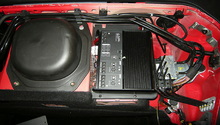
Step 3 – Mount and connect the interface
Find a place to mount the interface where it will be secure. Connect the fiber optic plug and electrical harness to the interface.
Pro Tip
The space inside the PCM compartment won't fit both the interface and the satellite radio tuner, so you may have to remove the dashboard to mount the other device if you want it hidden.
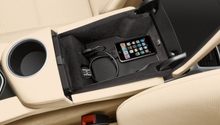
Step 4 – Mount and connect satellite antenna and tuner
Find a secure place to mount the satellite radio tuner. Then, find a place to set the the antenna. Connect the antenna wire to the radio tuner. Connect the radio tuner harness to the interface.

Pro Tip
It's recommended you place the antenna somewhere outside the car to get the best signal.
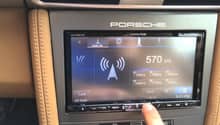
Step 5 – Connect the PCM
Connect the interface harness and the fiber optic plug to the PCM, then reconnect the other plugs. Slide it back into its compartment. Tighten the Allen screws and the long bolt. Then, return the side panels. Reconnect the battery and activate the satellite radio on your PCM.

Related Discussions
- DIY on Porsche OEM Install - Rennlist.com
- Satellite Radio in a 997 C4S - Rennlist.com
- Aftermarket Satellite Radio Options - Rennlist.com
- 997.2 Satellite Radio Retrofit - Rennlist.com
- Dension Install - Rennlist.com