Porsche 993: How to Paint Brake Calipers
Painted calipers on your car can make a great statement. Doing the project yourself is easier than you may think.
This article applies to the Porsche 993 (1993-1998).
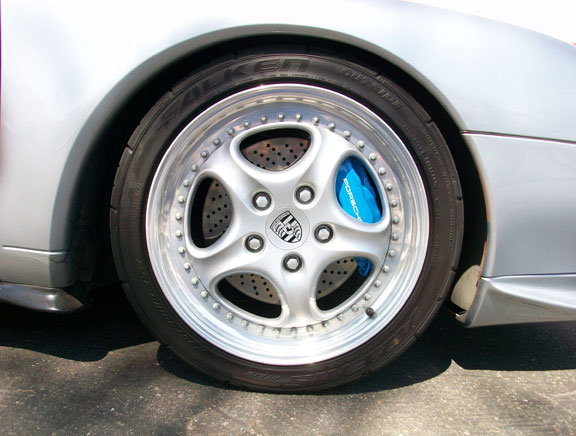
Painted calipers are something that really sets one car apart from the exact same other. Most manufacturers offer painted calipers as an additional option on cars now, but back when the 993 was being made it wasn't something available. If you wanted to have painted calipers, this was something that you were going to have to do on your own. Fortunately, this isn't a difficult project. Follow the steps below to give your Porsche this extra piece that will make it stand out from the rest of the crowd.

Materials Needed
- Masking tape
- Trash bag
- Socket set to remove your wheels
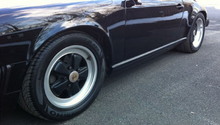
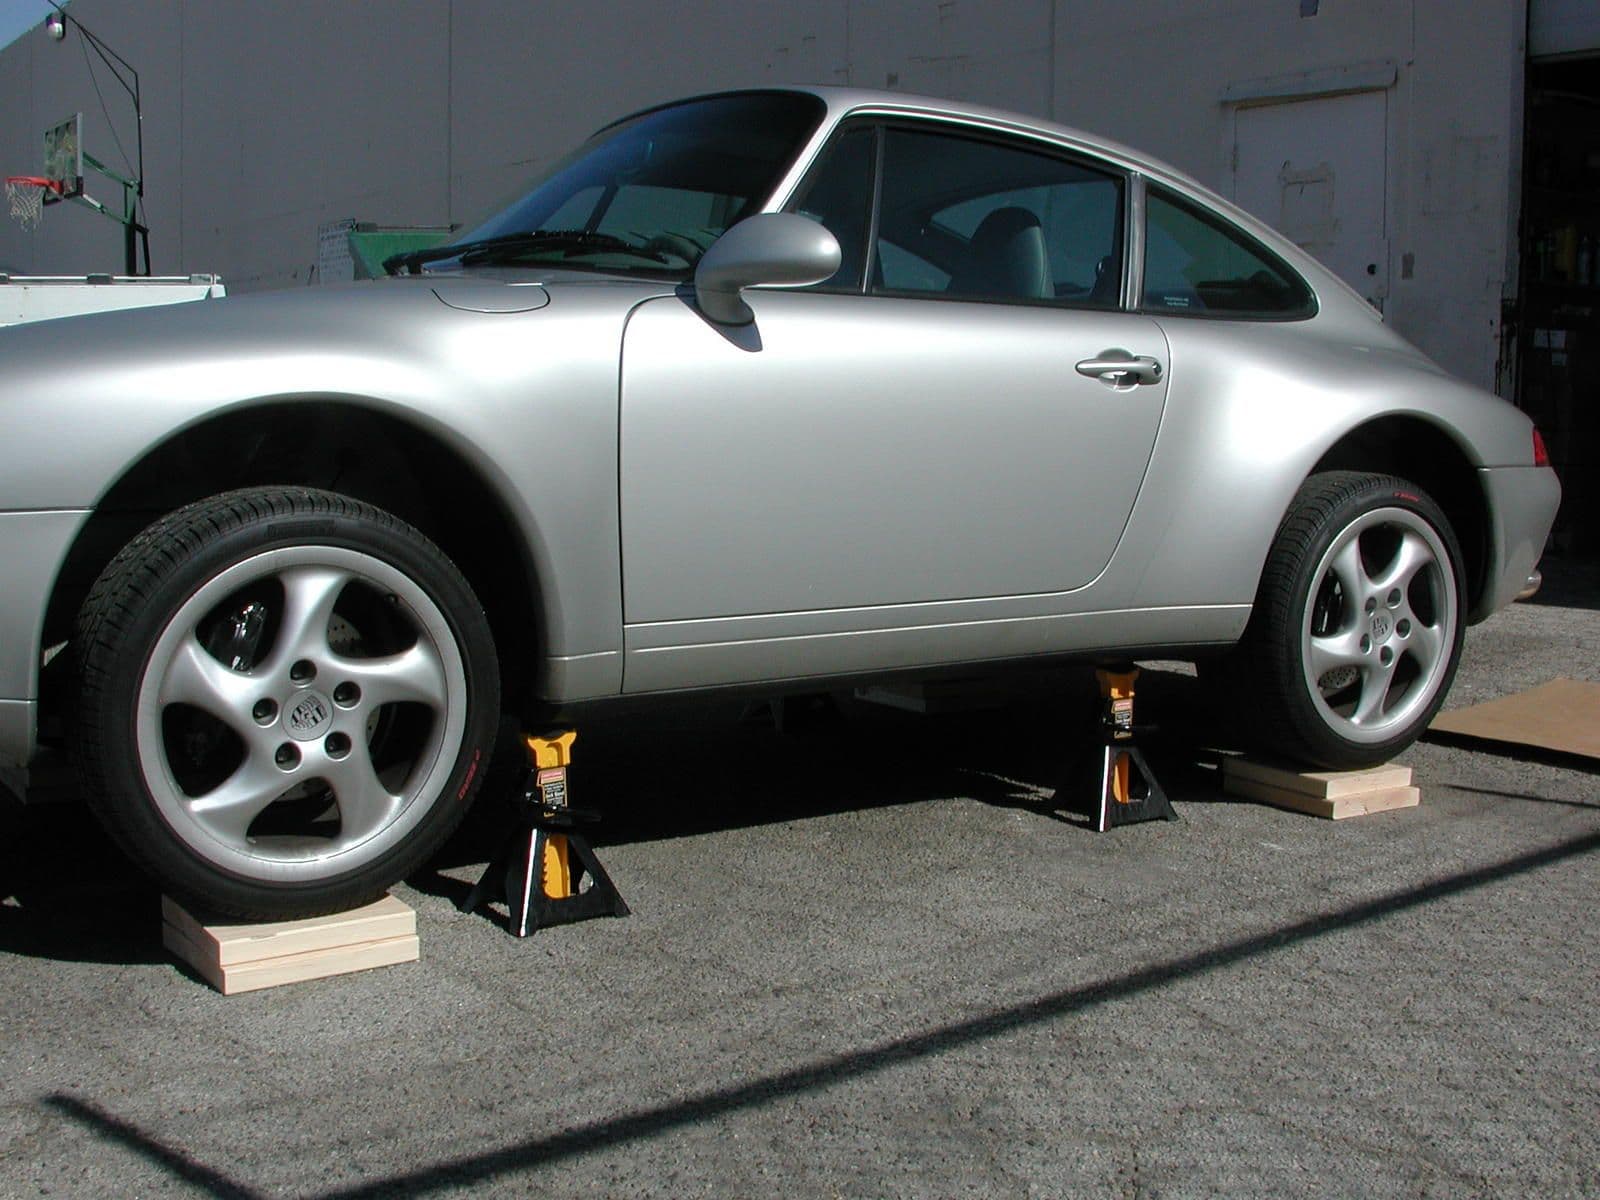
Step 1 – Remove the wheels
The first step is an obvious one. You need to jack the car up, secure it on stands, and remove the wheels that cover the calipers you are wanting to paint.
(Related Article: Porsche 993: How to Jack Up Your Car - Rennlist.com)
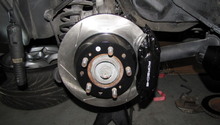
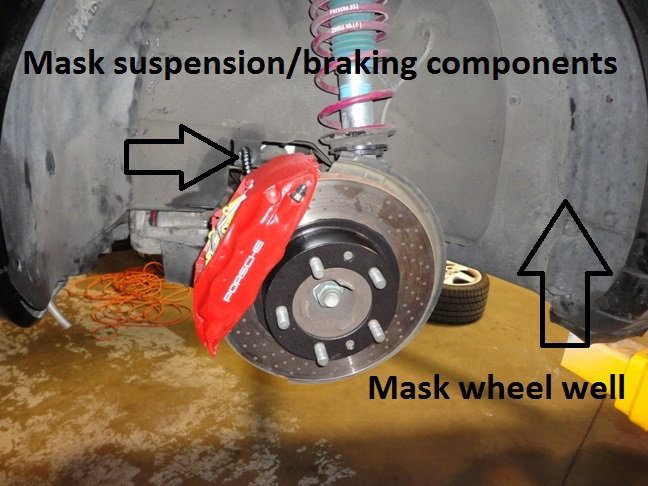
Step 2 – Mask off the rotors and brake lines
You can certainly remove the calipers if you would like; however, then you'll have to go through the process of bleeding the brake lines when it comes time to re-install them. Save yourself the work and spend the extra time on this step. Because of the ease of being able to work with the materials, cover all of the surface area you can, other than the calipers themselves, with trash bags and use masking tape to secure them. Keep in mind that it is easier to over-do the masking tape and keep paint off of areas that you don't want to get it on. Roll the masking tape over the fender to limit any over spray getting onto the paint work.
Pro Tip
If you get any over spray on a painted surface, do not worry! Over spray can be removed with a clay bar. Wet the panel and rub the clay over the panel. The clay bar will safely pull off the paint contaminates and leave the surface clean.
Step 3 – Sand off the surface of the calipers
Some people will use a fine grit sandpaper, while some kits come with a brake cleaner. Either way, it's good to clean and prep the surface that you are going to be applying paint to. The really important part is to make sure that you get all of the brake dust off the surface areas before painting. Once the surface has a dull finish, it is ready for paint. Wipe down with isopropyl alcohol or a degreaser to make sure that the calipers are clean.

Step 4 – Paint
In most kits, the paint will be thick and heavy. Because of the consistency of the paint, you'll need to be aware of the thickness that you are laying down on the caliper; make sure that you are applying it evenly. Some will paint two calipers at the same time to allow some drying and to be able to control the thickness level of the paint. Once you are pleased with the first coat, give it overnight to dry. While it may not be necessary to apply another coat the next day, you may want to do it. It's a personal preference on that option.
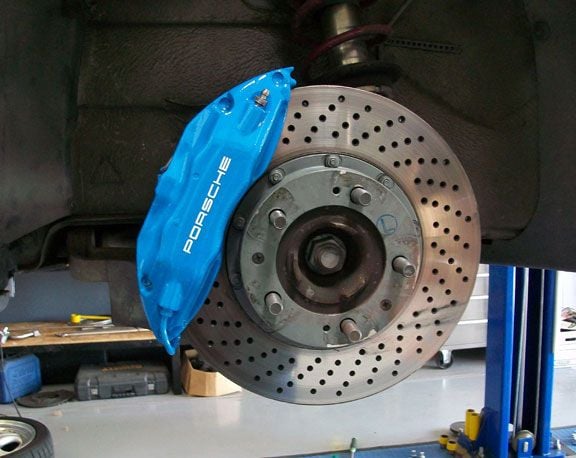
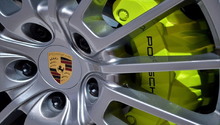
Step 5 – Porsche scripting
While by no means a requirement, some people will apply a Porsche scripting on the calipers. There are aftermarket options in various locations to purchase that item if you choose to add an additional touch to your car. A common idea is to apply a Porsche sticker on the caliper, and then lay clear coat over the whole caliper, effectively sealing the sticker in the clear.
Related Discussions
- Painting Brake Calipers (pics) - Rennlist.com
- 997 Brake Calipers - Tough to Remove? Different than 993? - Rennlist.com
- 993 Painting Calipers - Rennlist.com
- Refurbing Calipers - Rennlist.com
- Caliper Painting Advice - Rennlist.com