Porsche 993: How to Replace Oxygen Sensors
A bad oxygen sensor can cause a lot of trouble and can even affect your MPG. Don't let a failing oxygen sensor ruin your Porsche 993's performance.
This article applies to the Porsche 911 993 (1993-1998).
The oxygen sensor in your Porsche 993 plays a very important role in how your car operates. This little gadget can cause many headaches when it decides that it doesn't want to function properly any longer. The biggest reason for the headache is that it normally does not just burn out and die all at once; it is a gradual fade which goes unnoticed for quite some time before complete failure. The problem is that while it is gradually fading, it is causing your engine lots of damage that can cause bigger problems over time. You should replace your O2 sensor every 60,000 to 90,000 miles. A failure before then will definitely trigger the check engine light.
The role of your O2 sensor is to check your Porsche's exhaust and report the results to its computer. This tells your car exactly what the ideal air to fuel ratio should be for optimal performance. When this little device starts getting it wrong, you might not have a check engine light to tell you, so be in tune with your car and be sure to notice if your engine is idling really rough or missing altogether. You might also experience some engine pinging and increased vehicle emissions. Another tell tale sign is getting some really bad gas mileage; the key factor here is that when you try to accelerate, the car just seems to struggle. Knowing these signs is a great help in getting the most often misdiagnosed part of your car corrected. Follow these steps to change the O2 sensors yourself, which will save you a great deal of time and money from having a professional do this relatively simple task.

Materials Needed
- Floor jack and jack stands
- 22mm wrench
- Silver or copper-based anti-seize
- Replacement sensor '93-96 OBD (1 sensor)
- Replacement sensors '96-98 OBD-II (4 sensors)
Step 1 – Order replacement parts
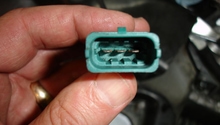
The '93-96 OBD-I cars had one oxygen sensor. The '96-98 OBD-II cars utlized four oxygen sensors. Be sure to obtain the proper replacement sensor(s) for your car so that the electrical connectors will plug in without any issues. The upstream and downstream oxygen sensors on the OBD-II cars may be different.
If you order universal oxygen sensors without a wiring-connector, be sure to only crimp, not solder, the previous wiring-connector to the new sensor. The sensors require a reference outside-air sample to function. They obtain this air through the gap between the wire-strands. Soldering that wire will obstruct the air sampling and prevent proper operation of the sensors.
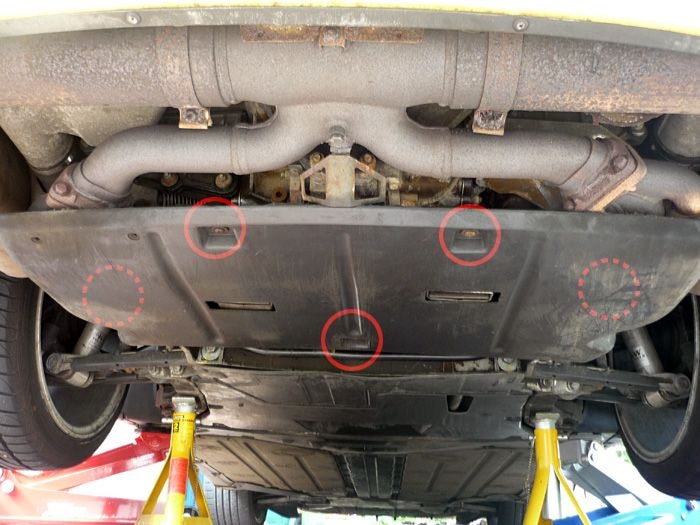
Step 2 – Jack up car, place on jack stands and remove underbody trays
- Use a floor jack to lift the car at designated points.
- Slide in jack stands.
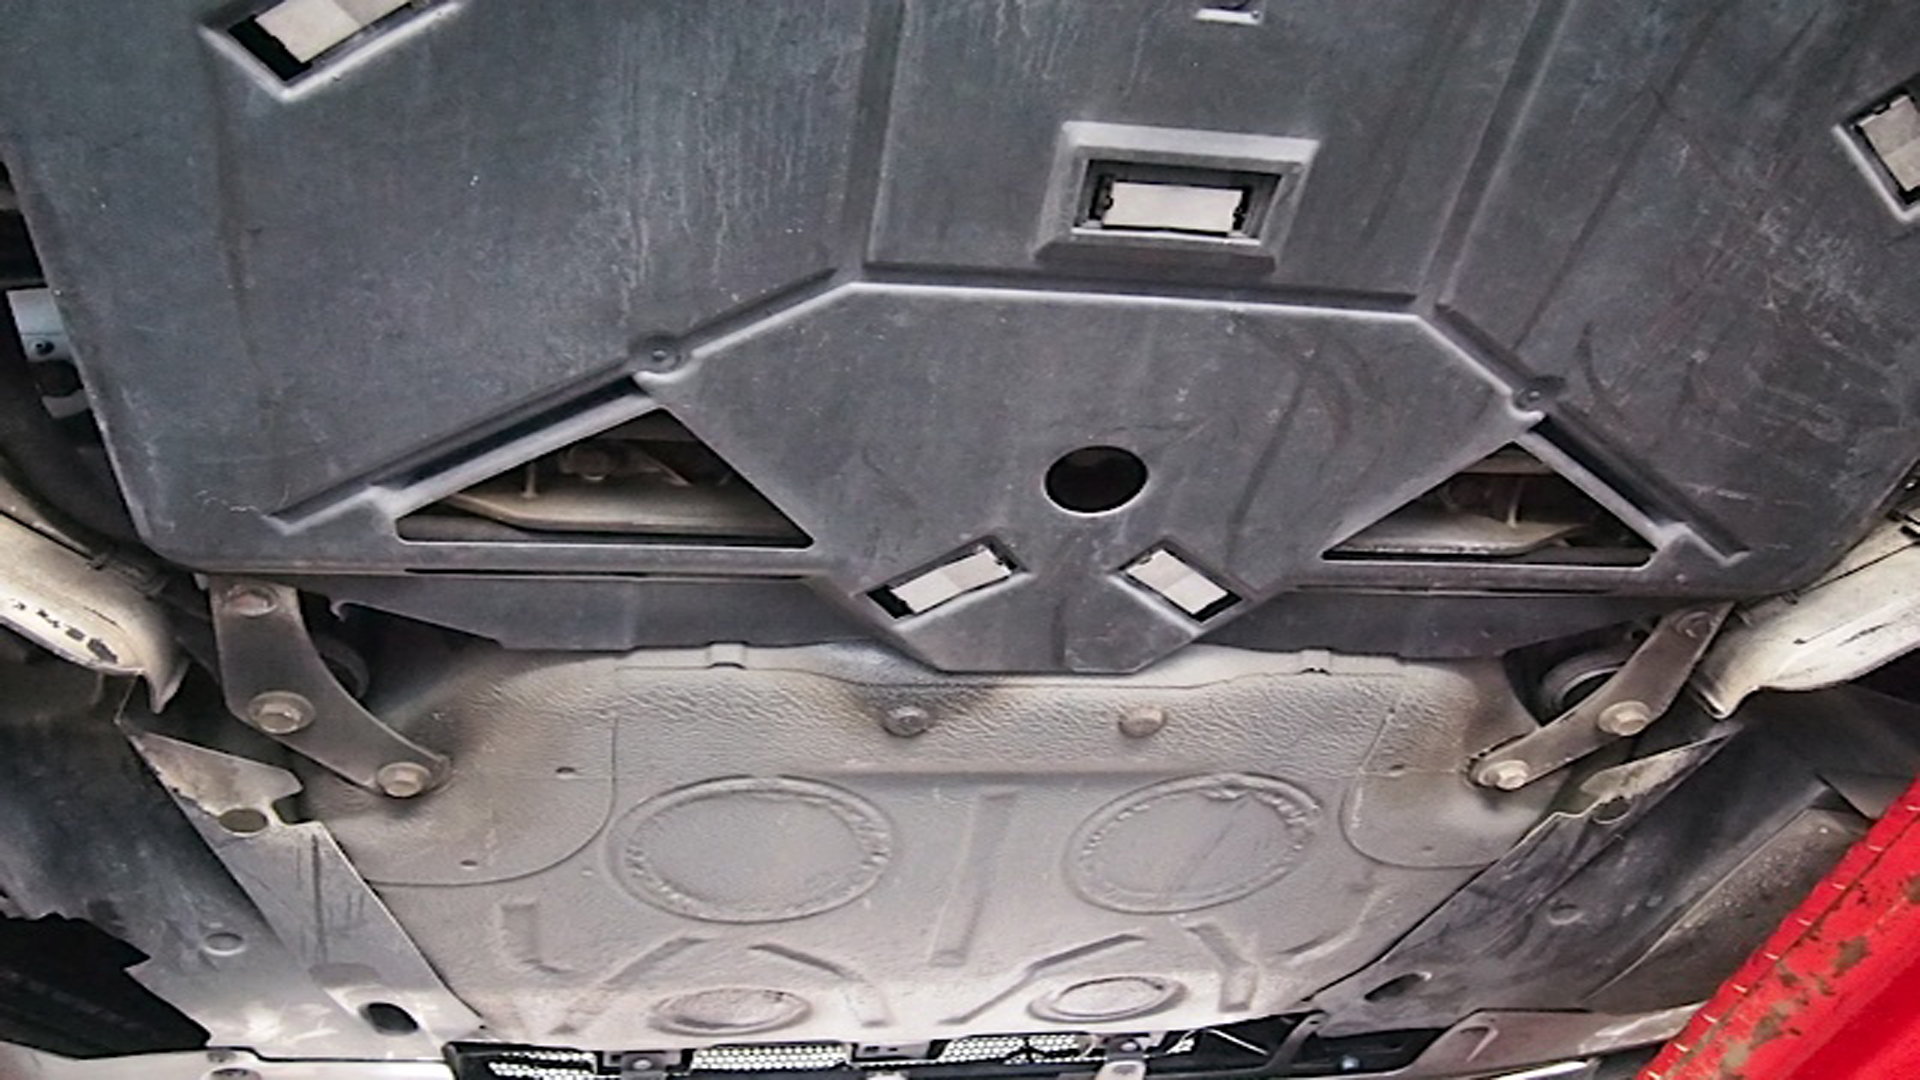
- Remove underbody tray.
- For OBD-I cars, remove the center heat-shield covering the center oxygen sensor.
Step 3 – Remove old oxygen sensors
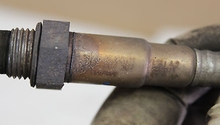
- Use a 22mm wrench to remove oxygen sensors.
- To make re-installing the wiring easier, tie a string to the old oxygen sensor connector before removing. Tie the other end to the harness-connector.
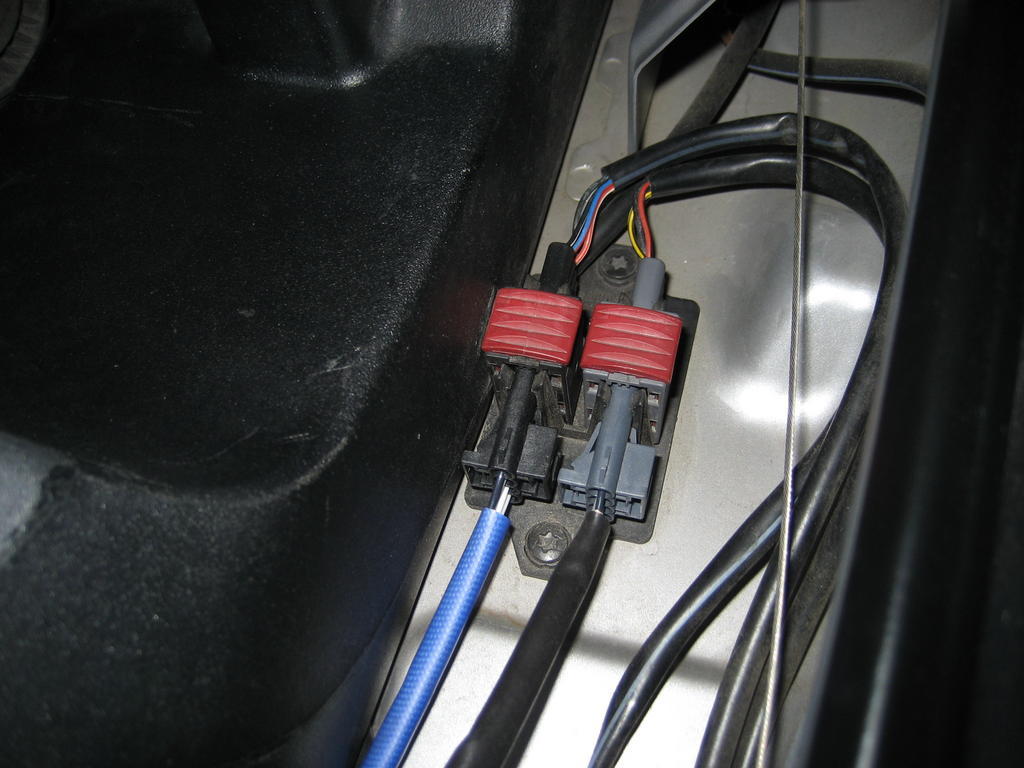
- Disconnect the plug and lower oxygen sensor.
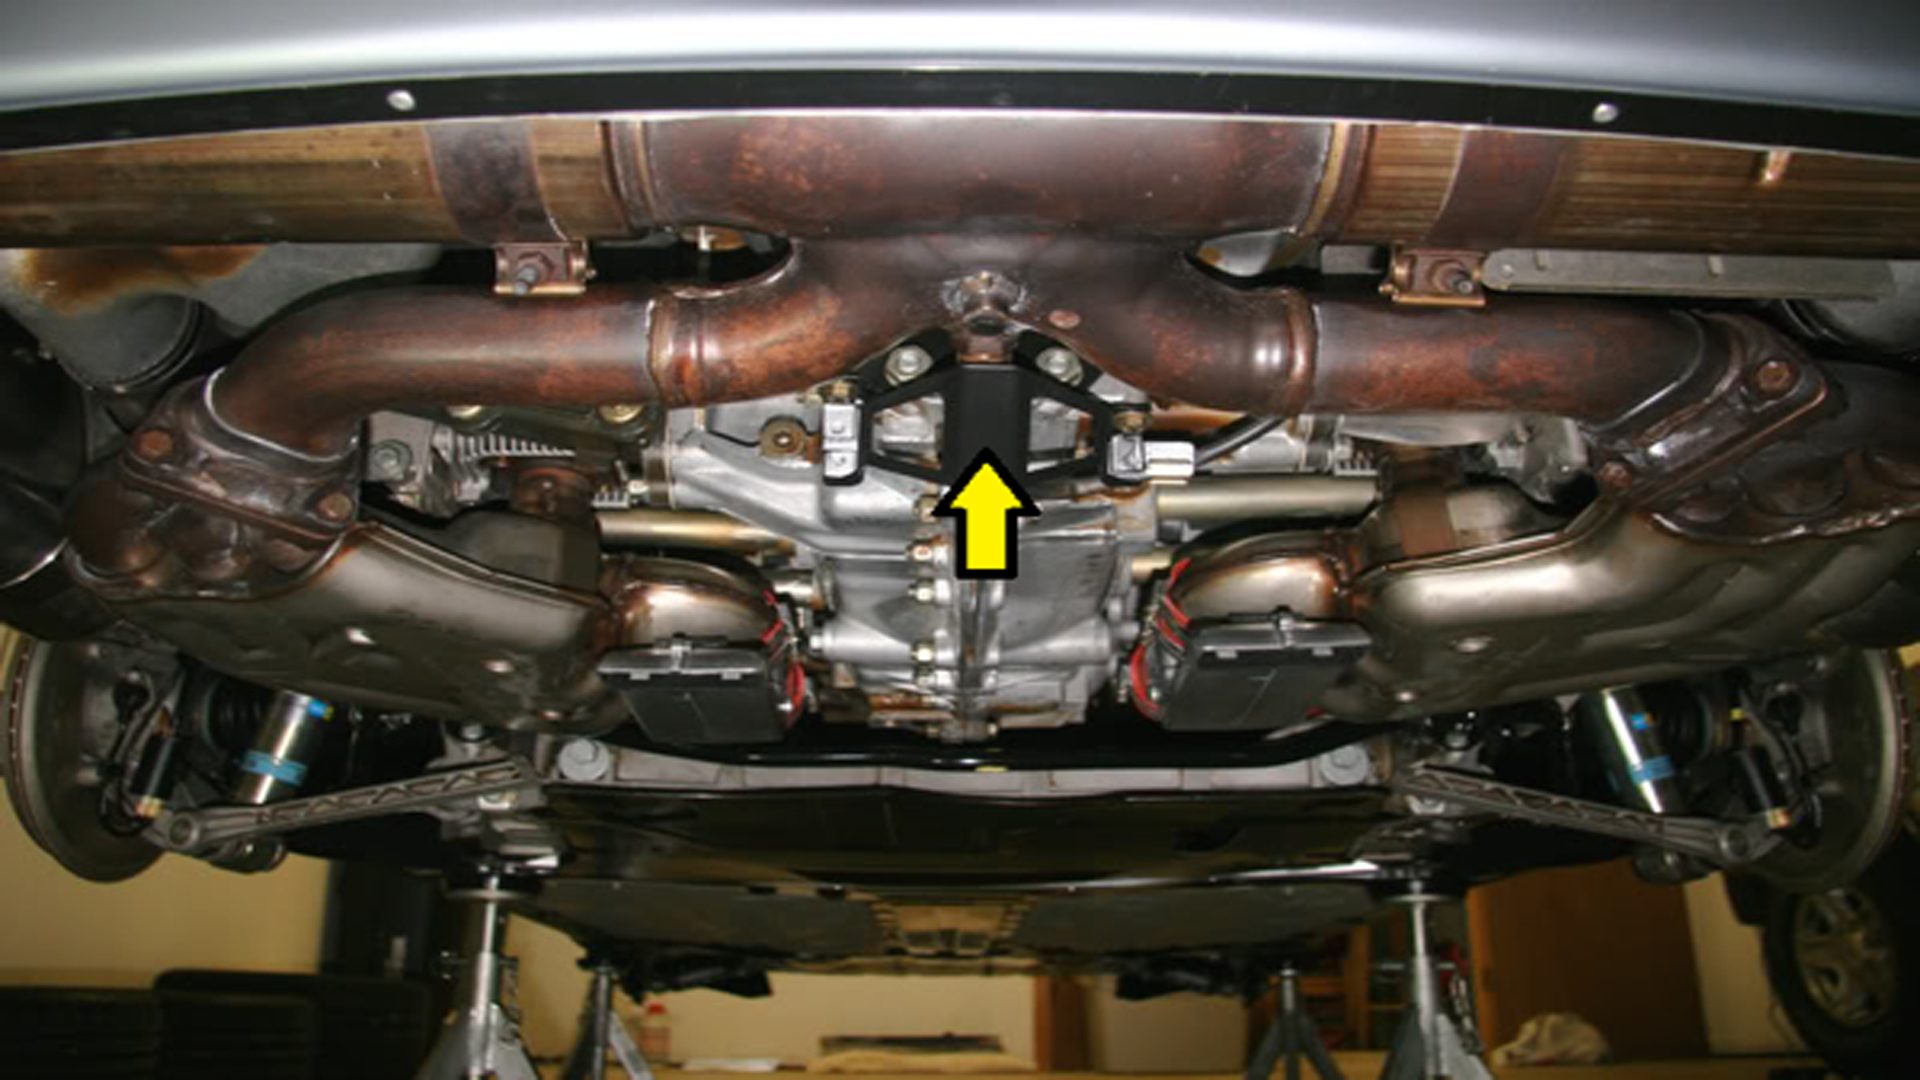
Figure 2. OBD-I oxygen sensor location. 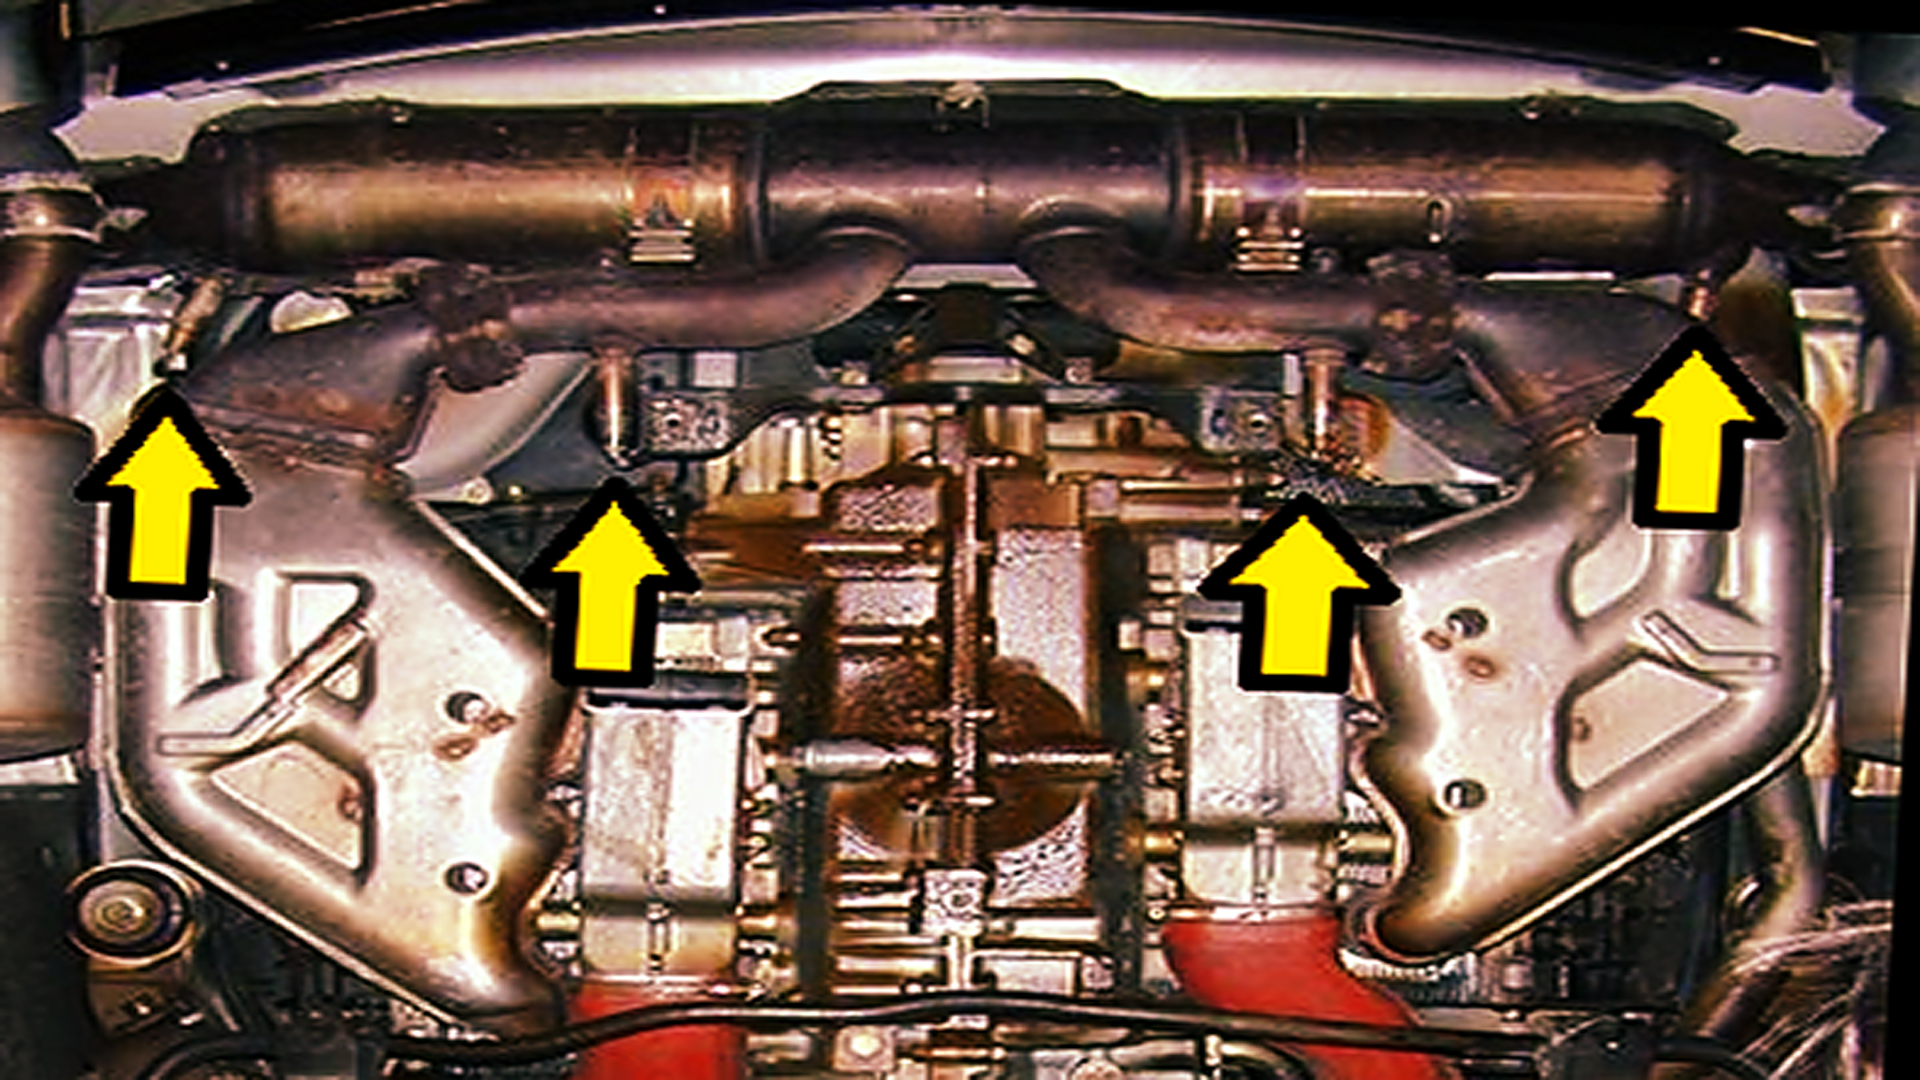
Figure 3. OBD-II oxygen sensors.
Step 4 – Install new oxygen sensors
- Apply a thin layer of anti-seize to the new oxygen-sensor threads. Be careful to not get any on the sensor tip.
- Install the oxygen sensor and tighten with a 22mm wrench.
- Tie a dangling string to new sensor plug.
- Pull up the string to thread the new sensor wiring through original path.
- Connect sensor plug to the harness connector.
Step 5 – Install underbody tray, heat-shield and lower car
- Install the center heat-shield over the single oxygen sensor on OBD-I cars.
- Install the underbody tray.
- Remove jack stands and lower car.
Related Discussions
- Replacing an Oxygen Sensor Easy as Pie! - Rennlist.com
- Replacing Oxygen Sensor Help - Rennlist.com