Porsche 993: How to Replace Spark Plug Wires
Changing your spark plug wires is one of the more difficult jobs, but you can do it in your own garage. Here's how it's done.
This article applies to the Porsche 993 (1993-1998).
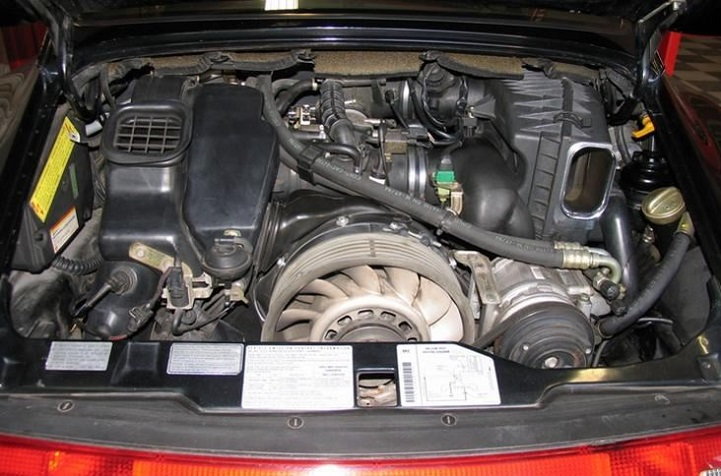
Keep your 993 engine running smoothly and clean by keeping up with regular maintenance and changing out components when they start to go bad. Spark plug wires are often neglected from the routine maintenance schedule. These normally do not give an indication that they are about to go bad, but rather, your engine might start missing or running really rough, which is not good. In some cases, you may see some arc burns on the outer sheath of the plug wires, which may come earlier than any other sign. In some cases, actual sparks can be seen from the engine compartment. If the cables have any other physical damage such as splitting or cracking, you need to get them changed out sooner rather than later. Changing these plug wires is not the easiest job in the world, but if you give yourself plenty of time, you can do this job yourself, saving you several hundred dollars otherwise spent having it professionally done.

Materials Needed
- Various handle-length sizes of Phillips head screwdrivers
- Ratchet style screwdriver
- Masking tape and marker (to label each wire)
The replacement plug wires from STI are a popular choice because they come with all the brackets and grommets pre-installed. There is no transfer necessary of these parts from old to new.
Step 1 – Label your cables
- Immediately after removing your cables from the plastic bags, label them. Each cable is a separate part number from Porsche because they aren't sold as a set or a kit, but rather individually. Each cable is a different length.
- Once you have labeled the new cables with the masking tape and marker, label the old ones while they are still in the car. (You'll need to have jacked your car up to label the lower cables).
Step 2 – Jack up the rear end
Jack up the rear of the car only, even when working on the upper cables. This will make the job much easier, as you will be spending a lot of time on your back under the car.
(Related Article: How to Jack Up Your Porsche - Rennlist.com)

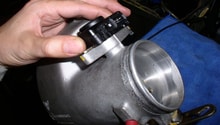
Step 3 – Remove the air box
- Remove the entire intake air box on the right-hand side. Remove the bolt on the top front of the air box cover.
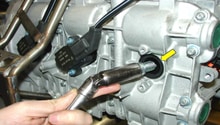
- Unplug the wires that are connected to the air flow sensor from the air box. You will have to snake your hand up over the manifold to get to this.
- There is a clamp on the inboard side of the air flow sensor that can only be unscrewed with a Phillips head screwdriver with at least a 10-inch-long handle. You may need a flashlight in there to see this. You only need to loosen this screw to be able to rotate the air flow sensor to remove it. It has a bayonet-style mount. Rotate toward the top of the car and the air box will come free.
- There is a black hose, about 1.5 inches in diameter, on the back of the air box between the number four and five runners; disconnect this at both ends, remove the air box, and set it to the side.
Step 4 – Remove plastic duct work and hoses
- From the left side of your engine, you'll want to remove the black plastic HVAC duct work and hoses. This will involve the removal of about four bolts and a couple of hose clamps.
- There is also the circular black heater fan with a couple of hoses connected by two more bolts on the left side that need to be removed.
- After all this is removed, you'll find that you have a ton of room to work with.

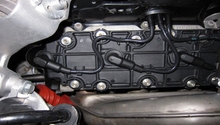
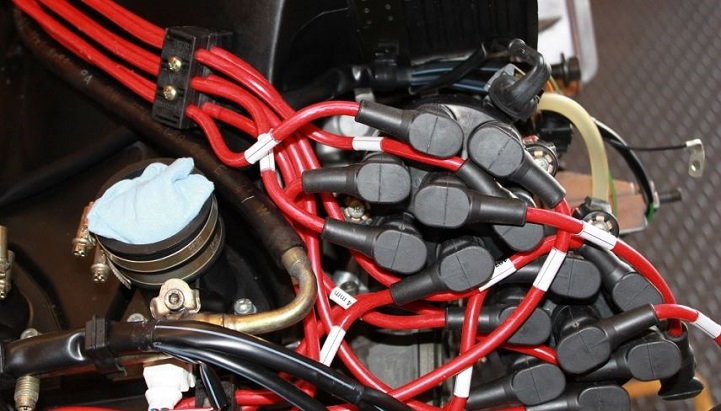
Step 5 – Remove top plug wires
- With enough room now, the plug wires can be removed. There is one more assembly to remove from the cross brace between the intake runners for cylinders one and two. Unplug the wires from the top, but you don't have to disconnect the vacuum hoses from the side.
- Once unplugged, the assembly will slide up and off the cross brace and can be set aside.
- Once that is finished, start pulling the plug wires. Make sure that you have labeled them accurately.
- There are only two clamps and four screws that attach the plug wires to the rear of the fan shroud. Use a stubby-handled Phillips head screwdriver to get the plugs behind the number 1 and number 2 intake runners. You will use the ratcheting screwdriver behind the number 5 and number 6 intake runners. Keep all of these plugs together in their harness and remove the entire group so you can see how they are assembled together and the different lengths of each wire. This is why it is important to label them correctly.
- The new plug wires can now be installed.
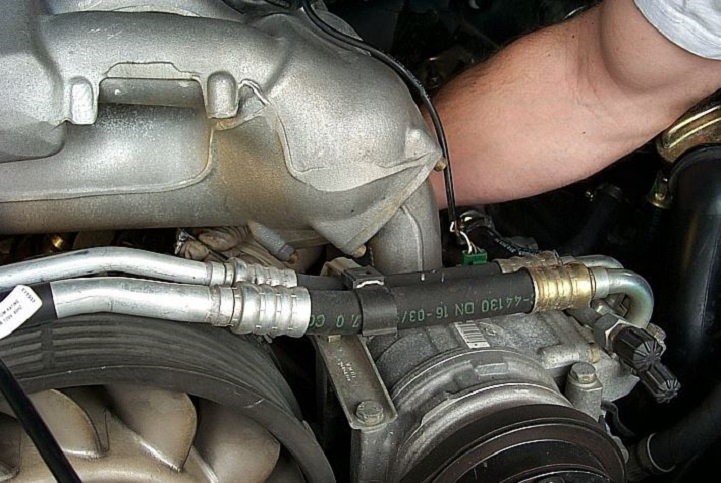
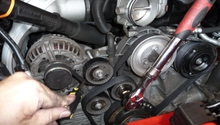
Step 6 – Remove mufflers and heat exchange hoses
The lower plug wires are a lot easier to remove than the upper plug wires. There are still a few items that need to be removed to get to them.
- Remove mufflers and clamps. The clamps will be fairly difficult.
- Remove the right-bank heat exchange hoses.
- The items marked in the picture below will be removed to gain access to the plugs.

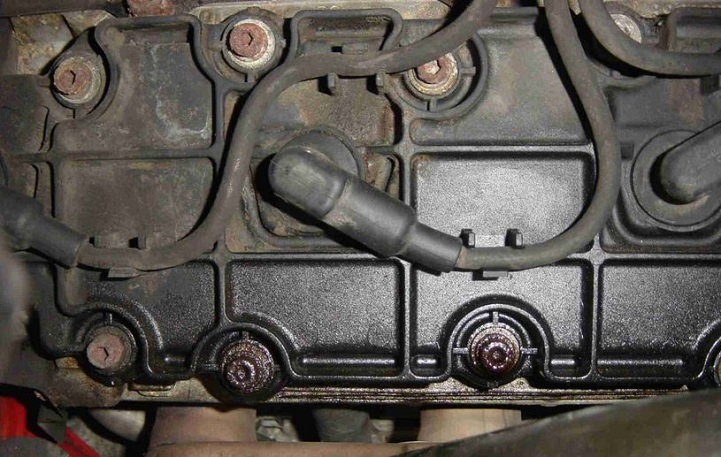
Step 7 – Remove the lower plug wires
- There are no connecting harnesses here for the lower plugs. Take caution in removing the boots from the plugs if you need to re-use them for any reason. They will likely be stiff and difficult to remove.
- Again, make sure that you have the plug wires properly labeled to replace with the correct new plug wire. It is best to remove and replace one plug wire at a time before moving on to the next.
Related Discussion and Sites
- Spark Plug Wire Replacement? - Rennlist.com
- 993 Lower Plug Removal - Pcarworkshop.com
- How to Remove Plug Wires From a 993 - Pelicanparts.com