Porsche 997: How to Install Bluetooth Module
Bluetooth is a nice addition to any car, allowing drivers the ability to stream music or talk on their phones hands-free. This article covers the installation of a Bluetooth module in the Porsche 997.
This article applies to the Porsche 997 (2005-2012).
Updating your Porsche with a Bluetooth module offers a lot of perks when it comes to usability. The right unit will easily pair with your phone, sync up music choices, and allow hands-free talking while driving. Which module you choose is up to you, but this install guide should cover the bases for pretty much any unit on the market.

Materials Needed
- Small jeweler's screwdriver
- Torx screwdrivers - T27X100 and T20X100
- 4mm Allen wrench
- 7-9mm box wrench
- 5/16 box wrench
- Small towel
- Tie wraps
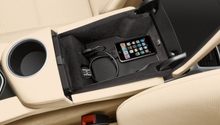
Step 1 – Remove the PCM from the console
Use the Torx screwdrivers to remove the two short carpeted console extension pieces aft of the leather covered console pieces. These screws can be hard to spot but are located in the carpet. If you have a Bose system, you must first remove the speaker grill to access the screw on the passenger side. Disconnect the 12 VDC plugs and pull the panels out. Remove the two Torx screws at the aft end of the console side pieces. Pull on the console side pieces to remove and set them aside. Use the 5mm Allen wrench to retract the four clips holding the PCM unit, rotating them 1/4 turn. Use the 7mm box wrench to back out the screw on the passenger side just until the PCM is loose enough to slide out.

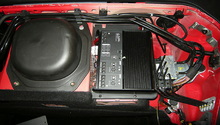
Step 2 – Remove factory connectors and install aftermarket ones
Rest the PCM unit on a towel over the console so as not to damage any interior trim. Locate the electrical connector on the back of the PCM and the fiber optic connectors secured in a black plastic connector. Remove the electrical connector and replace it with the connector supplied with your Bluetooth module. Plug the other supplied connector into the source cable. Remove the fiber optic connector and install the supplied connector. Use a small jeweler's screwdriver to depress the clasp which secures the smaller black plastic inner piece that holds the lines. This will allow you to remove the line from the connector. Snap the new connector in place and insert the white power connector into the aftermarket unit. Route the microphone through the driver's side console extension area and plug it into the unit.
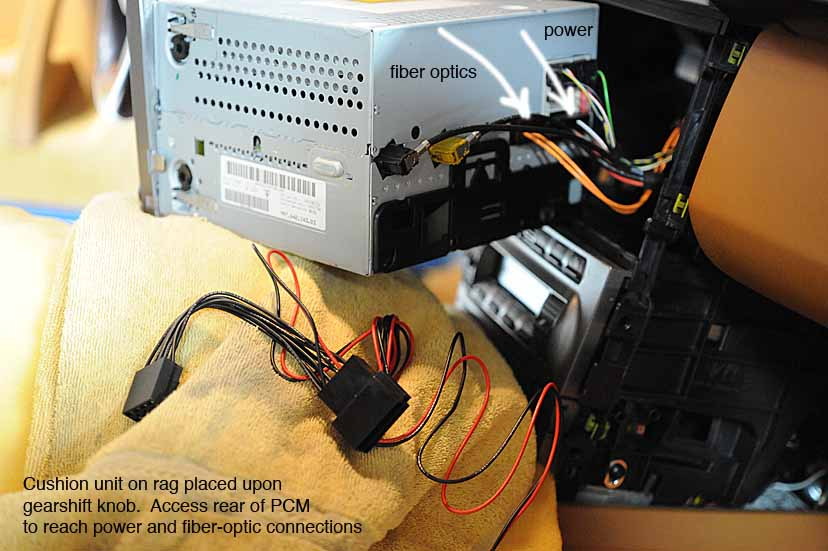
Figure 2. Rest the unit on a towel and turn around to access the factory connectors. 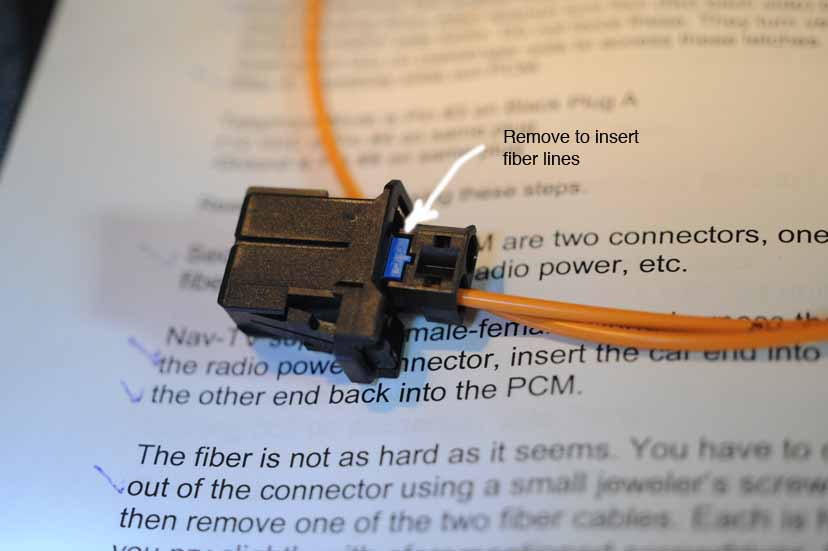
Figure 3. Remove the blue plastic clip to insert fiber optic lines.
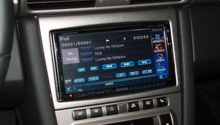
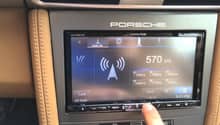
Step 3 – Test and install unit
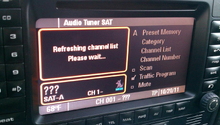
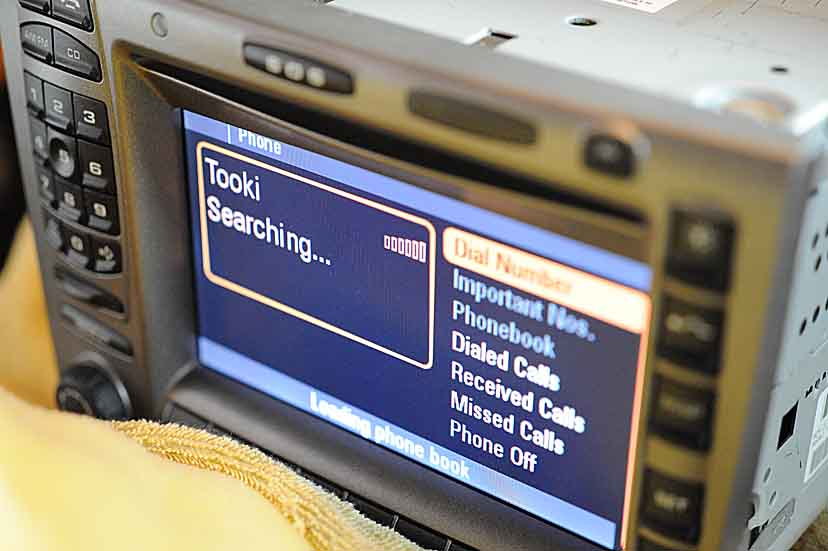
Power the unit on and do a function check to ensure everything is working correctly. Go to the TEL option and it will search for your phone. When found, the system will prompt for a Bluetooth passkey and will synchronize your phonebook. Position the Bluetooth module deep in the PCM opening. Secure any loose wiring with plastic tie wraps. Insert the PCM back into the console, taking care not to pinch any wiring. Retighten the security screw. Push the console sides back into place and replace the Torx screws.
Pro Tip
The microphone can be mounted in several different locations, but works well on top of the steering wheel housing. Extra wiring can be secured with a tie wrap and hidden behind trim pieces or carpeting.
Related Discussions
- NAV-TV Tooki Bluetooth Installation - Rennlist.com
- Best Bluetooth Option for 997 - Rennlist.com
- Cheap and Easy Bluetooth Integration - Rennlist.com