Porsche 997: How to Replace Lower Control Arms
The only wishbone you probably can't wish on. Unless you're crazy strong, that is...like Hulk strong.
This article applies to the Porsche 997 (2005-2012).
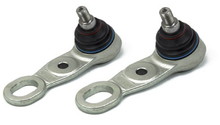
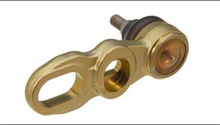
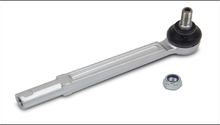
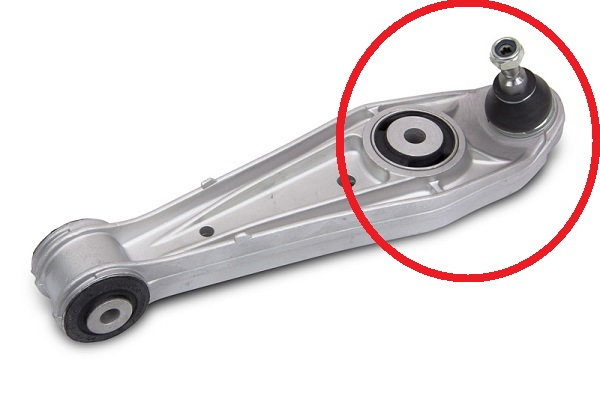
If your control arms are going bad you could be experiencing all manner of creaks, groans, and clunking noises, in addition to reduced handling performance. The control arm, along with the spring and strut, control the up and down motion of the suspension. These components are all mounted by rubber bushings which, over time, will degrade and require replacement. However, the bushings alone are not inexpensive, and pressing them out out of the control arms requires both a lot of time, tools and experience. Therefore, it is often easier just to replace the whole control arm unit for not that much more cash, and save yourself the heartache. Whether your lower control arms have gone south, or perhaps it's just a desire to upgrade for a stiffer setup, you're ready to replace your front lower control arms. So let's get cracking!

Materials Needed
- Socket wrench set
- Box wrench set
- Ball joint separator
- Safe jacking equipment (jack, stands)
- Spring Compressors
- Impact driver and sockets (nice to have)
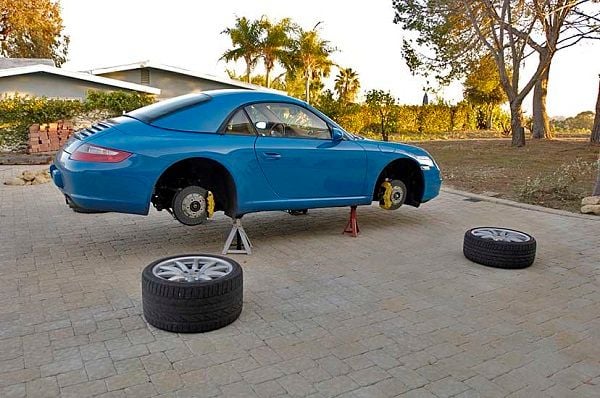
Step 1 – Safely jack up the car
This is a great time to practice a bit of zen meditation. Are the jack stands positioned properly? Check again. Breathe in. Breathe out. Slowly lower the car onto the jack stands, don't just twist the jack handle like a maniac,
(Related Article: How to Jack Up Your 997 - Rennlist.com)
Step 2 – Remove the wheels
Your wheels look great on the car, don't get me wrong. But you're going to want as much access as you can get when it comes time to start monkeying with suspension members. Let's just go on and take them off. Once the wheel is set aside, put the wheel nuts back on the studs so they don't get lost. Remember, studs get lonely without nuts on them.
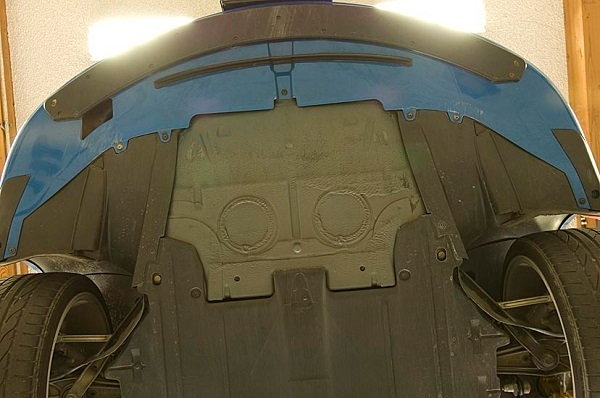
Step 3 – Remove any nearby aerodynamic undertrays if needed
Be careful with those plastic pieces. They might seem like they're just there to make your cars underside pretty, but aerodynamics are important and your car goes pretty dang fast. Ask Porsche factory driver Mark Webber what it's like to go fast in a car with aerodynamic problems. He'll tell you it can be a wild ride.
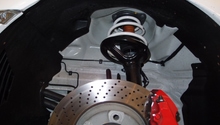
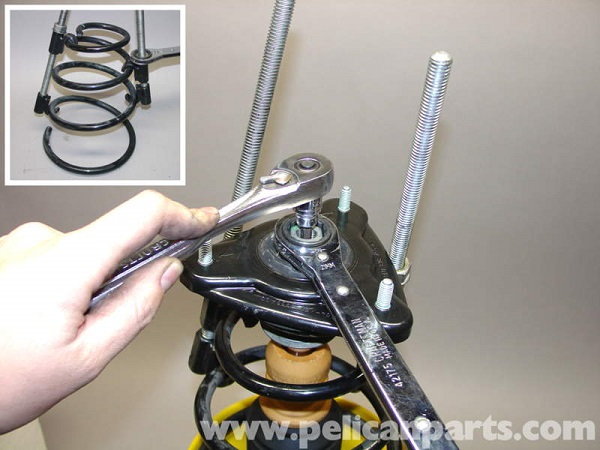
Step 4 – Compress spring
We need to release the tension on the system so that we can undo the bolt holding the control arm pieces to the hub carrier assembly, and to do that we're going to compress the suspension springs. Keep in mind that you're adding a lot of potential energy to the system when you compress these things, so do it with care. A lot of people will use a jack to push the hub carrier skyward to help in this process. It's probably still easier to use spring compressors because having a jack under the hub carrier assembly when you're trying to get the control arm off will be a pain in the rump roast.
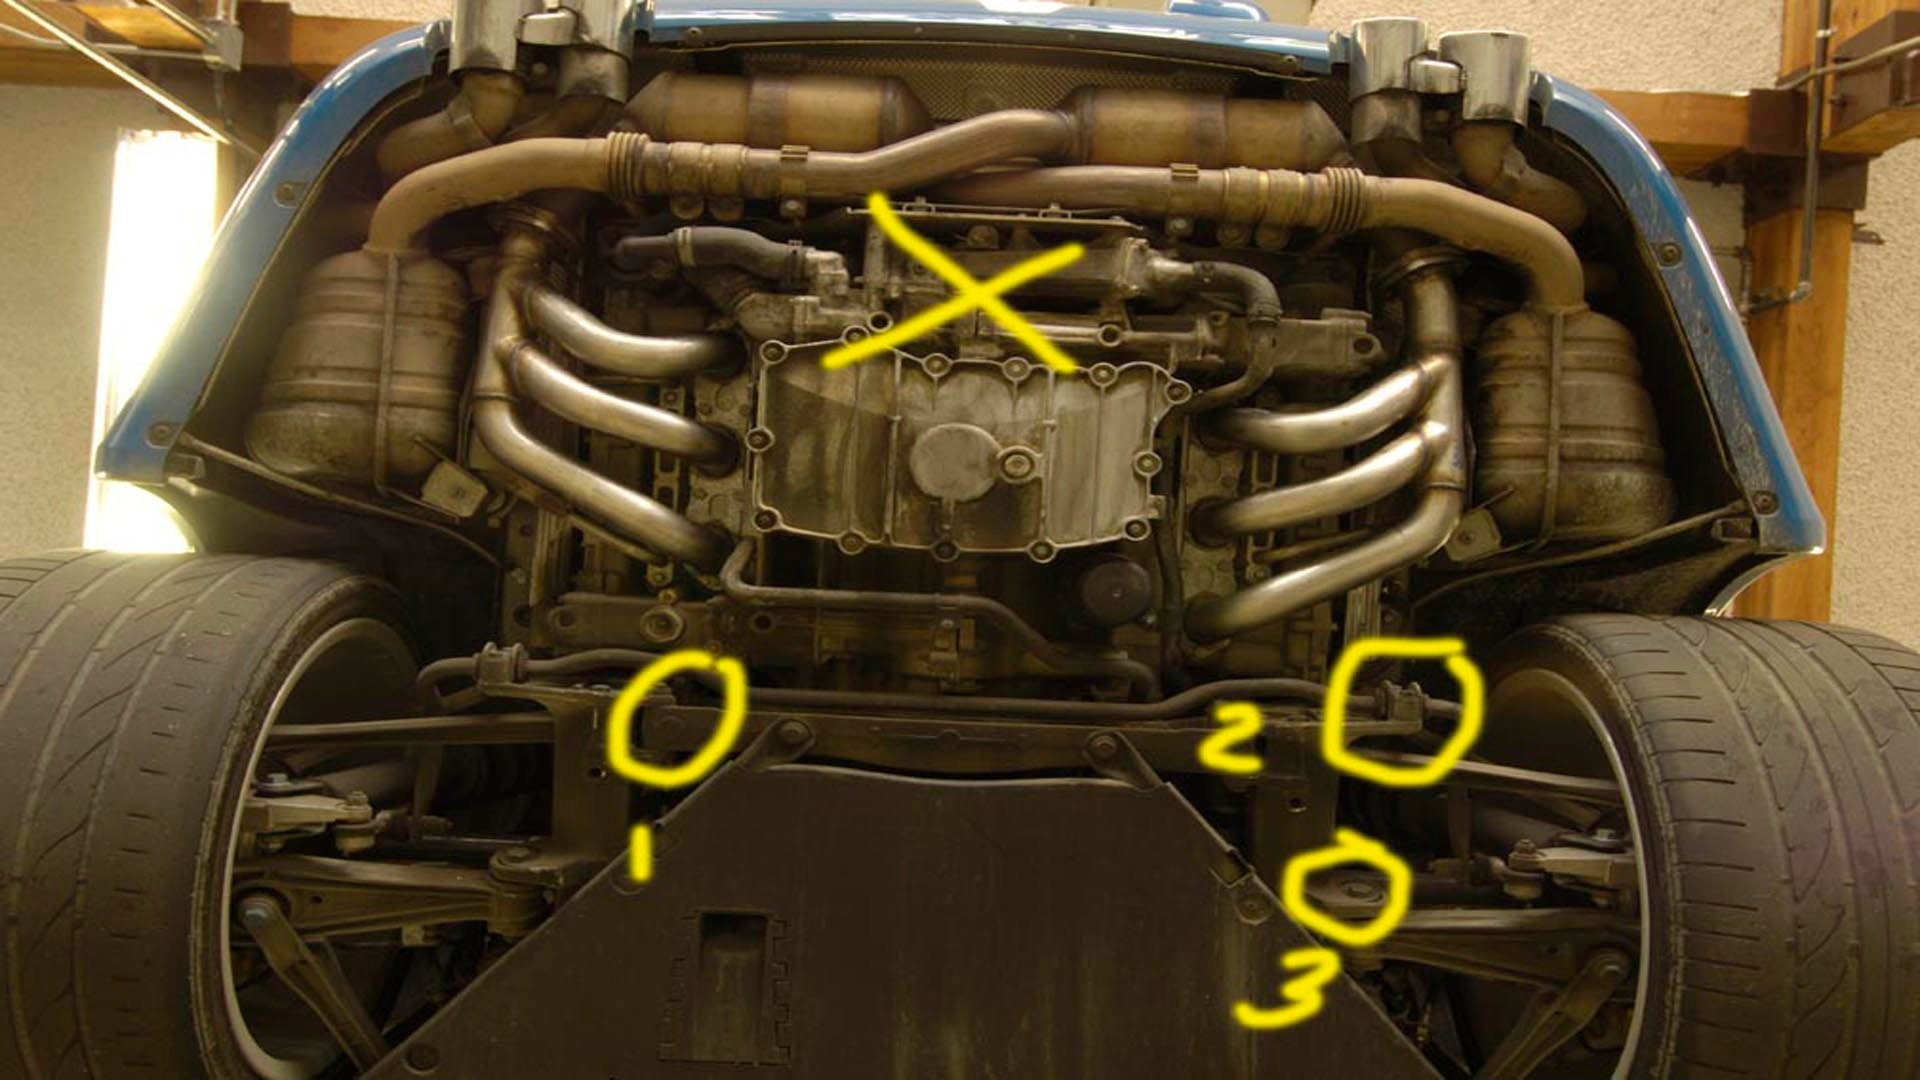
Step 5 – Use a ball joint separator to separate control arm from hub carrier
Pop that sucker off already. Some people will tell you to use a "pickle fork" which is a tool that has a wedge-shaped "U" on one end, but a pickle fork will eat up your ball joint like Sunday dinner. Granted, you might not need that ball joint anymore, but it's never a good idea to waste parts. You can sell good used parts, or just keep them around for a rainy day.
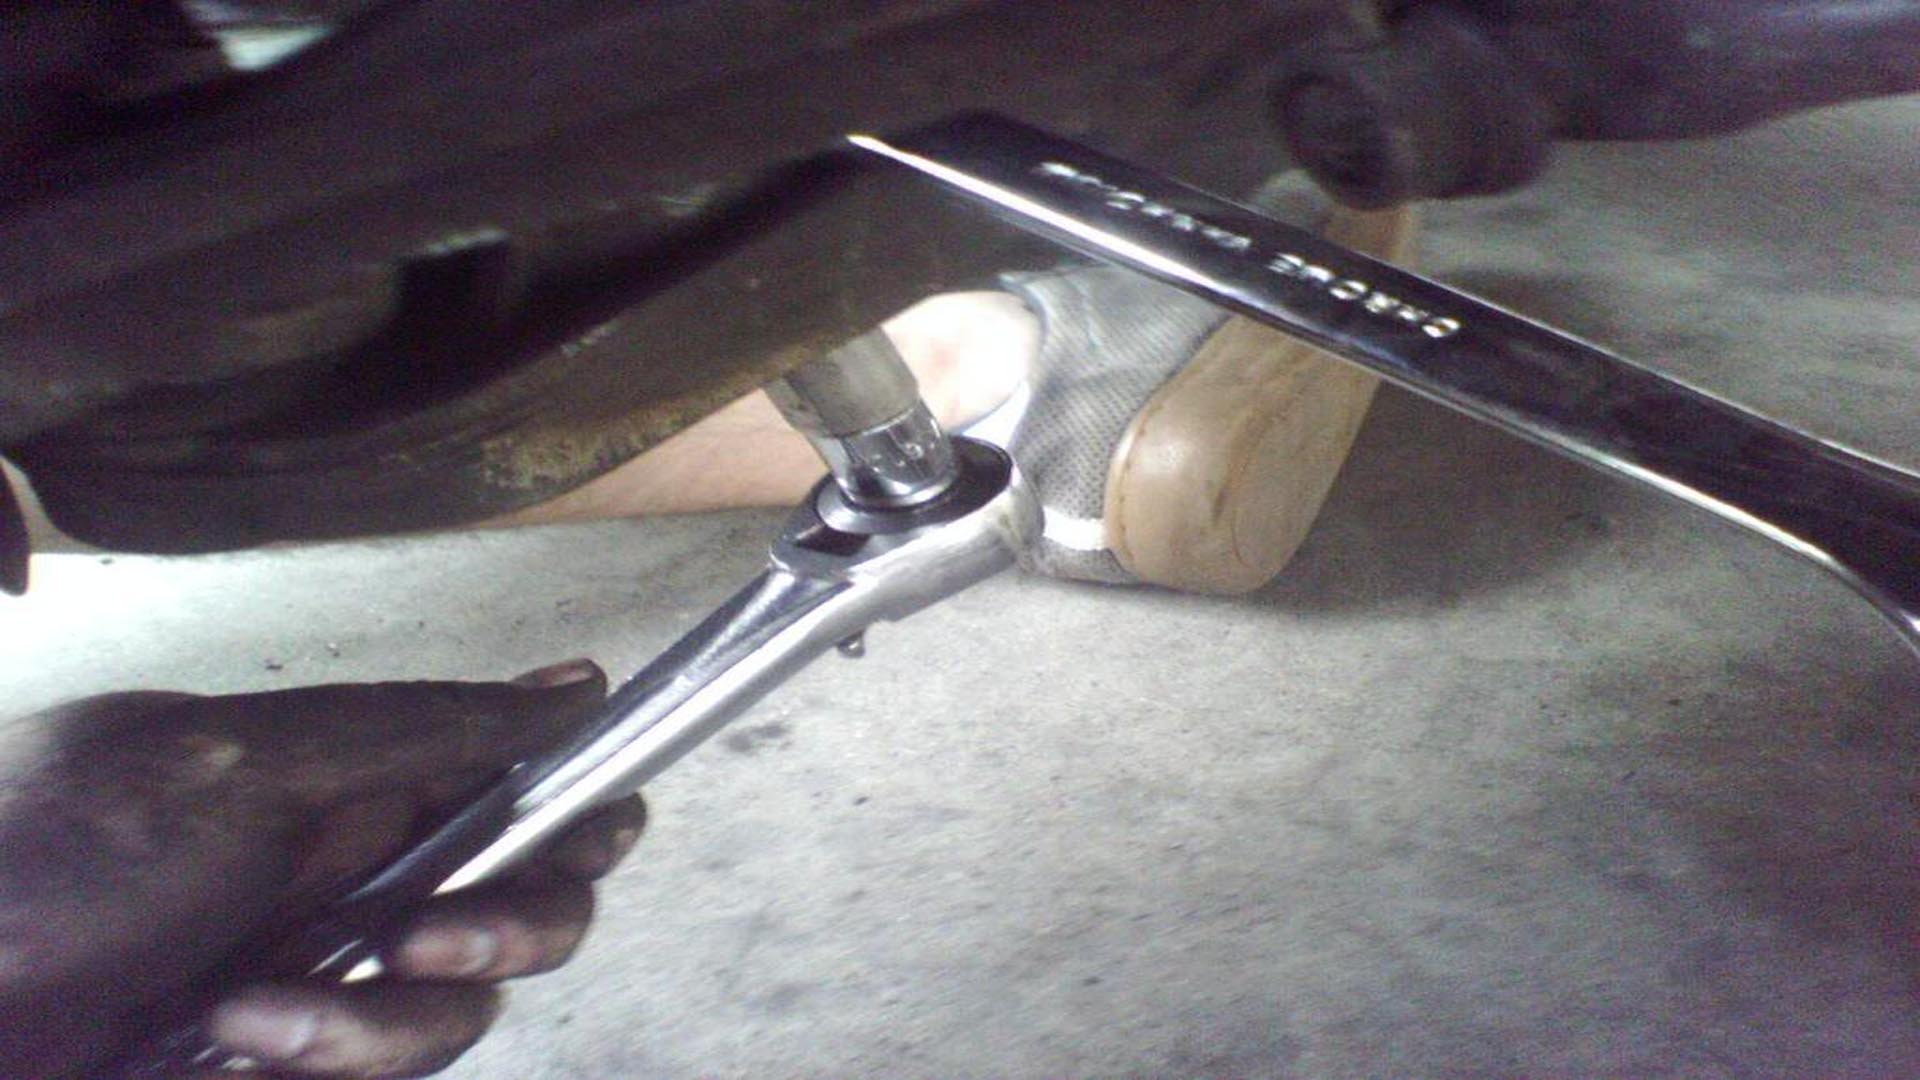
Step 6 – Unbolt the control arm assembly from the car
Now all that's left is the two bolts that secure the control arm to the chassis. Once they're undone you should have your control arm assembly off the car. Now you can replace it with the brand new model you have, and reverse the process:
- Bolt control arm to chassis.
- Push threaded ball joint into hub carrier/knuckle fitting and torque to spec* (do your final torque check with the suspension loaded or else you may prematurely kill the bushing!).
- Carefully release tension on coil spring.
- Ensure all suspension components are fastened to spec.
- Reinstall undertrays.
- Refit wheels.
- Lower car and test drive, ensuring that no unusual noises occur.
- Take vehicle for wheel alignment (!!!)
Related Discussions
- How to Jack Up Your 997 - Rennlist.com
- Replacement Lower Control Arms on 997? - Rennlist.com
- Lower Control Arm DIY - Rennlist.com
- Please, Help! Cannot Remove Lower Control Arm! - Rennlist.com