Porsche 928: How to Replace Front Suspension Ball Joints
Ball joints are a crucial part of your suspension as they allow up and down movement between the control arms. If your ball joints are wearing out, you might be able to notice this through judders in the steering wheel while driving, wandering over the surface of the road or excessive tramlining. Finding a way to replace these isn't too difficult, but it is time consuming.
This article applies to the Porsche 928 (1978-1995).
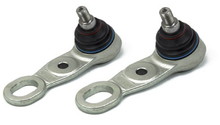
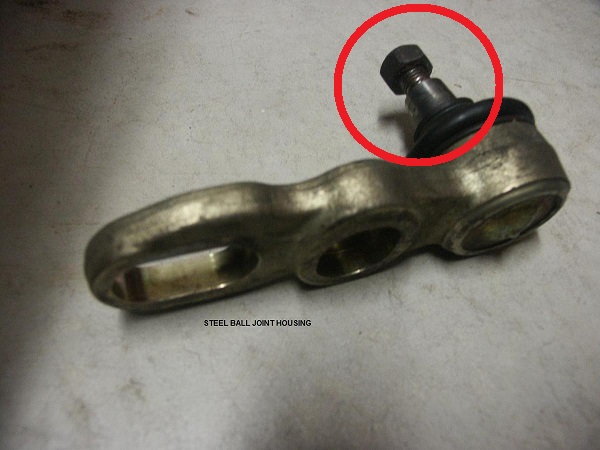
If your 928 squeaks over bumps, is fairly old, or exhibits any of the deficiencies mentioned above, it may be time to replace the front suspension's ball joints. The early models had ball joints made with an aluminum casing, but if you aim to retrofit your car with the modern stuff, then you will be using steel-cased pieces. While the procedure is time consuming, it is reasonably priced and, on occasion, certain dealerships are willing to comp the labor.

Materials Needed
- Jack
- Penetrating solution (Loctite)
- Flat head screwdriver
- 19mm socket
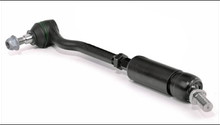
- Ball joint press or pickle fork
- Mechanic's pick
- 5/16" wrench
Step 1 – Jack up the car and remove the wheels
Place the car up on a jack and remove the front wheels.
(Related Article: How to Jack Up Your 928 - Rennlist.com)
Step 2 – Clean ball joint area
Typically, the area around the ball joint is corroded or needs to have the epoxy residue cleaned. Make sure to use the flathead screwdriver and penetrating solution to get a deep clean. This will free up the Cir-clip which will need to be accessed later.
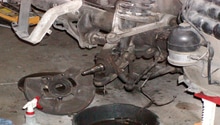
Step 3 – Remove the spindle nut
Using a 19mm socket, find the nut which holds the ball joint to the spindle. It may need a bit of adjusting to get to it; for instance, a little pre-load on the front suspension, turning the steering wheel and lowering the lower a-arm all help.
Step 4 – Separate ball joint pin from upper spindle
Use the pickle fork or removal tool to separate the aforementioned pieces. If you damage the ball joint boot, don't worry: you're replacing those pieces anyways. Remove the jack from under the rotor so that the suspension is totally unloaded; this will help break the ball joint free.
There are many different types of ball joint tools, and your local hardware store will likely have them all. Eye up the area around and between the ball joint and spindle and decide which type/shape of tool is best for you to get leverage on it. Jam the separator between the threads of the ball joint and the spindle and press them apart.

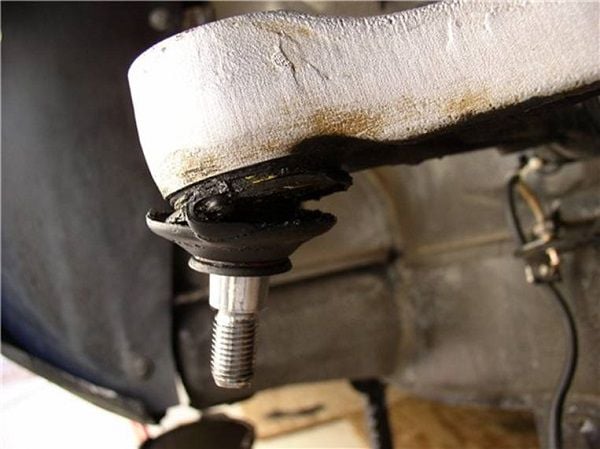
Step 5 – Remove cir-clip
Using the mechanic's pick, removed the cir-clip from the upper a-arm. You should be able to remove the ball joint easily at this point. Remove the boot and insert the new ball joint.
Step 6 – Compress new ball joint
Using a 6" C-Clamp, compress the ball joint in its new resting place. Put the snap ring on top of the upper cup so that it will be where it needs to be once the unit is compressed. Use a screwdriver to make sure the spiral sealing ring is firmly in place before you remove the compressor. Then install the zerk fitting on top with the 5/16" wrench.

Step 7 – Apply epoxy
Let sit for one hour, the add new boot.

Related Discussions and Site
- Step-by-step Ball Joint Replacement - Rennlist.com
- Ball Joint Spinning - Rennlist.com
- Front Suspension Upper Ball Joint - Rennlist.com
- Ball Joint repair - 928motorsports.com