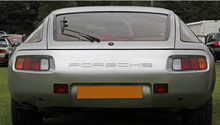
Porsche 928: How to Black Out Headlights
Blacking out the headlights on the Porsche 928 is a great way to modify your vehicle's look. The process is easy, and it doesn't cost much to do it yourself.
This article applies to the Porsche 928 (1979-1995).
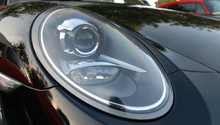
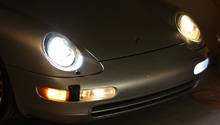
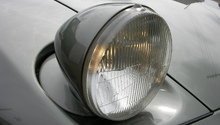
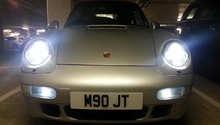
Blacking out the headlights of one's vehicle is a popular modification for sports cars today and looks especially great on a Porsche 928. While it is a minor aesthetic modification, it can alter the look of your car drastically. Do note that blacked out headlights aren't legal in every state, so make sure to check the laws in your area before modifying your Porsche 928 with this particular treatment.
(Related Article: Headlight Legal Requirements - Rennlist.com)

Materials Needed
- Black paint or tint film vinyl
- Phillips screwdriver
- Flat head screwdriver
- Oven
- Oven mitts
- Cloth
- Sand paper
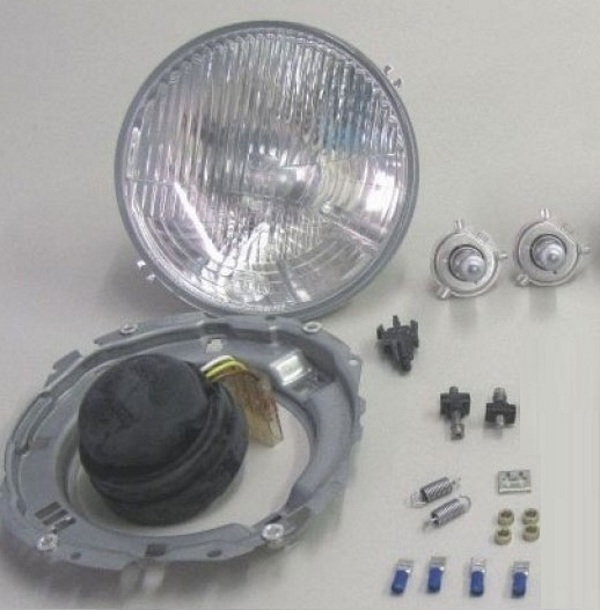
Step 1 – Remove headlight
Turn the ignition on, turn light switch to raise headlights, and turn ignition off. Unscrews three Phillips screws and remove the headlight cover. Turn holder of bulb anticlockwise to its limit, and remove bulb. Unplug all wires and remove all remaining screws holding assembly in place. Remove headlight.
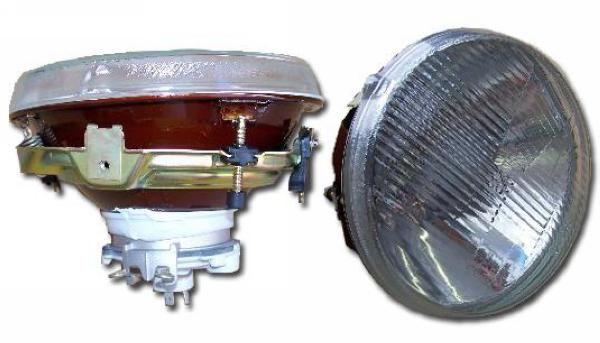
Step 2 – Separate outer lens from assembly
Preheat your oven to 220 degrees Fahrenheit and insert light assembly for 15-20 minutes to soften glue. Wearing your oven mitts, remove the assembly from oven and, using a flat head screwdriver, begin prying between the lens and assembly near the marker light.
Step 3 – Clean and paint bezel
Once the lens and bezel have been separated, clean the area of dust and debris. Now sand the bezel area gently, and then clean again. You can now paint the bezel or apply tint film vinyl, which is available on Amazon for $7.99.

Step 4 – Put lens and assembly back together
Once the bezel is painted black to your satisfaction, put the lens and light back together. Apply glue if necessary and place assembly back in oven for 15-20 minutes. Again, using your mitts, remove from oven and squeeze together while aligning the light.
Step 5 – Replace headlights
Replace bulb and turn holder clockwise to lock in place. Replace wiring, headlight cover, and screw three Phillips screws back in to secure. Turn ignition on and test the lights.

Related Discussions
- Black Headlights - Rennlist.com
- Get the Black Headlights - Rennlist.com