Porsche 993: How to Install HID Headlights
Installing HID headlights is a relatively simple project, and since HID headlights last longer, are more energy efficient, and are brighter, there's really no reason not to consider replacing your stock headlights with them.
This article applies to the Porsche 993 (1993-1998).
High-intensity-discharge (HID) Xenon headlights tend to last upward of 10 times longer than stock halogen headlights. They are brighter and more energy efficient, and even a novice DIYer can install them in 30-45 minutes. Be sure to test the bulbs and ballasts before installation, thoroughly clean the housing, and properly adjust headlights after installation. Failing to do so can cause you to accidentally blind drivers coming in the opposite direction. Consider lowering your headlights slightly. This shouldn’t affect your visibility, but will prevent your modified beams from affecting other drivers.

Materials Needed
- HID headlight kit
- Phillips screwdriver
- Power drill
- 12mm bit
- Pliers
- Electrical tape
- 1mm drill bit
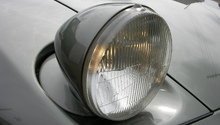
Step 1 – Remove headlight assembly
Disconnect battery. Open the trunk and pull back the carpet. There is a black plastic retaining tab and a handle next to each headlight. Pop the handle out of its retainer, rotate the handle about 90 degrees, and then remove headlight assembly.

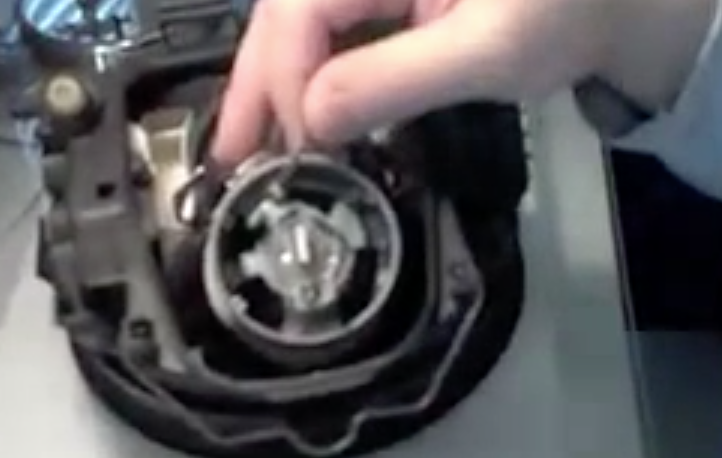
Step 2 – Remove headlight bulb
Remove cover of headlight assembly. Twist socket at back of headlight assemblies to access socket and bulb. Remove existing bulb.
Step 3 – Prepare to install HID bulbs into headlight assembly
Use drill to widen hole where HID bulb will go. Test the opening, then remove the cover from the HID bulb. Do not touch the glass portion. Make sure it will fit. If it does, re-cover bulb and set it aside. If not, continue drilling the opening until the HID bulb will fit.
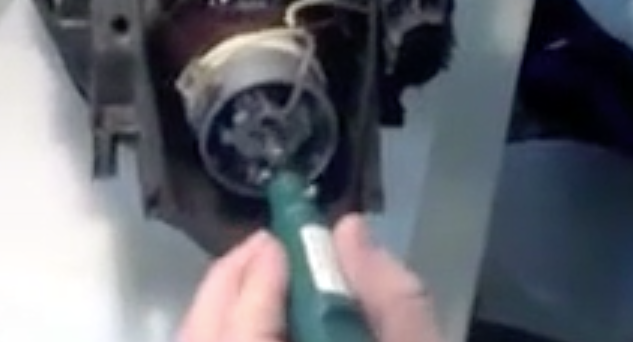
Figure 3. Use drill to widen hole where HID light will go. The HID bulb is larger than the stock halogen bulb. 
Figure 4. Insert HID bulb to test opening.
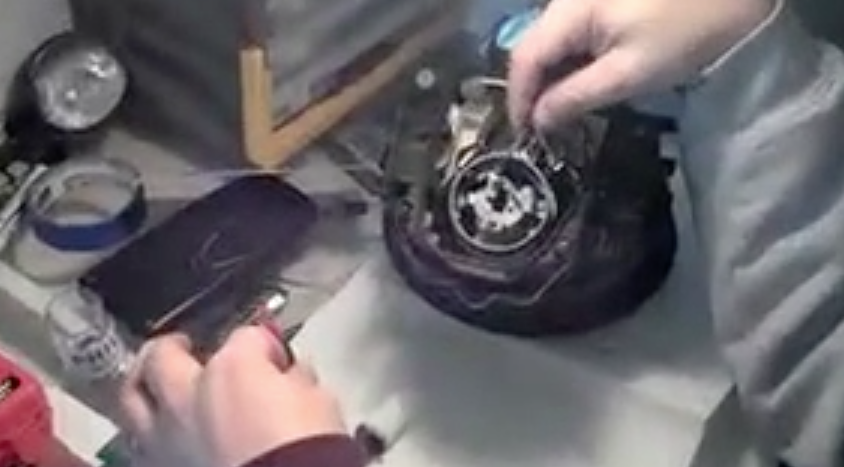
Step 4 – Create opening on back of headlight assembly cover
Use 1-inch drill bit and drill to create opening on the back of the headlight assembly cover. This opening should be in about the center of the cover. Once you've made the hole, insert HID bulb and wiring harness through the bulb. The rubber housing on the rear of the harness will create a watertight seal, and the bulb and wiring should be on the inside of the back cover (in other words, when you re-install the back cover, the bulb and wiring will fit inside the headlight assembly).
Step 5 – Connect HID headlights to ballast output
Connect HID headlights to ballast output. Most kits come with color-coded wires, which should help make sure you make the connections correctly. Usually, the plugs only go in one way. You may need to use pliers to strip wires so you can better connect them. Wrap connections in electrical tape.
Step 6 – Connect relay
Connect relay to the ballast input. Wrap connections in electrical tape.
Step 7 – Install back cover
Install back cover on headlight assembly.

Step 8 – Re-install headlight
Re-install headlight into fender. Pull down carpet. Close trunk.
Step 9 – Test lights
Reconnect battery, and then turn on headlights. If they do not turn on or come on and then go off (once or several times), then turn off headlights, disconnect battery, and inspect kit connections.
Featured Video: Porsche 993 HID Kit Install
Related Discussions
- Installing HID Headlights on a 993 - Rennlist.com
- Installed HID Conversion on My 993 - Rennlist.com
- DDM Tuning HID Install DIY - Rennlist.com