Porsche 928: How to Install HID Headlights
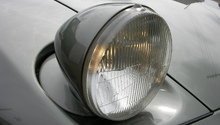
HID headlamps stand for High Intensity Discharge. They're a brighter light than Halogen and also more efficient in terms of how much power they drain from your Porsche 928's electrical system. Learn how to install them here.
This article applies to the Porsche 928 (1979-1995).
There are plenty of reasons why you might want to install HID headlamps in your Porsche 928. They're brighter than standard halogen lights, and they also draw less amperage than their halogen counterparts, too, which means less wear on your battery. The good news is you can install an HID kit yourself – here's how.

Materials Needed
- HID headlamp kit
- Phillips screwdriver
- Double-sided tape
- Cloth

Step 1 – Prepare car for HID headlamp install
- Put the car up on jack stands at the front, and remove the front tires. Remove both front inner fender liners and remove the forward fender separator. This will allow access to the area behind the headlamp.
- Turn ignition key on and turn headlamps on so they rise. Turn key off so they stay up, and turn headlamp switch off so parking lights shut off. Remove small Phillips screws around headlamp cover and remove headlamp cover (three screws on each headlamp).
- Lay all wiring in place so you can test installation before securing anything down. You will test that the new wiring allows headlamps to rise up and down freely without binding or stretching any wires/connectors. When you have everything placed where you like it and headlights are working correctly, you can affix ballasts and relays in place and tie wire looms down.
(Related Article: Porsche 928: How to Jack Up Your Porsche - Rennlist.com)
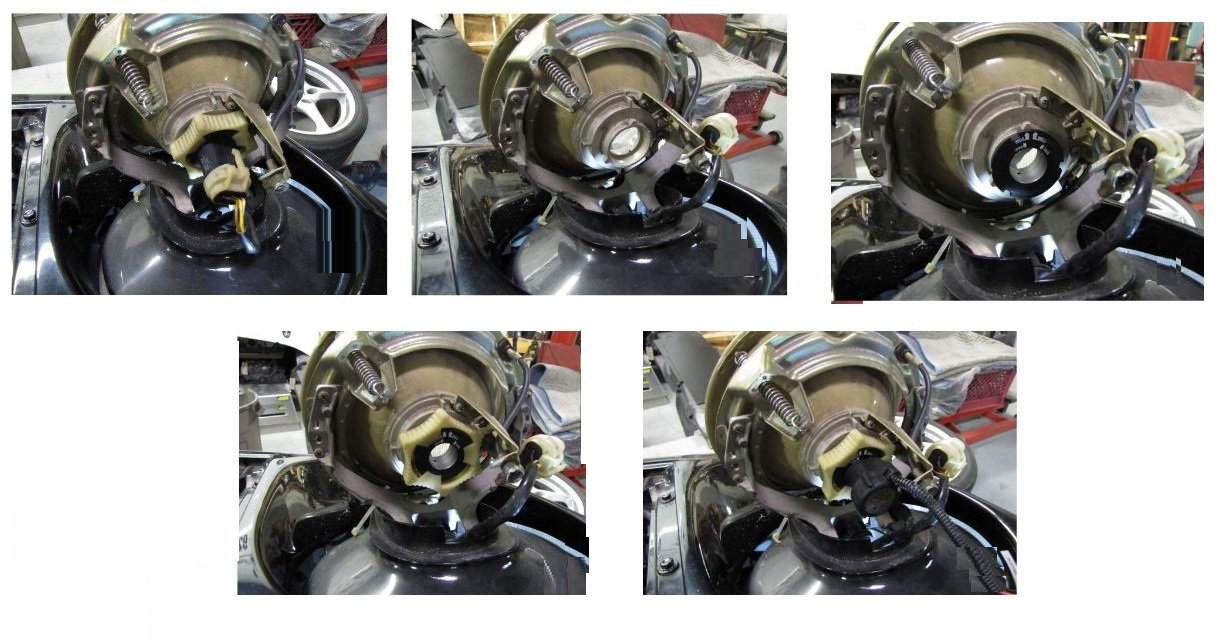
Step 2 – Install HID Bulbs
- Unplug old wires to bulb. Turn lock ring counter-clockwise and remove, then remove bulb. Lay old wires to side.
- Place new bulb adapter in bulb, and lock in place with lock ring.
- Note that when installing new HID Bulbs, make sure not to touch glass on new light bulbs with your fingers. If you do, clean glass with brake cleaner or acetone.
- Wires for both new bulb and old bulb should be fed down through bottom hole and tucked into the fender below.
Repeat steps for opposite-side light.
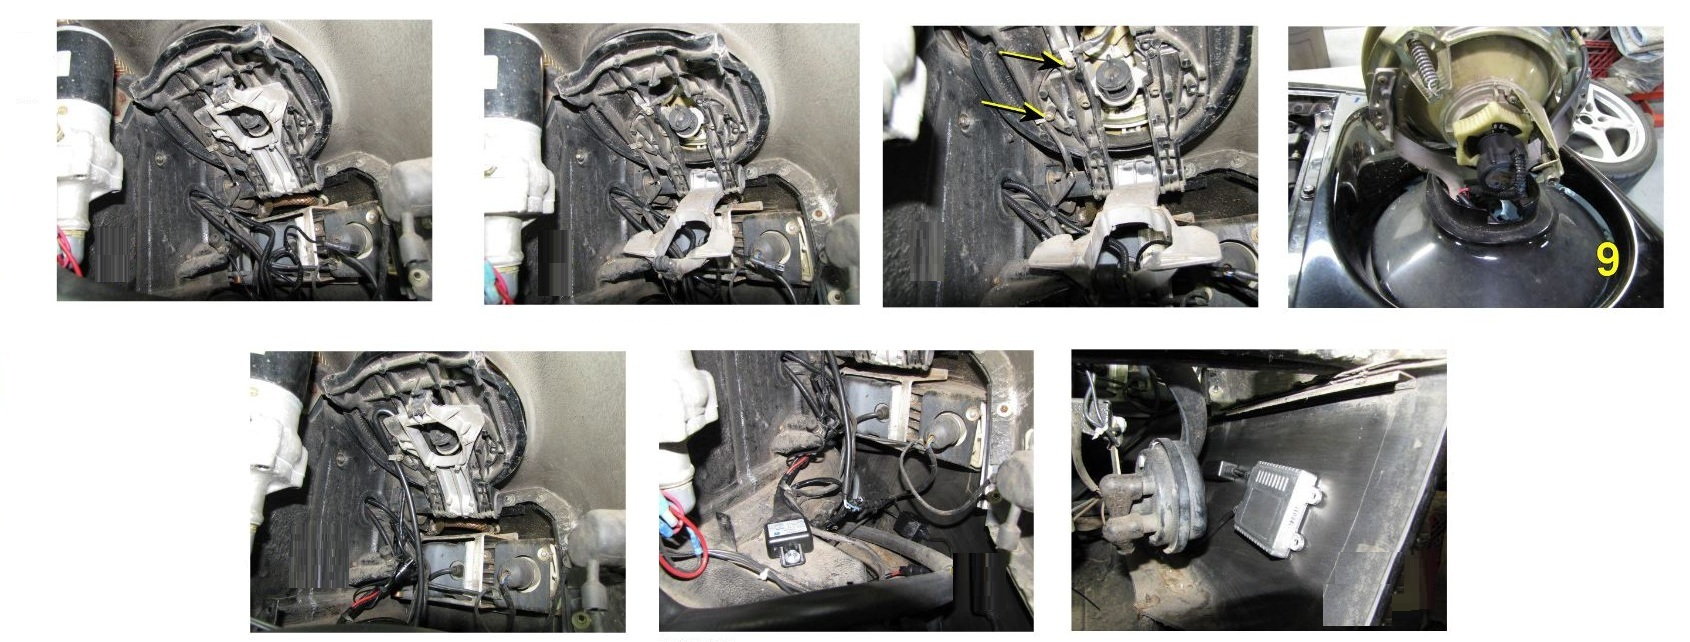
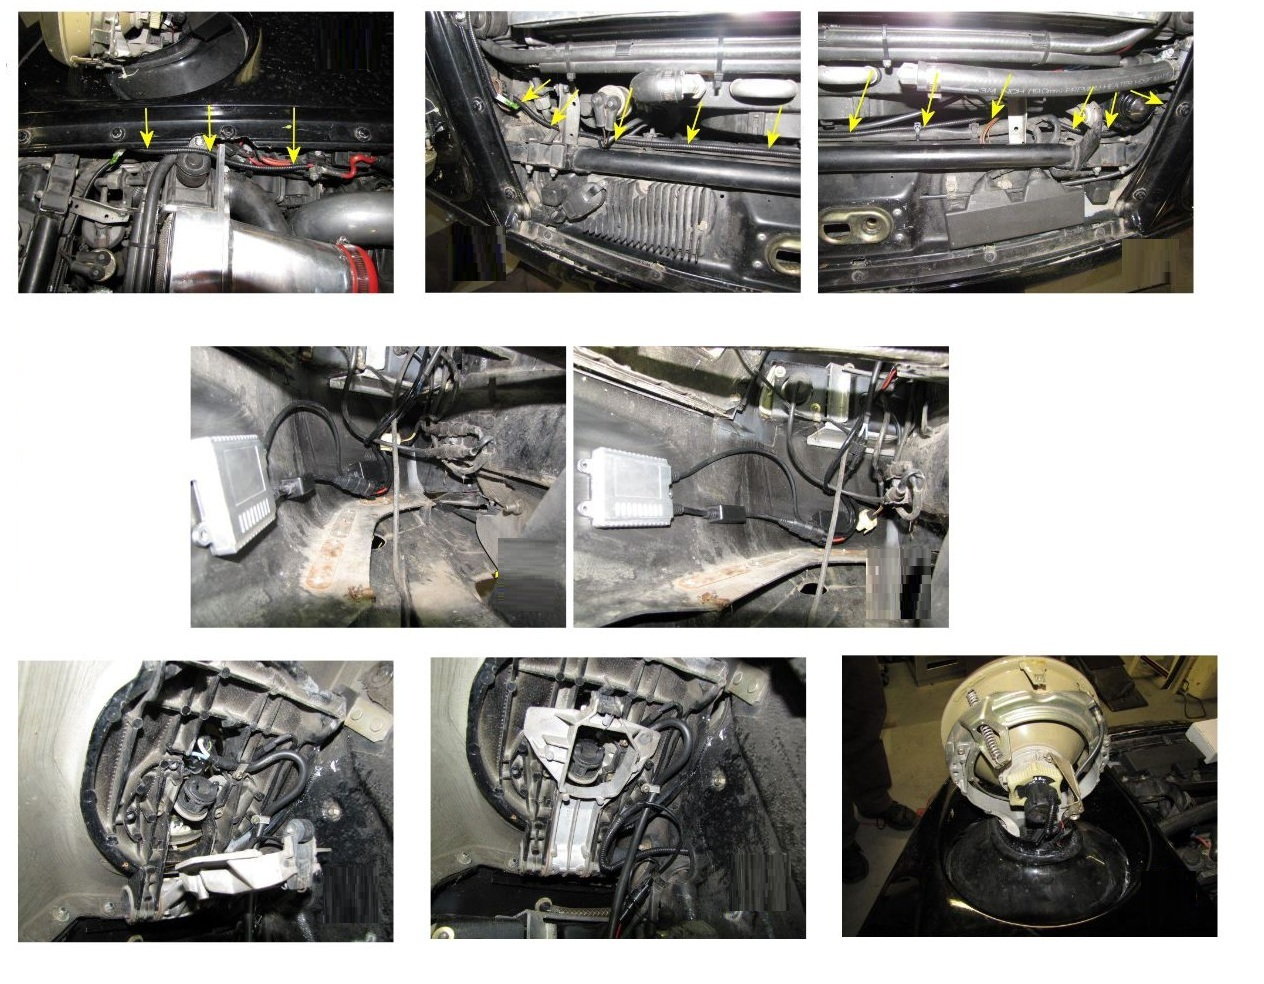
Step 3 – Install mounting relays and ballasts
- Pull down the aluminum lift arm so you can work more easily on the wiring. You can use a block of wood to keep the headlamp up.
- Loosen the two screws, and slide out old wiring to headlamp.
- As mentioned earlier, wiring from new bulb drops down into fender; new wiring to headlamp is placed under clamps, and screws are tightened to secure it there.
- NOTE: Make sure to check that your headlamp moves freely up and down before securing ballast and relays down.
- Relay is secured to brake duct support with a single screw. Hole for the screw is already there — insert matching screw from kit through the relay and into hole.
- Ballast can be secured with double-sided tape.
- There is also one long lead in the kit — it provides power for the left headlamp. Route it through the hole provided, across front of radiator, and into left fender.
- Don’t secure wiring down just yet until after system is tested.
- Repeat mounting relays and ballasts steps for left side. When you come to long lead, route it through the hole, across front of radiator, and into right fender.
Step 4 – Finish installation
- Check location of all wires, relays, and ballasts — you want to be certain that there’s enough clearance for the headlamp as it swings up and down.
- Experts recommend leaving a loop of wire near the bulb so wire is not stressed as the headlamp rotates.
- If you are comfortable with the amount of clearance the bulbs have, go ahead and mount ballasts and relays, and attach wiring across front of radiator with cable ties. (Remember to follow instructions on double-sided tape when mounting ballasts).
- Now’s a good time to clean substrate with acetone or brake cleaner before affixing adhesive tape.
- Cable-tie old headlamp socket and wire down so headlamp doesn’t rattle over bumps (don’t cut it off).
- Install headlamp covers on headlamps and check that they clear everything in fender wells one more time before re-installing fender well liners.
- Install inner fender wells, mount tires, lower car back to ground, and test headlamps out on the road.
- Over the next few trips out, check lamps to make sure all wiring, clamps, etc. are secure and have not been knocked loose. Re-tighten as necessary.
Related Discussions and Site
- New Product: HID Headlamp Kits for the 928A - Rennlist.com
- HID Headlights: Install - Rennlist.com
- 928 Motorsports Installation Guide - 928motorsports.com