Porsche 993: How to Replace Tie Rods
Worn or damaged tie rods can adversely affect the steering and handling of the Porsche 993. Installation of new tie rods can restore handling sharpness and steering feel that will make you fall in love with your 993 all over again.
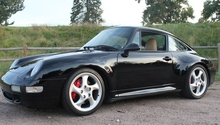
This article applies to the Porsche 993 (1993-1998).
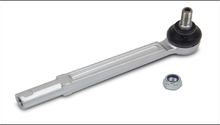
The Porsche 993 utilizes unique tie rod assemblies that have an injection molded rubber sleeve that connect the inner tie rod to the outer tie rod. This rubber molding has been known to break down over time and allow for a looseness or vague feeling in the steering. Additionally, wear at either of the tie rod ball joints can cause poor tire wear and allow for the steering to wander. Replacing worn out tie rods will restore the steering on your 993 to the way the factory intended it be. For individuals wanting increased steering feedback and precision, consider modifying the factory units or upgrading to a set of RS tie rods.

Materials Needed
- Floor jack & jack stands
- Ball joint separator tool
- Metric open-end wrenches (two 19mm wrenches)
- Torx sockets and ratchet
Unlike many other vehicles, a 993 tie rod is a single assembly that does not allow for replacement of the tie rod ends. If the ball joint at either end of the tie rod has failed, an entire tie rod assembly is needed to replace the failed component.
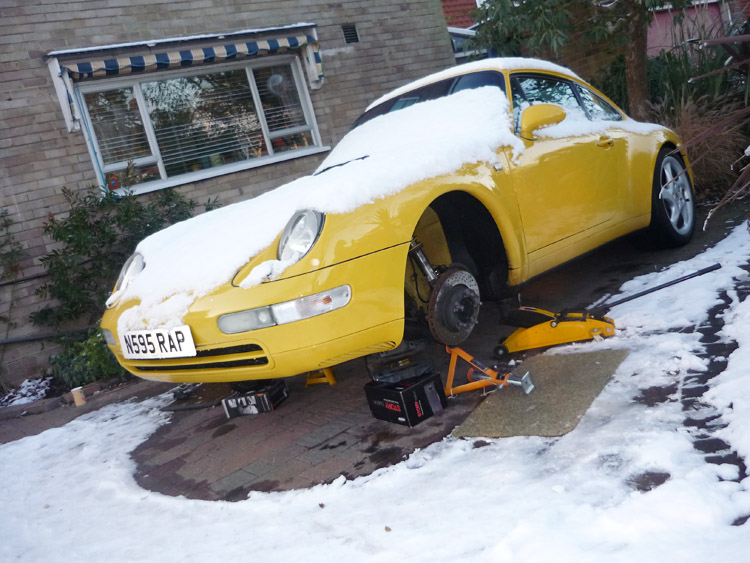
Step 1 – Lift car and remove front wheels
In order to gain access to the steering and suspension components, lift the car and support it with jack stands. With the front end supported, remove the front wheels.
(Related Article: Porsche 993: How to Jack Up Your Car - Rennlist.com)
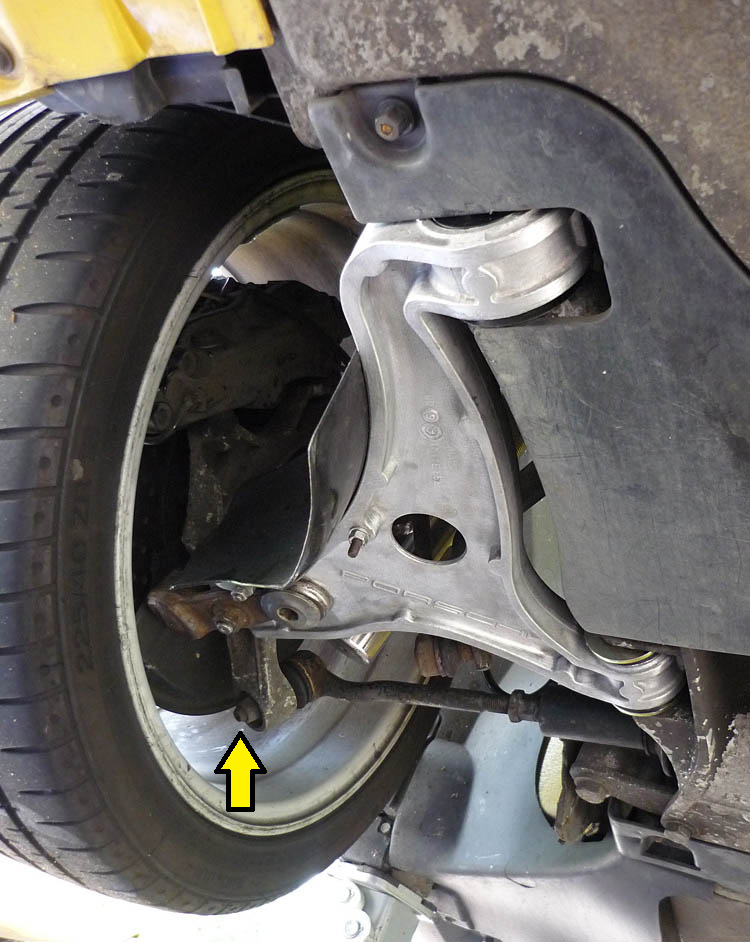
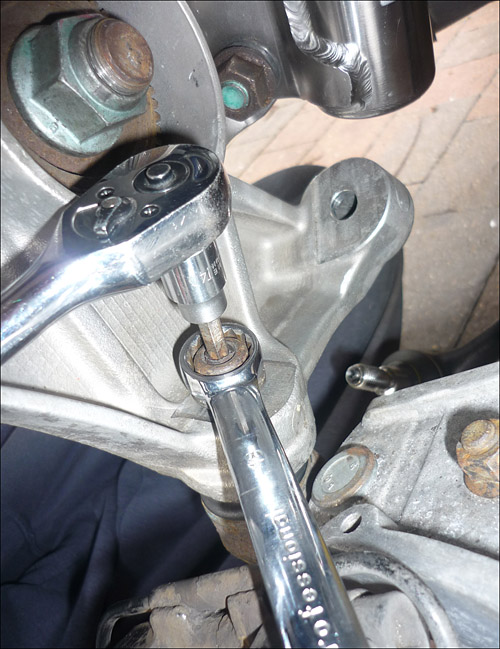
Step 2 – Separate outer tie rod ball joint
To better access the particular tie rod you are replacing, turn the steering wheel to full lock in the opposite direction of the side you are working on (i.e. turn the steering wheel to the right when working on the driver's side tie rod).
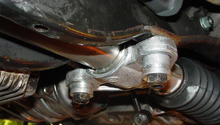
- Remove the 12mm nut securing the outer tie rod to the suspension upright with a 19mm wrench. Countering with a Torx socket may be necessary to break the nut loose.
- Using a ball joint removal tool, separate the outer tie rod from the upright. This usually takes a bit of force before the tie rod will pop out. A light tap on the upright with a hammer can aid in separation.
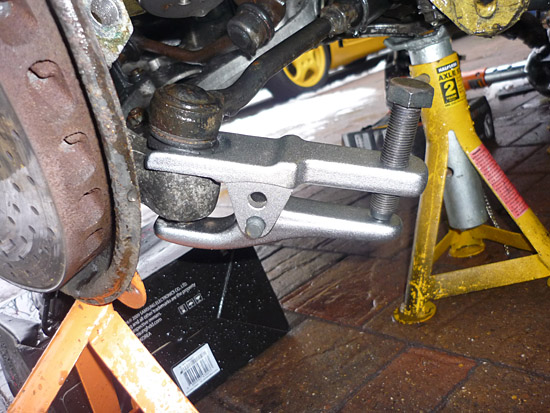
Pro Tip
If you do not have a ball joint removal tool, a hammer can be used to drive the tie rod ball joint out of its seat. This is best accomplished by leaving the 12mm nut loosely screwed on the threads to provide a larger surface area to contact when using a hammer.
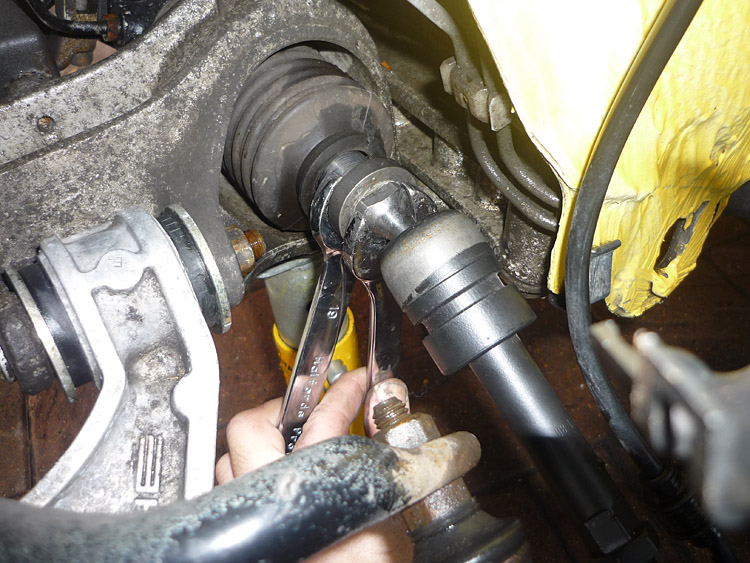
Step 3 – Remove inner tie rod from steering rack
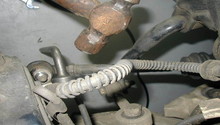
- Pull back the rubber boot on the steering rack to gain access to the tie rod fitting.
- Using two 19mm wrenches, loosen the tie rod from the steering rack. Be sure to counter with the wrench that is placed on the steering rack to prevent the shaft from spinning.
- Once broken loose, the tie rod will unscrew and can be removed from the car.

Step 4 – Install new tie rod assembly
- Set the length of the new tie rod as close as possible to the length of the old tie rod.
- Install the inner tie rod to the steering rack while making sure to counter with the wrench placed on the rack. Torque to approximately 55 ft-lbs.
- Install outer tie rod ball joint into suspension upright. Countering with a Torx socket, tighten securing nut to approximately 55 ft-lbs.

Step 5 – Install wheels and have them aligned
After replacing both the passenger and driver side tie rods, reinstall the wheels and let the vehicle off of the jack stands. It is highly recommended that the car now have a 4-wheel alignment completed as the newly installed tie rods have likely altered the toe adjustment of the front wheels.
Related Discussions
- Replacing Tie Rods - Rennlist.com
- Factory Tie Rods Modifcations (RS Clone) - Rennlist.com
- Steering Improvements? Anatomy of a Tie Rod Inner - Rennlist.com
- Tie Rod Options - Rennlist.com