Porsche 993: How to Paint Your Rims Using Plasti Dip
If you want to upgrade your wheels but don't want to make permanent changes (or spend too much money), consider dipping them instead. Plasti Dip offers many benefits; it's generally easy to remove, doesn't stain, and is quite affordable. When it's done right, Plasti Dip can last up to three years without requiring retouching.
This article applies to the Porsche 993 (1993-1998).
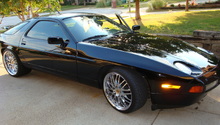
New wheels can boost your car's appearance, but they can also be quite costly. Some owners have found that using Plasti Dip on their car's wheels gives them a smooth appearance without the added hassle of paying a dealership or a shop to install new wheels. One of the greatest benefits of Plasti Dip is that it can be peeled off and redone if you don't like the way it looks. Read on to learn more about this DIY modification.

Materials Needed
- 2-4 cans of Plasti Dip
- Fast-drying cleaner, such as Windex
- Bucket
- Old scrubbing brush
- Newspaper or similar material
- Old rag
Step 1 – Clean off the wheels and rims
Plasti Dip works best when it has a clean surface to stick to. Before you begin spraying it onto your wheels, you'll need to remove any built-up dirt and grime. You may rely on the basic soapy water and sponge method or a fast-drying cleaner to get rid of any dirt. It's important to fully clean both the wheels and the rims during this step.

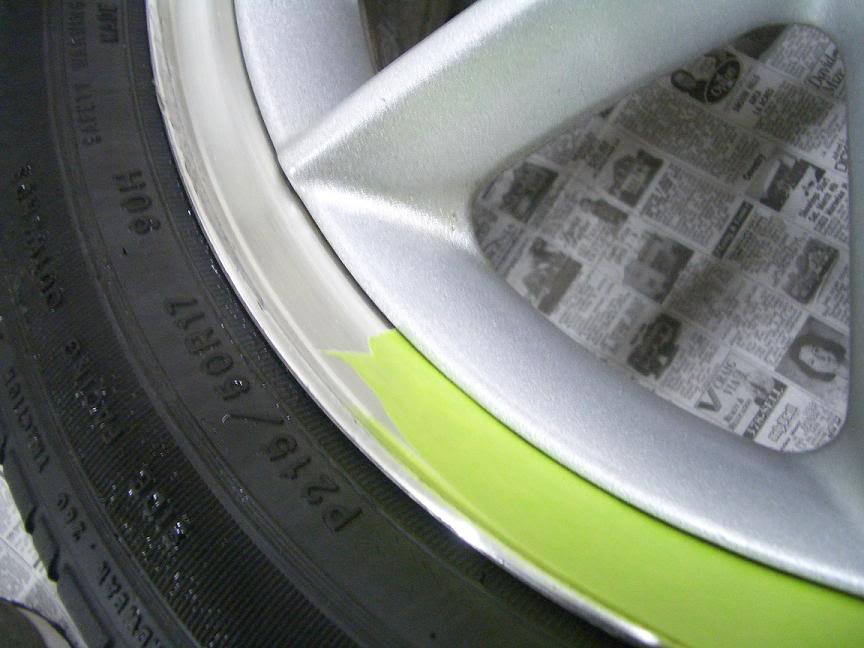
Step 2 – Cover the brakes with newspaper
To avoid accidentally spraying your brakes with Plasti Dip, you'll need to completely cover them with newspaper or a handful of paper towels. If Plasti Dip does happen to get onto the brakes, it's important to clean it off as soon as possible.
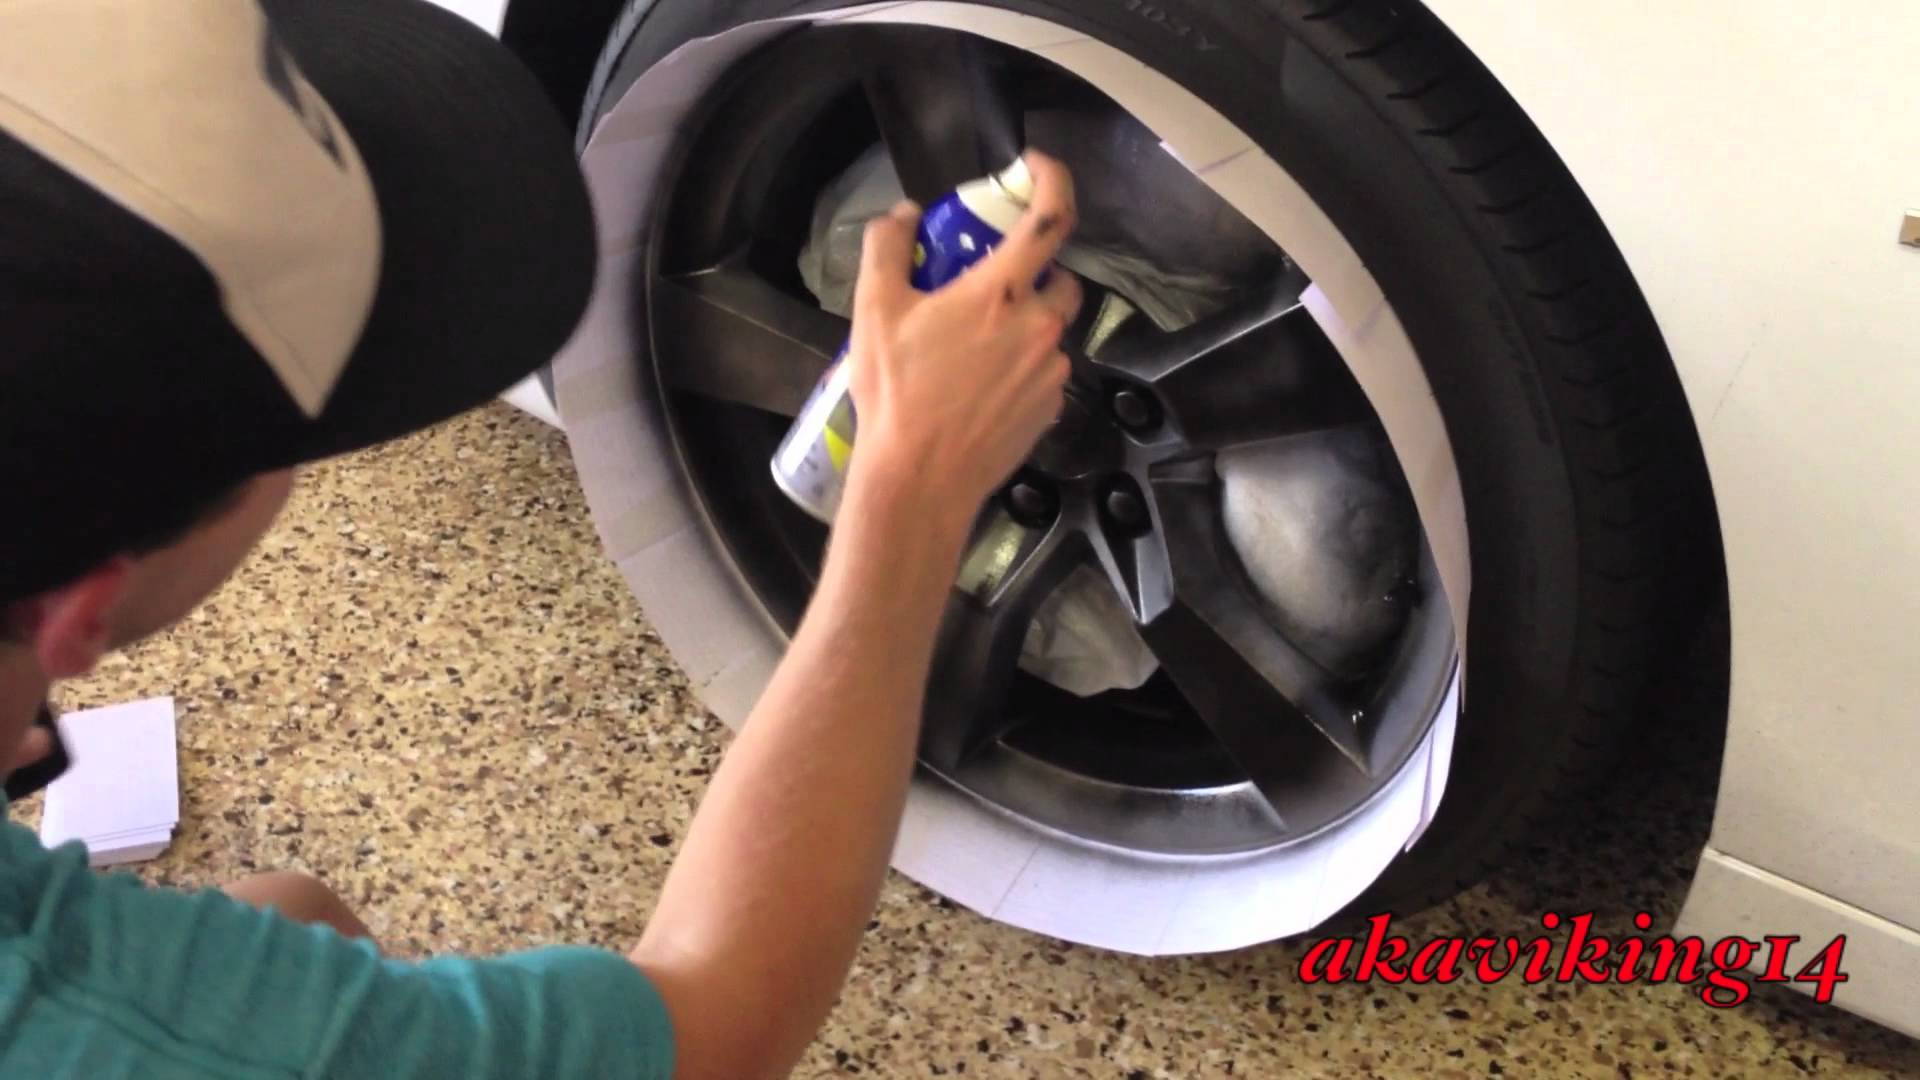
Step 3 – Spray on the base layer
Once the wheels have been thoroughly cleaned, dried, and covered, it's time to apply the base layer. To do this, start by applying a smooth, even coat that's as thin as possible. Cover the base smoothly and evenly by applying even pressure while moving your hand and arm in circular motions to cover the base. You can easily peel off any Plasti Dip that finds its way onto the wheels.
Step 4 – Apply additional layers as desired
After applying the base layer, the number of additional layers you spray onto your wheels is a personal choice. Some people prefer just one or two more layers, especially if they're using Plasti Dip for the first time. Others want a bit more coverage or longevity and often spray an additional three to five layers. Car owners using Plasti Dip on their daily drivers also find that multiple layers hold up best to frequent driving.
Step 5 – Peel off any extra material
Once you've sprayed on the desired amount of layers, you may find that you accidentally coated another surface, such as your tires, during the process. Fortunately, Plasti Dip peels off quite easily. If you can't lift up the material with your fingernail, use a screwdriver to gently raise it then begin peeling.

Related Discussion
- Plasti Dip Your Wheels? - Rennlist.com