Porsche 997: How to Repair Worn Climate Control Buttons
The typeface on the plastic climate control buttons in the 997 (and 996) are common casualties of wear and tear. The buttons fade, and become undecipherable, making the interior look prematurely aged and dated. Here's how to fix the problem and get them looking like new again.
This article applies to the Porsche 997 (2005-2012).
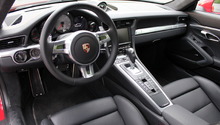
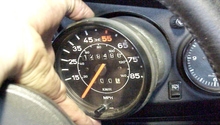
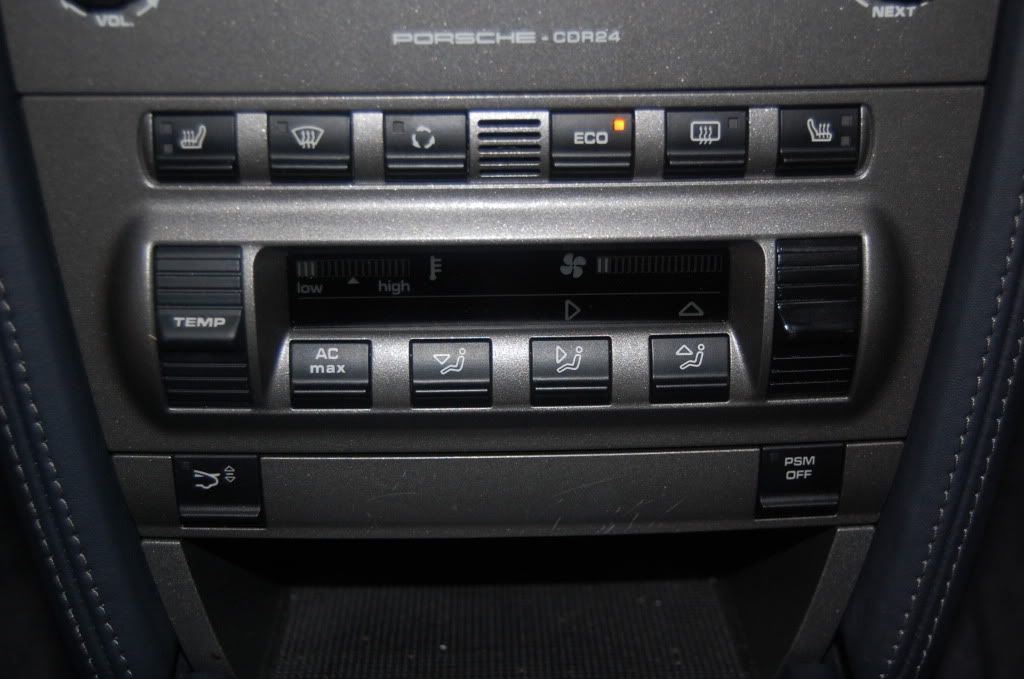
Porsche may be a name synonymous with German quality, but as owners can attest, there are some things that don't mesh with these beliefs. A perfect example lies in the climate control buttons of the Porsche 997. These buttons are known for fading or flaking paint over time, which can make your otherwise pristine ride look like a reject from the 80's. If you choose to have these professionally refinished, the job will cost somewhere between $75-$150, or you could just purchase a whole new unit for around $600. But if you're looking to DIY and save a bunch of money, then there are ways to fix it and get those buttons looking like new again. Here's how to get it done.

Materials Needed
- Flat black paint (such as Testers, Krylon or Plasti Dip)
- Toothpicks and Q-tips
- T-20, T-25, and T-6 Torx
- Flat head screwdriver
- Laquer thinner
- Radio removal tool
Step 1 – Remove climate control panel
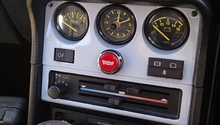
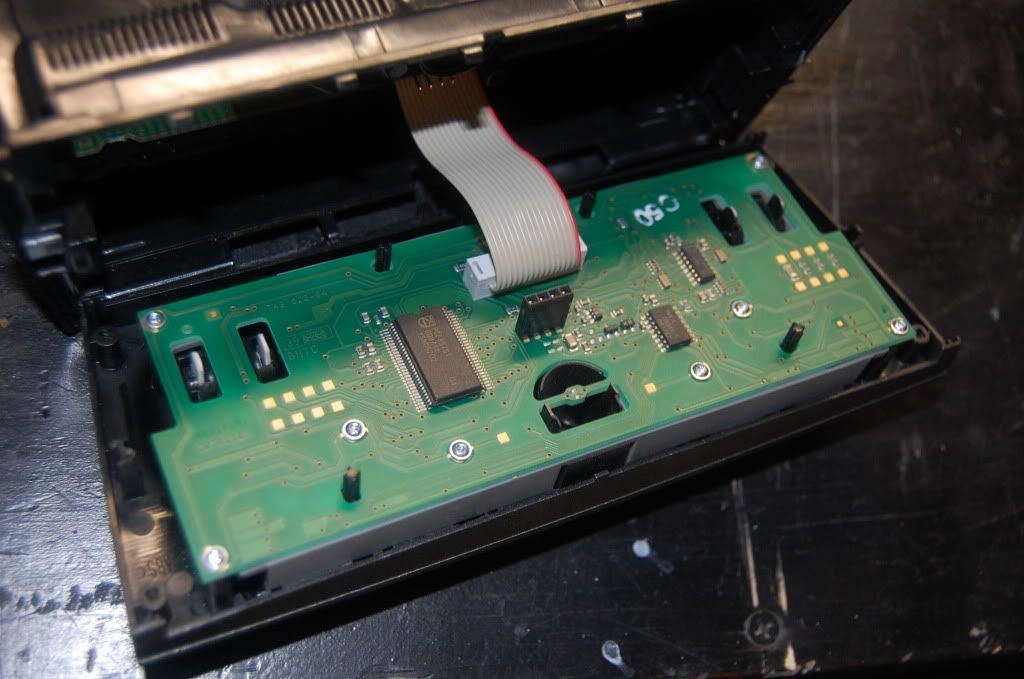
First, remove your radio using a radio removal tool, then remove the side panels. Press in the clips on either side of the fan control unit and pull it straight out. Unplug the two wiring harnesses holding the fan control unit in place. Use the T-6 Torx to remove the four screws on the back, then remove the nine screws holding the circuit board onto the faceplate. Remove the rubber push button piece.
Step 2 – Remove climate control switches from faceplate
Flip the faceplate over and look for the switch you want to remove. Use a small flat head screwdriver to carefully remove it. Stick the screwdriver between the black plastic and the flat white piece, prying the black away from the white just enough to slip each side out from the rocker. Push each of the four small white tabs out by wiggling them, and the switch will pop right out.

Step 3 – Clean and paint button/switch
You can scrape the rest of the peeling paint from the button or switch with an exacto knife, and use q-tips, toothpicks, and lacquer thinner to finish cleaning it up. Once clean and dry, use your selected paint and add a few coats to the button. A matte finish is best. Some simply like to use hobby paint or spray paint, but Plasti Dip is a good choice as well for durability.

Step 4 – Re-install switch/button
Press the switch back into place once dry, and test it to make sure it moves as it should. Replace the push button rubber connectors. Replace the circuit board and screws, assemble the unit, and plug it back into place. Test the unit to make sure it functions correctly, then slide the radio and side panels back into place.
Related Discussions
- Peeling Climate Control Buttons: New Solution - Rennlist.com
- Flaking Climate Control Switches - Rennlist.com
- How to Remove Climate Control Unit - Rennlist.com