Porsche 993: Why is My Battery Not Charging?
A properly functioning and fully charged battery is a crucial component to any vehicle. Ensuring the battery is being properly charged while driving can give you peace of mind knowing that your Porsche 993 will be ready to go the next time you are.
This article applies to the Porsche 993 (1993-1998).
Nothing is worse than getting in your car only to find out that the battery is dead and the car will not start. Many dead battery issues are caused by a fault in the vehicle's charging system, a bad battery, or a parasitic draw on the battery. While there may be no warning signs to indicate any of these problems prior to experiencing a dead battery, they can easily be resolved with a bit of probing. This article will examine possible causes related to battery charging issues and what components can be tested to determine the root cause of the issue.

Materials Needed
- Digital multimeter
- Battery tester
- 24mm combination wrench & 12 point Allen wrenches (optional)
Step 1 – Inspect alternator belt
The alternator is driven by a belt that runs from the crank pulley to the alternator pulley. The alternator is one of the main components in the Porsche 993's electrical system as it charges the battery and produces power to operate various electrical components when the engine is running. If tension is set too loose on the alternator drive belt, the pulley can slip and proper alternator operation can be disrupted. Similarly, if the alternator belt is broken, the alternator will not function and the car will rely solely on battery power until the battery is completely drained. Ensure that your battery is charging by inspecting the condition and tension of your alternator belt.

Pro Tip
The alternator belt is adjusted by using shims between the hold-down nut and outer pulley spacer. The rule of thumb is fewer shims equals more belt tension. Proper belt tension should allow for approximately 1/4" of belt deflection.
Step 2 – Test charging system
After setting proper alternator belt tension, start the engine and make sure the alternator dash light goes out. Next, connect a digital multimeter or battery tester leads to the battery located in the front trunk. A properly functioning alternator should provide a voltage reading of approximately 14.0V while the engine is at idle. If the reading is significantly lower (12.0V or lower), then the alternator is not providing enough voltage to charge the battery. A low voltage reading typically indicates a bad alternator or voltage regulator. While some individuals simply replace the voltage regulator, most owners agree that it is most cost-effective in the long run to replace the entire alternator assembly. This is especially true on high mileage cars.
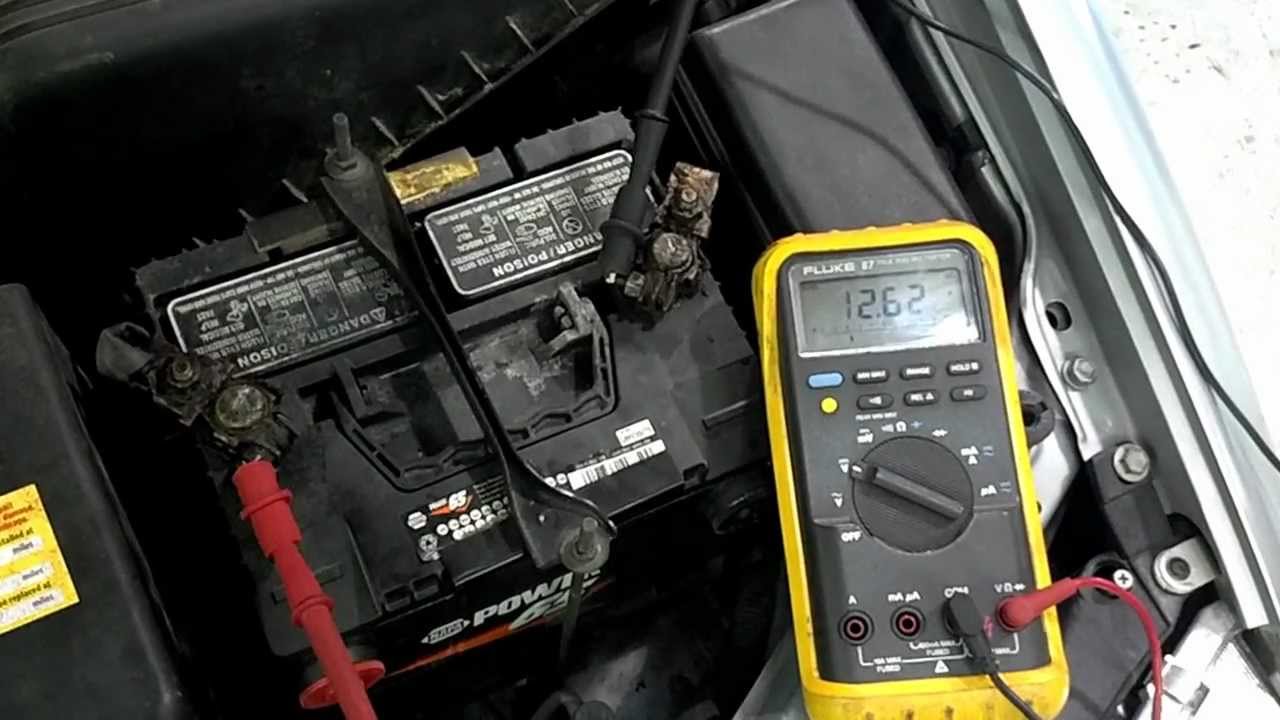
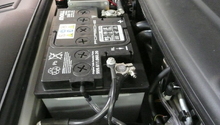
Step 3 – Check battery
If the alternator is functioning properly, then the battery may be going bad. A typical car battery has a lifespan of 2-5 years. Batteries naturally age, but it is especially hard on batteries if your car is a weekend driver that sits without a battery maintainer for extended periods of time. With the engine off, use a digital multimeter or battery tester to inspect the battery's voltage. A fully charged battery should show a reading of 12.6 volts. It is not uncommon for a dying battery to quickly lose its charge or have one of the cells inside the battery go dead. If you have access to a battery tester, a load can be placed on the battery to indicate its condition. If your battery voltage is reading low or your battery is losing its charge in a day or two, it is a good idea to install a new battery.

Pro Tip
Further battery testing can be accomplished by fully charging the battery and removing it from the vehicle. With no electrical components drawing juice from the battery, a full charge should remain in the battery for an extended period of time. If the battery begins losing its charge overnight, then the battery is bad.
Step 4 – Test for excessive draw on battery
If your battery is in good condition and your alternator is charging properly, but you are still having issues with you battery holding a charge, a parasitic draw is most likely the issue. Check that no interior or trunk lights are staying on after the car is parked and locked up. If you are unable to locate any potential issue, then the current draw on the battery can be checked with a digital multimeter. The normal draw on the battery in the 993 with the car at rest is between 35-55 milliamps (mAh). Test for parasitic draw on the battery by following these steps:
- Disconnect the negative cable (black) from the battery.
- Ensure your multimeter is set to measure amps and the probes are connected to the highest ampere setting. Always start at the highest amp setting and work your way down from there or damage to your multimeter can occur.
- Connect one of your multimeter leads to the positive terminal on the battery. Then connect your remaining multimeter lead to the negative battery cable. You can now see the current draw displayed on your multimeter.
- With the multimeter leads connected to the battery and battery cable, carefully close the trunk lid or manipulate the trunk switch to be sure the trunk light shuts off.
- You can now begin pulling fuses from the fuse box. As each fuse is pulled, monitor the current draw on the multimeter. When the fuse of the circuit that is causing the draw is removed, the draw on the multimeter will change. Once the component that is causing the problem is located, replace and recheck current draw.


Related Discussions
- Normal Behavior for Battery, Alternator, Voltage Regulator - Rennlist.com
- Alternator Belt Replacement - Rennlist.com
- Help Please! Parasitic Battery Drain - Rennlist.com