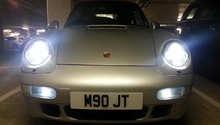
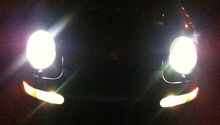
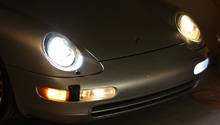
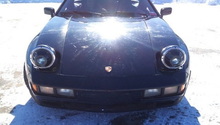
Porsche 928: Why Are My Headlights Dim?
Whether your high beams are not bright enough or your low beams are too low, this simple diagnostic will help you find a solution to any cause of headlight dimming. Continue reading to diagnose and repair dim headlights on your Porsche 928.
This article applies to the Porsche 928 (1978-1995).
Dimming headlights is a problem you won't notice unless it happens suddenly. In most cases, the problem is with the headlight bulb or the wiring to the headlight, but it could be something more serious such as the battery or the alternator. Following the steps below will show you how to check for common causes of headlight dimming.
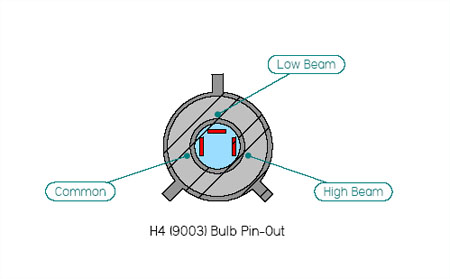
Step 1 – Replace the headlight bulb
This is the most probable cause of a dimming headlight. Some bulbs such as HIDs are known to lose their brightness over time. To repair this issue, just remove the trouble bulb and replace it with a new one. You should see an improvement in brightness. If this does not work, then the problem is a bit more technical.

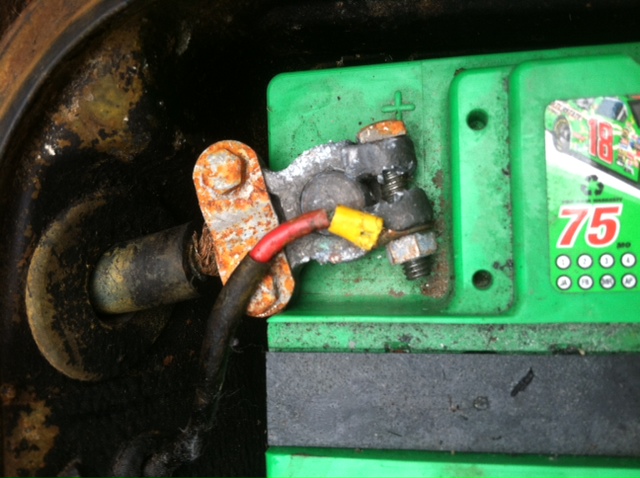
Step 2 – Check the connections
The second likely culprit is the wiring. The first thing you should check is the ground wire to see if it's touching against something it's not supposed to, or if there's dirt and debris on it. If you can't find an issue there, then you'll have to look along the rest of the connection to find if there's something that's causing resistance to occur along the wire. Check the ends of the wires to make sure there isn't a loose connection that needs to be secured.
Step 3 – Test the fuses
Check the fuses for the headlight switch because sometimes they can be faulty. The best way to check these is with a multimeter to see if electricity is getting through.

Step 4 – Check and clean the battery
Sometimes, headlight dimming can be caused by a shorted cell in the battery. Check the voltage of the battery to make sure it's retaining its charge correctly. It should be at 12.2 volts when the car is off. Also, the battery terminals may need to be cleaned of any corrosive buildup. It might also need some more electrolyte fluid. If you ever do need to add more electrolyte fluid, be sure to charge the battery. Then, let it sit for a day or so before you check it again.
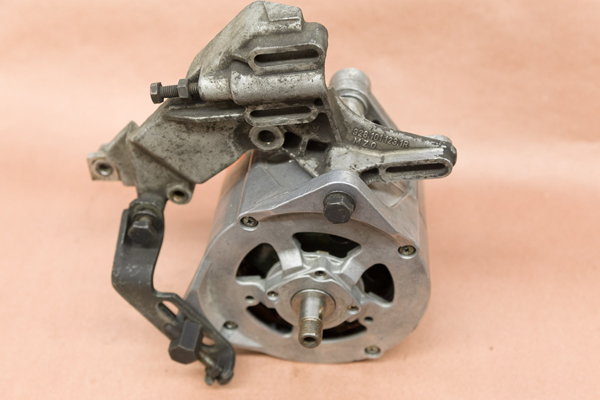
Step 5 – Get the alternator checked
You can do a quick test to see if the problem is with the alternator. Run the car to check the voltage levels of the battery. It should be between 13.8 to 14.2 volts. If it's less than that, your alternator isn't putting out as much power as it should be. At this point, you should take it to a shop to get a diagnostic. But in all likelihood, the alternator will need to be replaced.
Related Discussions
- Headlights Dim When Driving - Rennlist.com
- Right Headlight Lighting but Dim - Rennlist.com
- Dim Headlights on Low-beam - Rennlist.com