Porsche 997: How to Install Daytime Running Lights
Daytime running lights improve visibility and avoid the high-consumption cost of using your low beams. Find out how to install DRL LED lights on your Porsche 997 Turbo (2007-2012).

So you just got your new daytime running lights from Agency Power and now you need to install them on your Porsche 997 Turbo. Below are the simple steps that should make your installation go smoothly. Click any image to view the full size.

These DRL LED lights were designed and tested to work with the Porsche 997 Turbo 2007 to 2012 as a direct replacement of the stock lights. Installing these on anything else or using any other lights in conjunction with these is at your own discretion and can void the warranty offered. We do recommend an experienced installer to complete the upgrade. For any questions in regards to installation, please contact porsche@vividracing.com.

Materials Needed
- Torx bits
- Flat head screwdriver
- Wire strippers/crimpers
- Wire coat hanger
- Electrical tape
- Zip ties
- 20-22 gauge butt connectors
- Female 20-22 gauge disconnect connector
- 20-22 gauge tap splice connector
Step 1 – Remove front wheels and fender liner
Remove both front wheels from the car so you can access the inner fender liners. Using a flat head screwdriver, pop out the push clips to remove the front wheel fender liner.
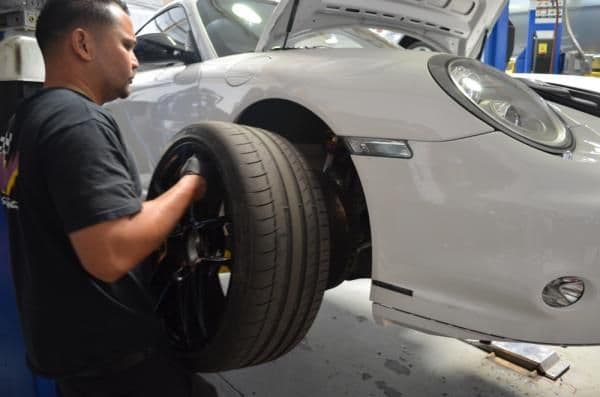
Figure 2. Remove front wheels. 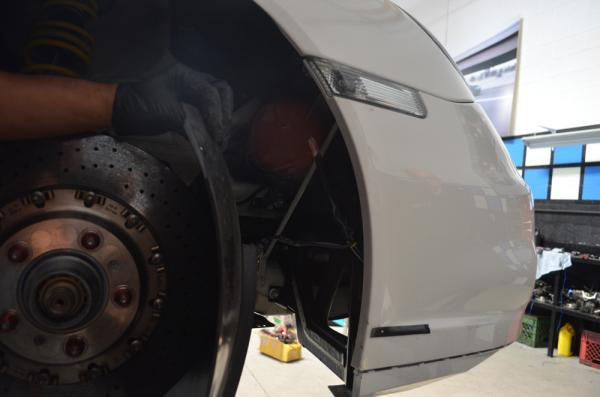
Figure 3. Remove front fender liner.
Step 2 – Remove side marker lights
The easiest way to remove the side marker lights is to push towards the front of the car and pull out away from the car, as they have a spring clip. Once out, then you can disconnect the light plug.
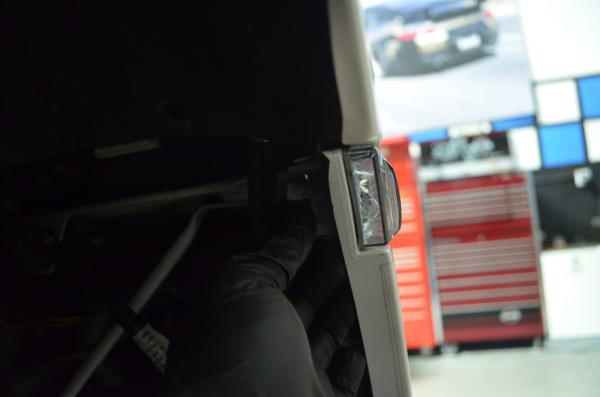
Figure 4. Push and pull spring clip. 
Figure 5. Remove side marker lights.
Step 3 – Unplug the wire harness on passenger side
You must remove the factory bumper cover to install the running daytime lights. The Porsche harness, which is connected also to the fog lights, headlight washers, and front lights, is all located in the fender well and not reachable from the front. Unplug as pictured in preparation to remove the bumper cover.
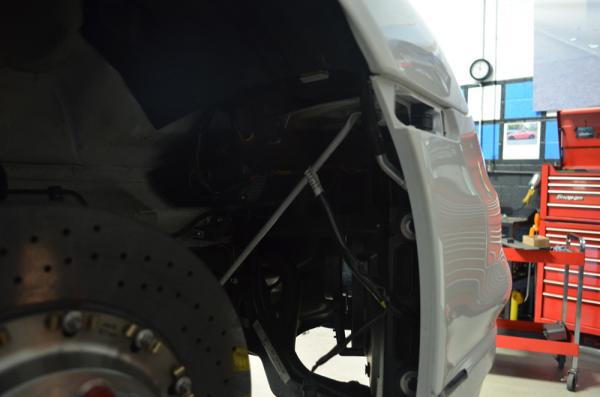
Figure 6. Passenger wheel well minus fender. 
Figure 7. Unplug wire harness. 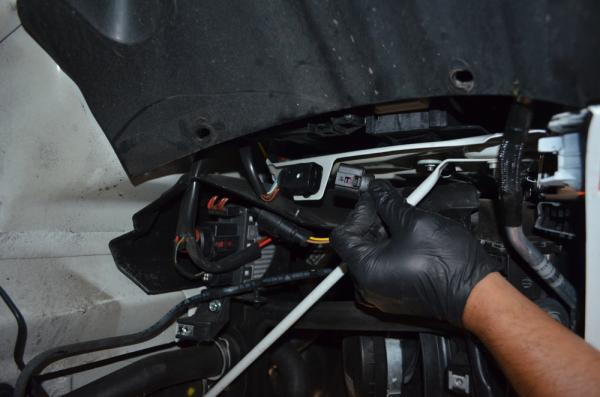
Figure 8. Unplug wire harness. 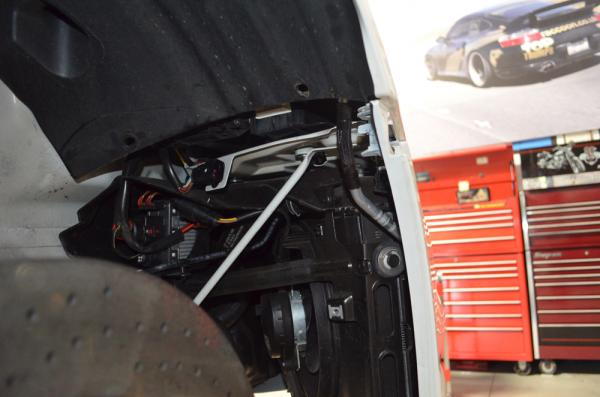
Figure 9. Wire harness now unplugged.
Step 4 – Repeat Steps 2-3 on driver's side
Same steps as Steps 1, 2, and 3, but on driver's side of the car.
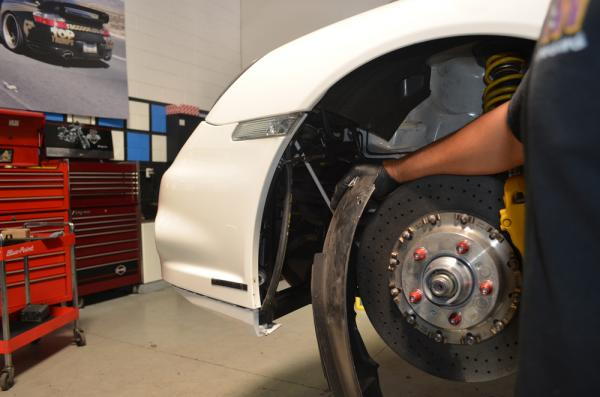
Figure 10. Remove front fender liner. 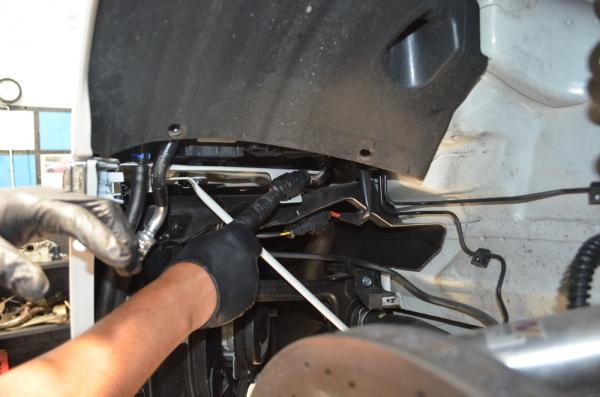
Figure 11. Locate wire harness. 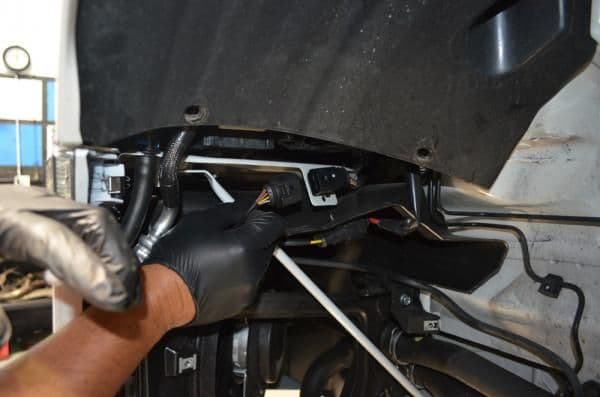
Figure 12. Remove wire harness. 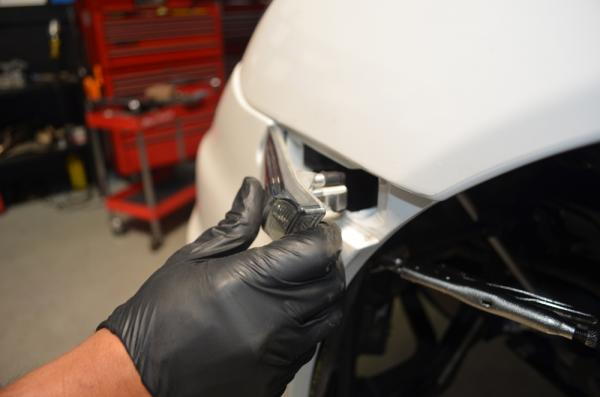
Figure 13. Remove side marker light.
Step 5 – Remove screw that connects fender to bumper
It is a vertical screw as pictured below.
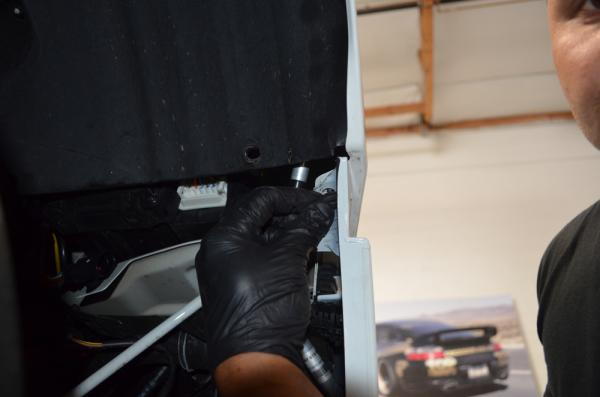
Figure 14. Remove screw. 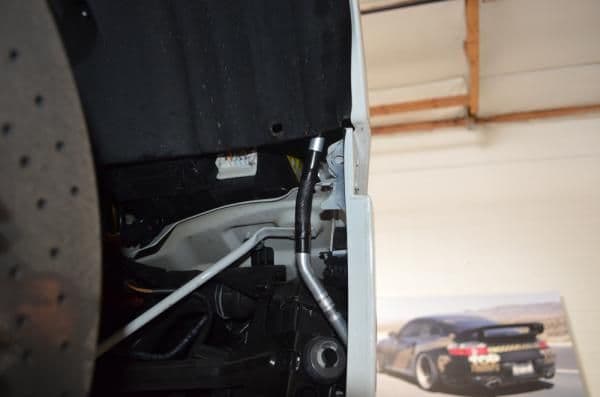
Figure 15. Screw removed.
Step 6 – Remove front bumper cover
This is a big step. Here you will actually be removing the front bumper cover after you get all the clips and screws removed. Not pictured, but on the bottom of the bumper are push clips that hold the bumper to the under pan. These push clips need to be removed as well.
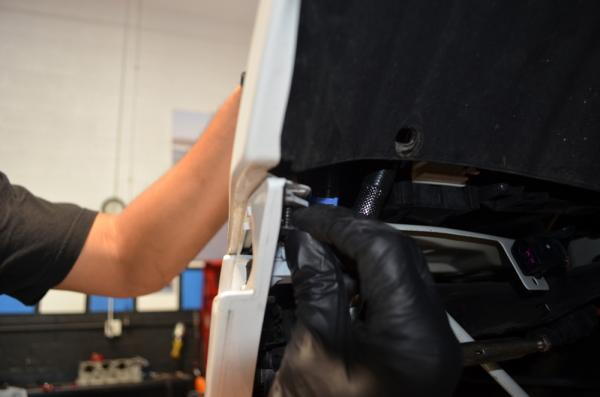
Figure 16 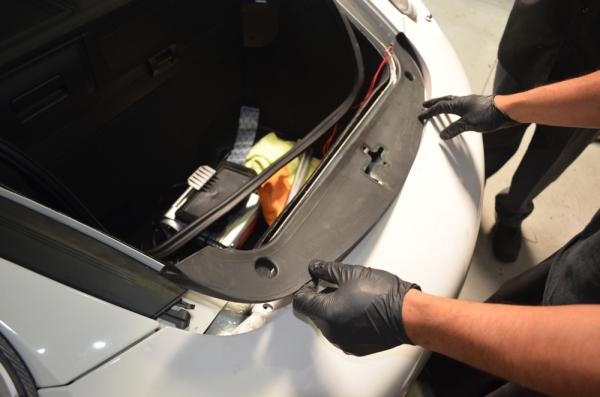
Figure 17 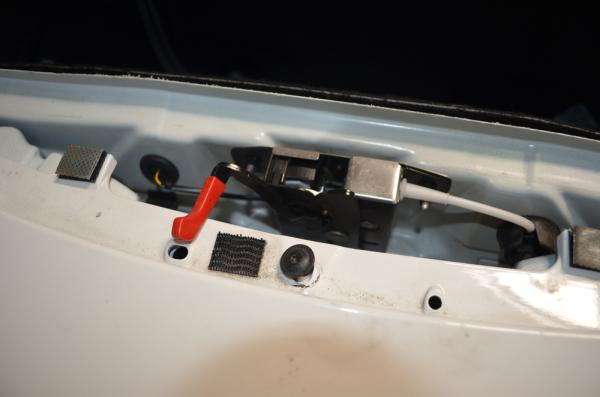
Figure 18 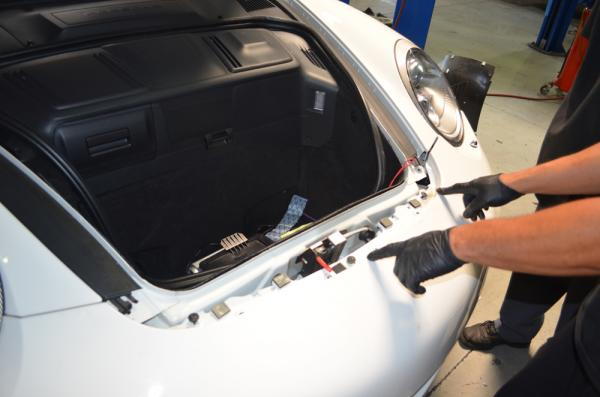
Figure 19
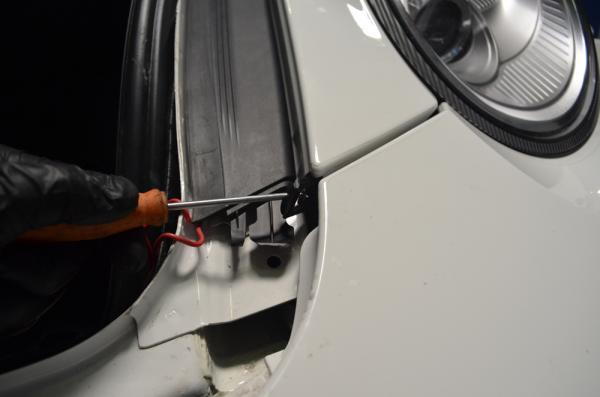
Figure 20 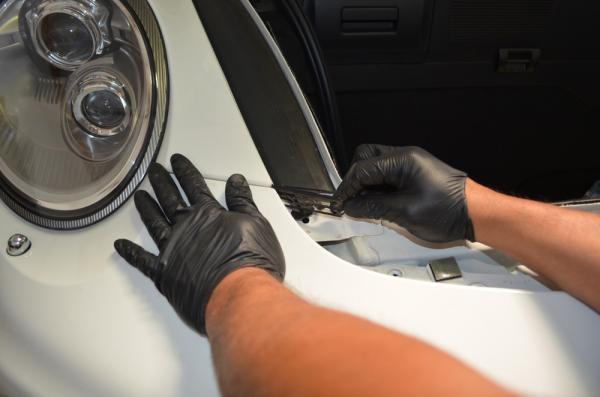
Figure 21 
Figure 22 
Figure 23
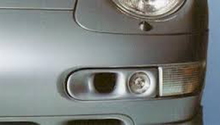
Step 7 – Remove stock lights
Next you will remove the factory front light from the bumper cover using your flat head screwdriver. When setting the unit down, be careful not to damage the wires and connectors.
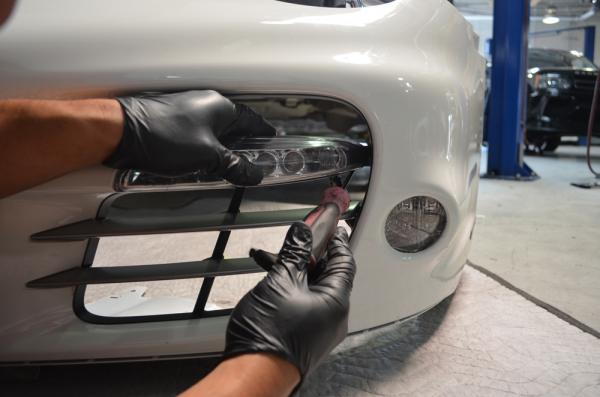
Figure 24. Remove factory front light unit. 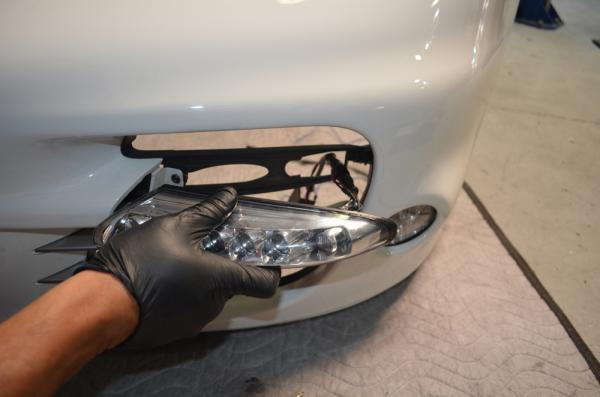
Figure 25. Factory front light unit removed.
Step 8 – Connect wires on LED light unit
The LED DRL is supplied with a standard halogen drive light bulb and plug in. There are two black wires from the black box and two wires from the halogen connector. Those two need to be connected—and color does not matter. Here you can use two butt connectors per side, solder with rubber shrink wrap or use electrical tape—your preference.

Figure 26 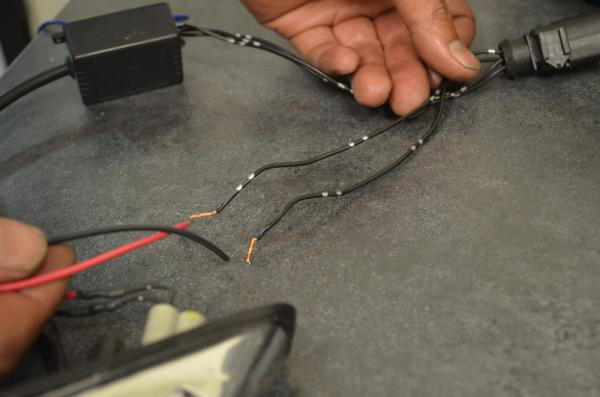
Figure 27 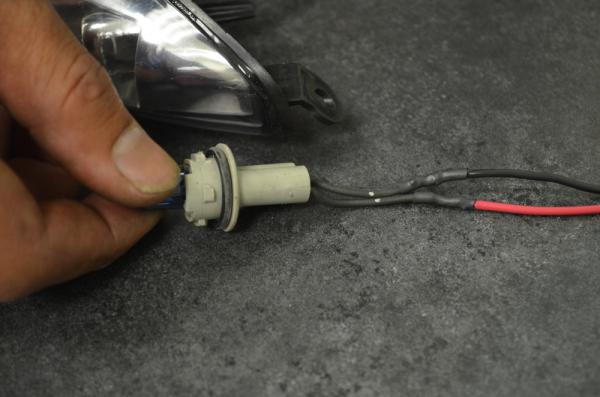
Figure 28
Step 9 – Connect LED light unit
With those wires connected, take the red rubber O-rings and place them in the connector, then twist them shut. Then your complete light unit is ready to be installed.
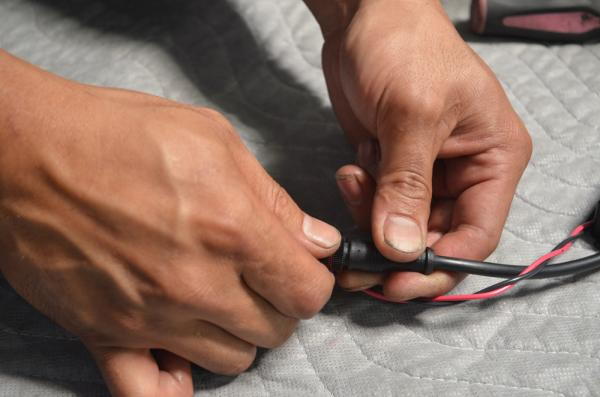
Figure 29 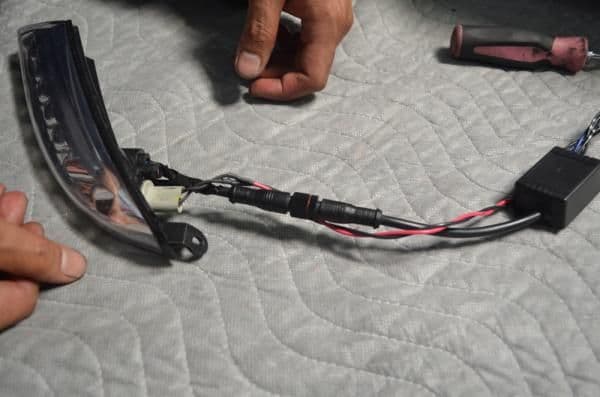
Figure 30 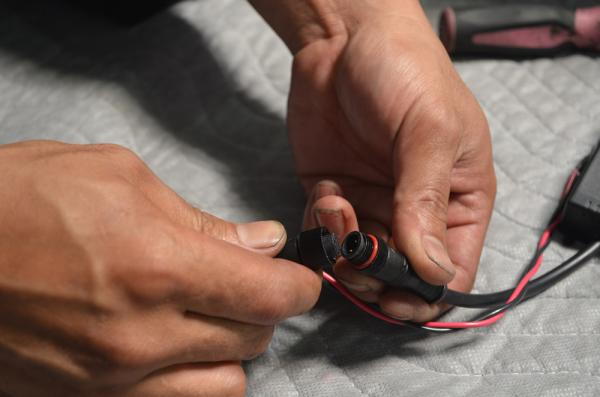
Figure 31
Step 10 – Secure LED light unit
Feed the new LED DRL back through the bumper and re-secure them like stock. Once the light is fed through and mounted back in place, it's time to secure the wires and clips in place on the back of the bumper.
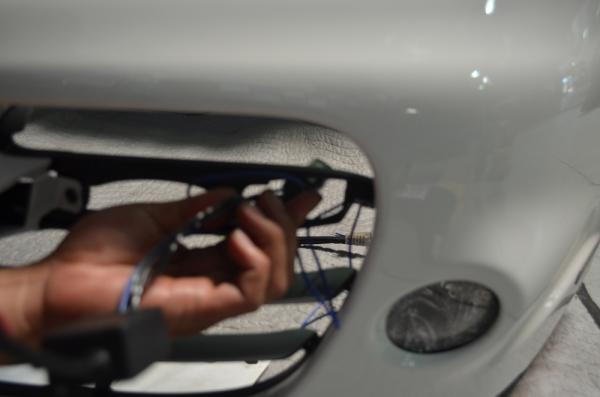
Figure 32 
Figure 33 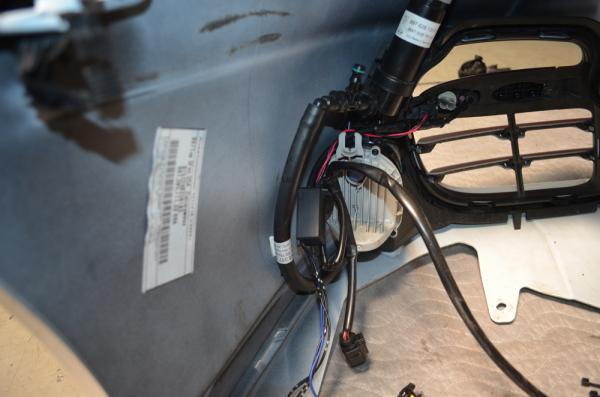
Figure 34 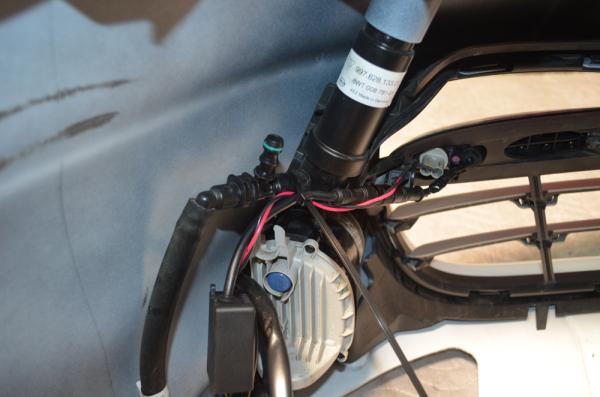
Figure 35 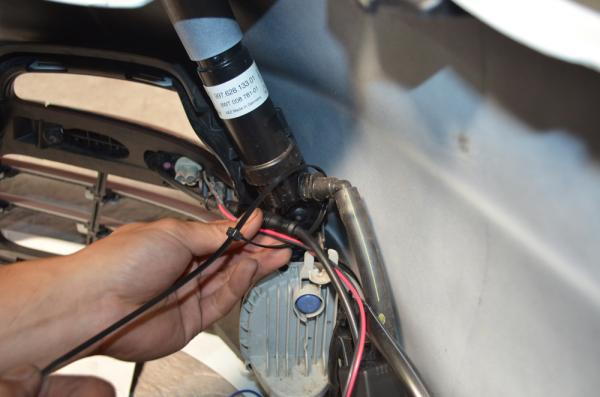
Figure 36 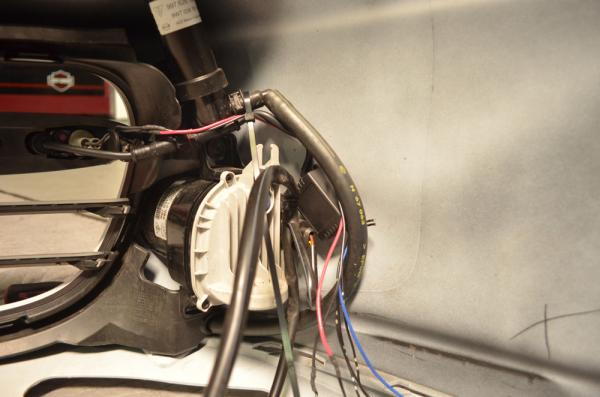
Figure 37 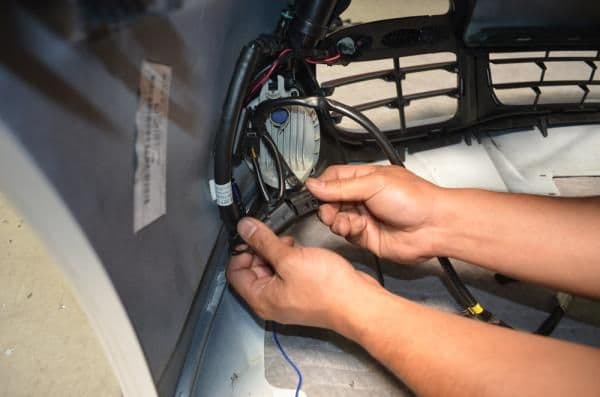
Figure 38 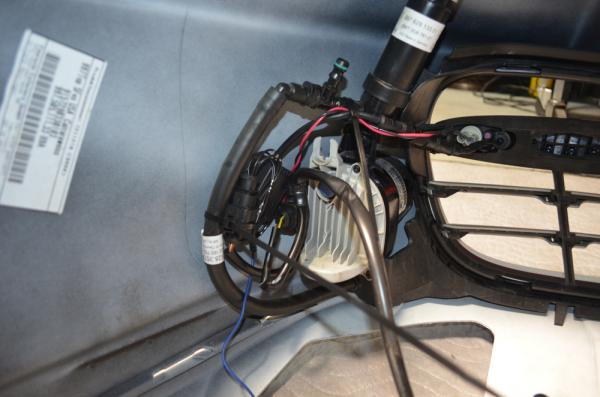
Figure 39 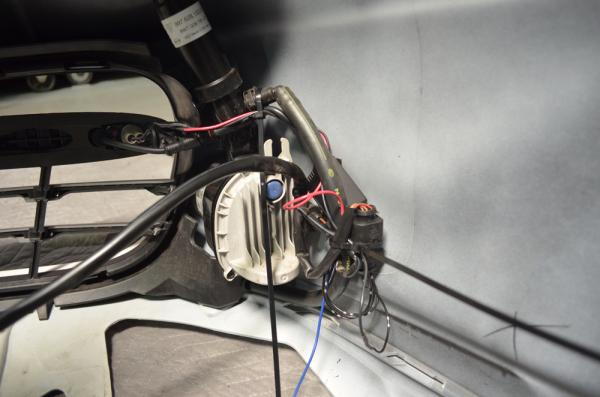
Figure 40
Step 11 – Run blue ignition power wire
With the lights mounted and plugged in on the bumper, it is now time to run the blue ignition power wire. This makes it so when the car is on, it is a true daytime running light. Each light module has a blue wire. What we suggest is running the passenger side over to the driver side and then use a tap splice connector to connect the two blue wires, so you only have one running into the cabin.
You can cut the wire to length and then tuck and secure it on the inside of the bumper. If you do not think you have enough wire to route it into the cabin via the firewall grommet, you can easily add more of the same gauge wire and connect them via a butt connector or solder with a head shrink wrap. We did this with the red wire, as you will see in further install photos.
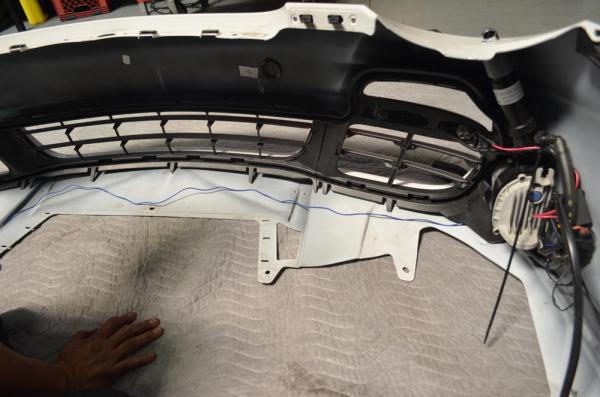
Figure 41 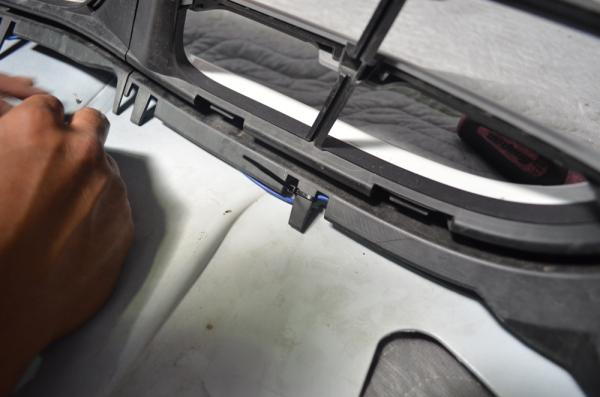
Figure 42
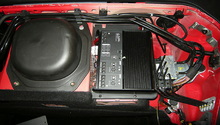
Step 12 – Access firewall grommet
With everything set on the bumper, it is now time to access the firewall grommet to run the ignition power wire to the fuse box. To access this area, you will need to remove the plastic trim covers.
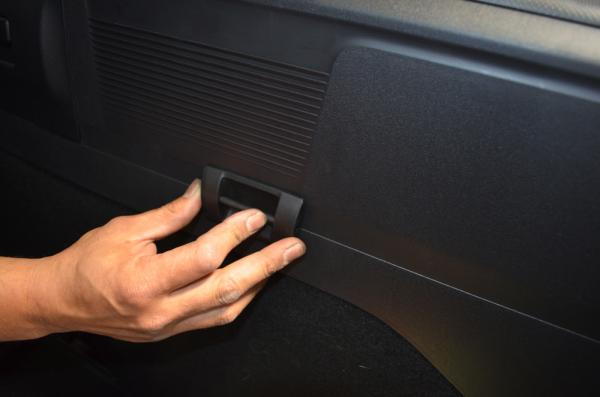
Figure 43 
Figure 44 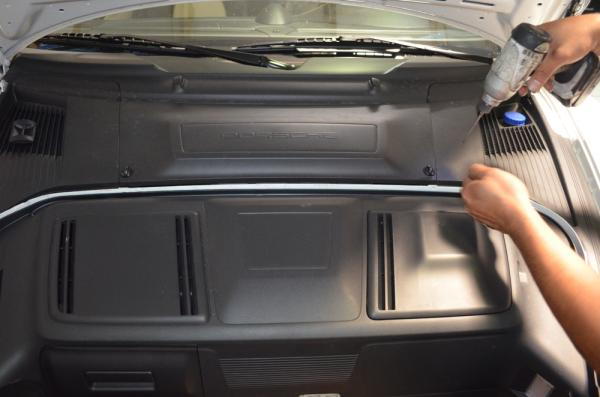
Figure 45
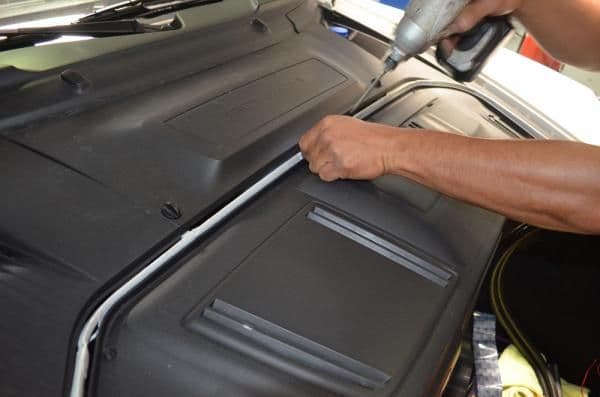
Figure 46 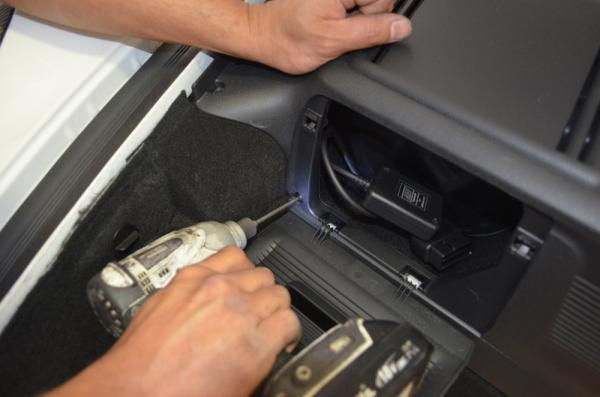
Figure 47 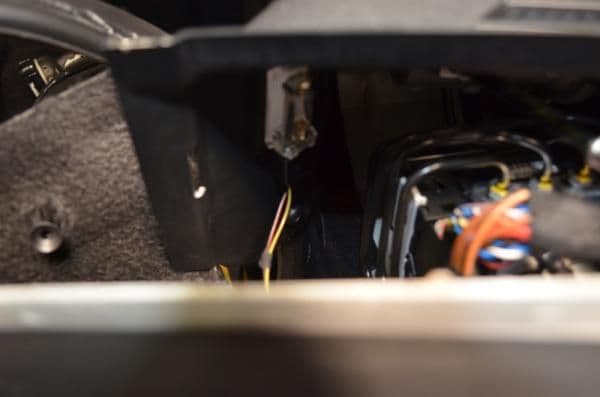
Figure 48 
Figure 49
Step 13 – Push wire into interior of car
Once you get to the grommet, an easy way to push the wire through is to take a wire hanger and untwist it. Using one end like you're toasting marshmallows, take the wire to the end and gently push it through or on on the side of the grommet. With someone on the inside of the car, once it is visible, remove the tape and pull the wire into the cabin. Then pull the hanger out from the bonnet side.
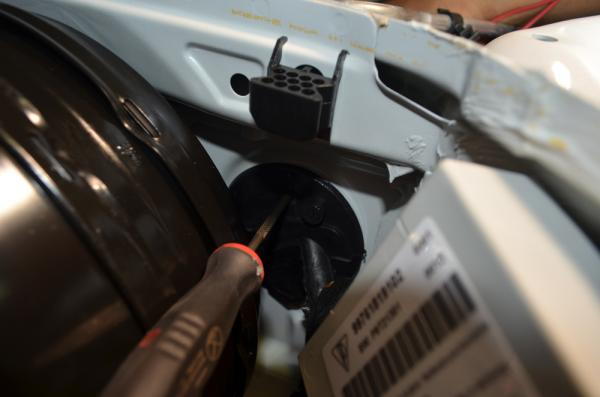
Figure 50 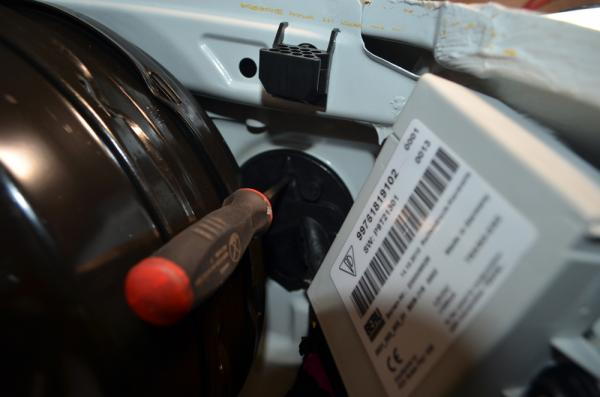
Figure 51 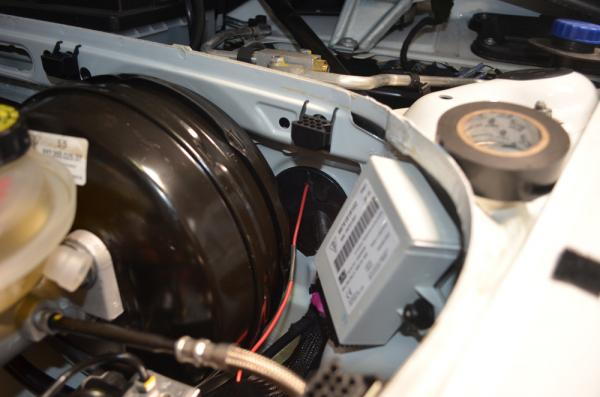
Figure 52
Step 14 – Finish installation
This is the final step to get the lights to turn on with ignition power. With the wire pushed through the firewall, open up your fuse box and (as pictured in Figures 53-55 below) remove the 10 amp fuse next to the 7.5 amp on the second row.
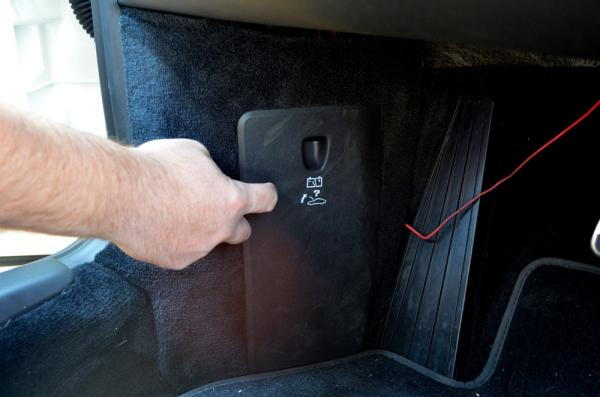
Figure 53 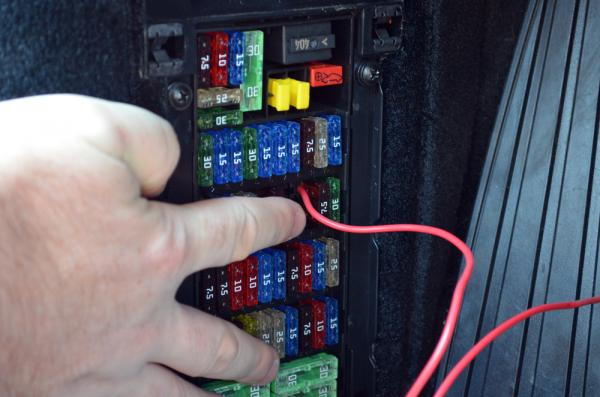
Figure 54 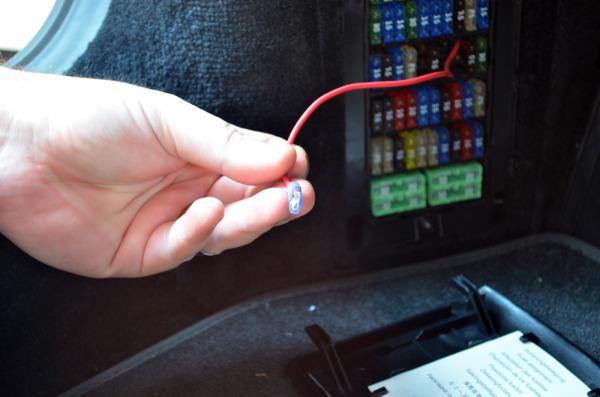
Figure 55
Cut your ignition power on wire you pushed through the firewall if you have extra length or use extra wire to run from the 7.5 amp fuse to a disconnect connector. Then add another disconnect connector to the end of your ignition power on wire. Connect the circuit by attaching the 10 amp fuse to the two disconnect connectors as pictured in Figures 56-58 below. Using your wire strippers, strip the end of the wire that goes to the fuse panel and push it in place with the 7.5 amp fuse.
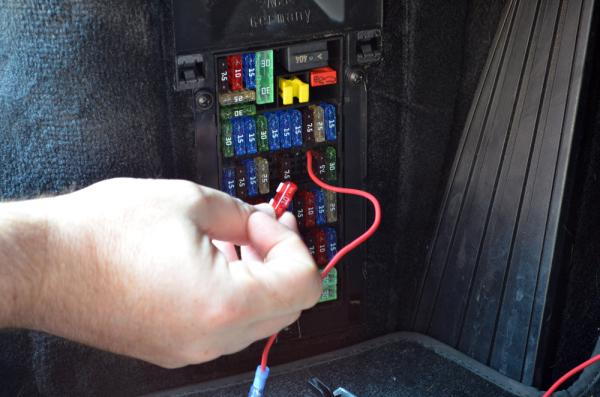
Figure 56 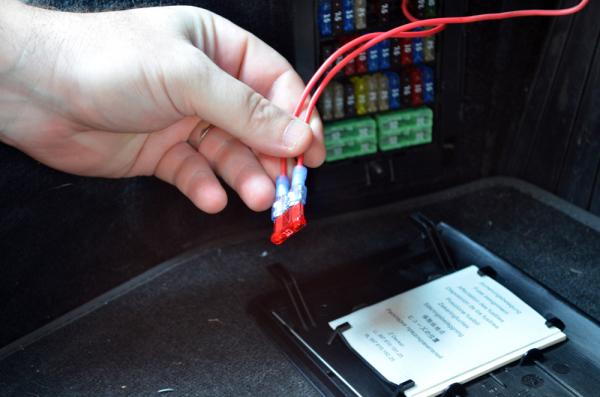
Figure 57 
Figure 58
There are many ways to connect to an ignition power on supply. This was the method that we choose to use. If you do not want the lights to be on all the time, then do not connect this power wire. Everything we have done is the result of our testing and installation during this 1.5 year product development. We encourage you to share your ideas on installation as well. Before you reinstall the bumper and all trim, test your lights out. Insert the key, and turn it to power on. Do the lights come on? Try your hazards, parking light, left signal, right signal. Start the car. If all is working properly, secure your bumper and be a beacon for others as you glide down the highway.
For any questions in regards to installation, please contact porsche@vividracing.com.
Featured Video - Agency Power DRL LED Lights Porsche 997 Turbo
Related Discussions
- Daytime Running Light Install Video - Rennlist.com
- How to Install GT2 Daytime Running LED Bumper Lights - Rennlist.com
- Porsche 997TT Daytime Running Lights - Rennlist.com