Porsche 997: How to Make and Install Grill Guards
The exterior of your Porsche is a beautiful one. There are small details, like grill guards, that can be further modified and double up as protection while adding a racy look.
This article applies to the Porsche 997 (2005-2012).
There are several openings on the front fascia of your Porsche 997. These are by design of the manufacturer to allow maximum airflow. However, some of these openings leave the front end susceptible to debris or other elements to get trapped or cause damage. Even though the motor is mounted in the rear, grill guards can prevent debris and add an extra flair of "sport" to the look of your 997. You will commonly see a lot of leaves and twigs and other dirty debris stuck within the front bumper openings. Using this DIY to add guards to your bumper openings will greatly improve this situation and keep the front openings of your car looking clean and sporty.

Materials Needed
- Tin snips
- Wire ties or zip ties
- Measuring tape
- Small hammer
- Cardboard or legal folders
Step 1 – Plan and cut templates
Before cutting the material to fit, it's wise to plan by creating a template using cardboard or legal folders.
- Measure opening of duct.
- Trace onto cardboard or legal folder.
- Measure again.
- Place material over the template and cut section out.
Pro Tip
Measure twice, cut once. Leave a little extra to allow enough to be bent for inserting into opening and securing behind slats.
Step 2 – Bend to shape
This is the reason to leave a little extra. The mesh can be bent a bit to fit the contour of the opening.
- Bend one edge into a right angle.
- Use hammer to light tap and create a continuous bend.

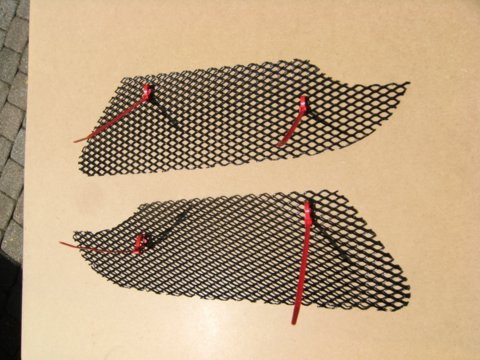
Step 3 – Secure mesh cutouts
Now that the mesh has been cut and bent to shape, it can be fit behind the bumper openings.
- Insert the cut piece with the bent portion toward the top.
- Secure with wire ties or zip ties.
- Step back and admire your work!
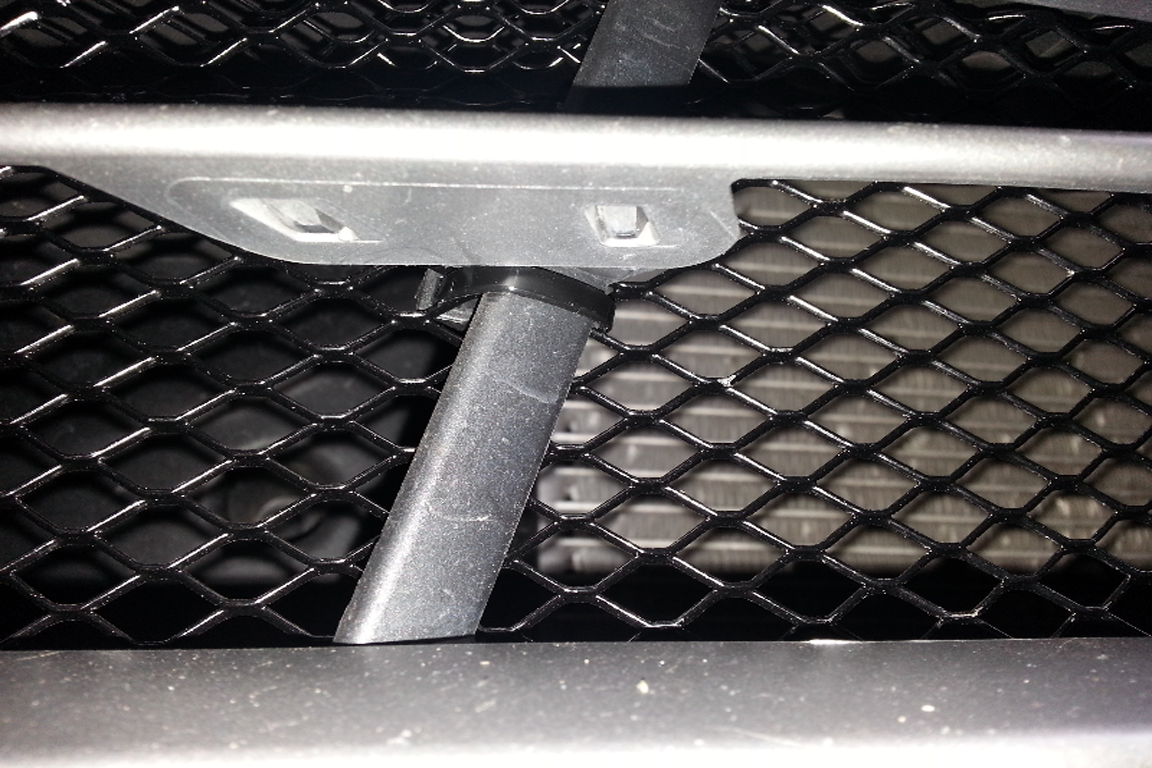
Figure 3. Zip ties offer a reversible installation, should you choose to remove the guards later on. 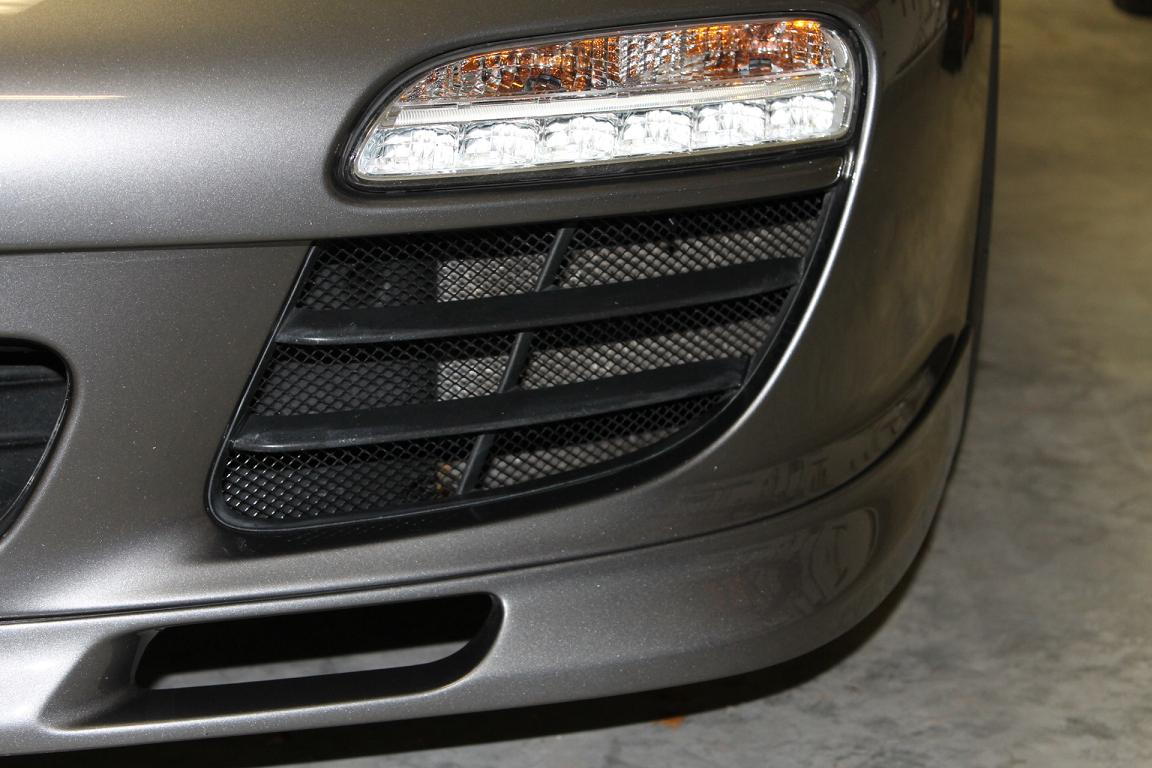
Figure 4. The finished product.
Related Discussions
- DIY Grill Guards - Rennlist.com
- Why Have Grill Guards - Rennlist.com
- Buying Grill Guards - Rennlist.com
- Grill Guards - Rennlist.com