Porsche 997: How to Replace Brake Lines
Brake lines are usually made out of rubber and can get worn out over time. Here's how to ensure your braking system is working to its full potential.
This article applies to the Porsche 997 (2005-2012).
Should you go with stainless steel lines or stick with the stock rubber lines? This is a commonly asked question when considering doing some brake upgrades to the brake system on your 911. There is always debate about this topic, and it's hard to tell who is exactly right. It's important to realize that at some point they will need replacing. Either way you go is up to you, and either way will be better than leaving the old ones on there. No matter which way you decide to go, the procedure for changing them is still the same. Here's how to do it.

Materials Needed
- Jack
- Jack stands
- Brake bleeder (Power or vacuum), or willing assistant
- 10mm flare nut wrench
- 11mm flare nut wrench
- Flat head screwdriver
- Vise grip or strong grip pliers
- Tire iron
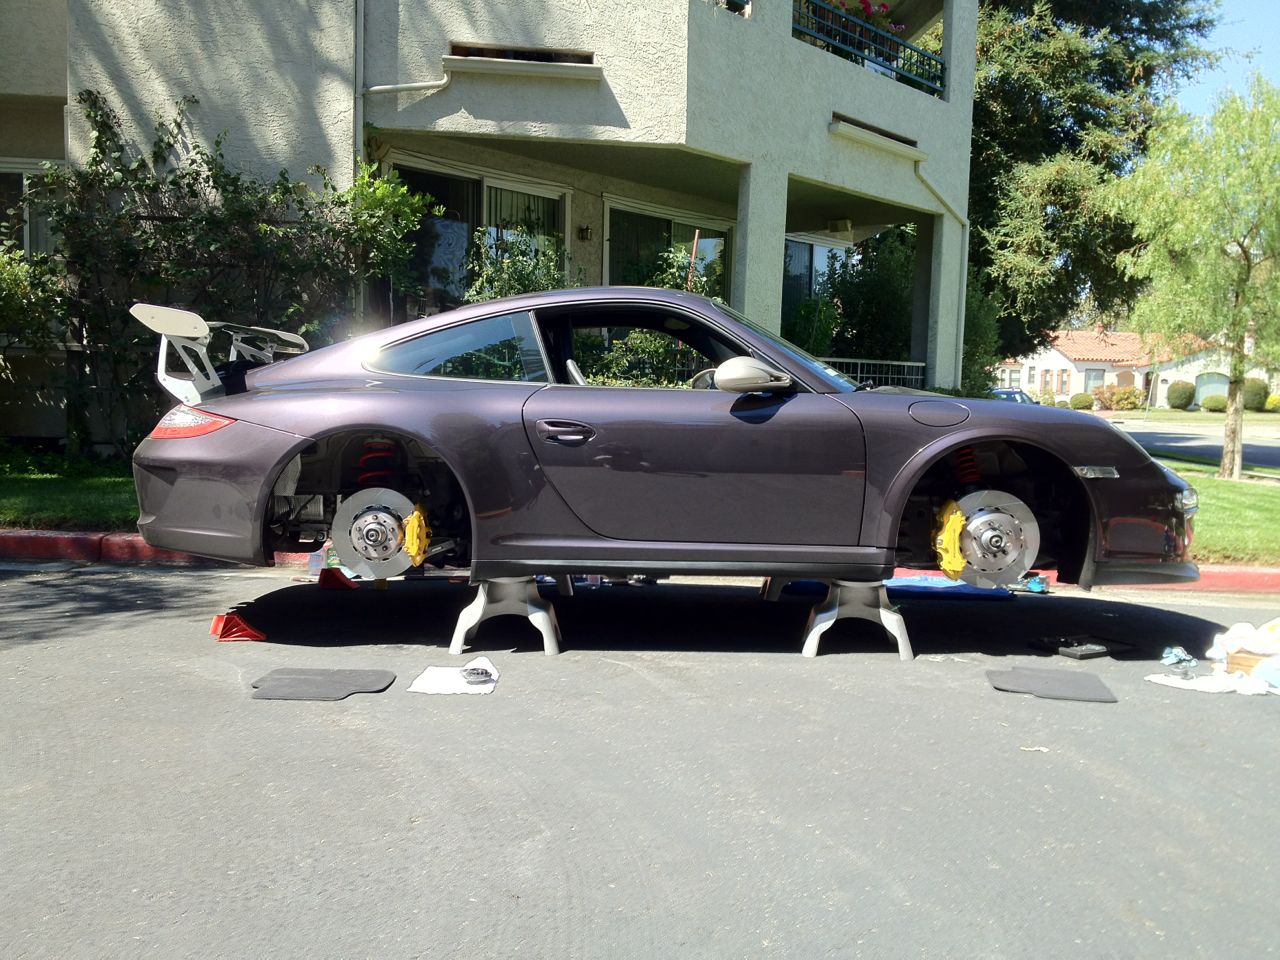
Step 1 – Elevate car off the ground
The first thing to do is elevate the car off the ground. If you are doing the brake lines on all four wheels, then it is best to get the car elevated so that all wheels are off the ground. This will make it less time consuming. Make sure to use the jacking points that the Porsche 997 is equipped with. This will help in keeping from damaging the underbody of the car and will give you a secure jacking point that is balanced.
(Related Article: Porsche 997: How to Jack Up Your Car - Rennlist.com)

Step 2 – Remove the wheels from the car
Using your tire iron, remove the wheels and place them out of the way. When removing the wheels, be careful not to hit the brake caliper or brake disc as this could possibly damage them.
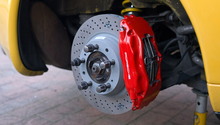
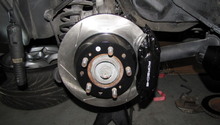
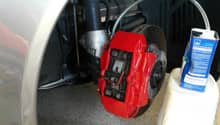
Step 3 – Locate the short rubber brake lines
The lines that you will be replacing are the short rubber brake lines that connect the hard metal chassis line to the brake caliper. The easiest way to find them is to locate the brake caliper and look for the line that is attached to it. Once you find it, follow it until you see where it connects to a hard metal line. This will usually be at a point on the chassis that will be attached to it with a small metal clip held to a bracket. The rubber section is usually wrapped with a coiled metal section that helps keep it protected.

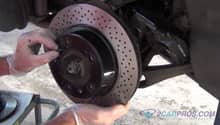
Step 4 – Loosen the brake line
Starting at the chassis end, you will want to loosen the fitting that attaches it to the hard metal chassis line using the flare nut wrenches. Brake fluid will drip out after you start to loosen the line, so you will want to place a drip pan of some sort under this area to catch any brake fluid. After loosening up the chassis side, you can remove the metal clip that holds it to the bracket and finish loosening it. Once you are done loosening that end, you can move to the caliper side and loosen that fitting.
The reason flare nut wrenches are used instead of regular wrenches is because the flare nut wrench will grab the fitting more securely than a regular wrench.

Pro Tip
Soaking the brake line fittings the night before with penetrating oil will help make it easier to loosen the fittings. They can sometimes become corroded and be very difficult to loosen.
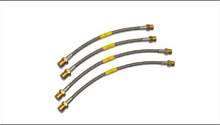
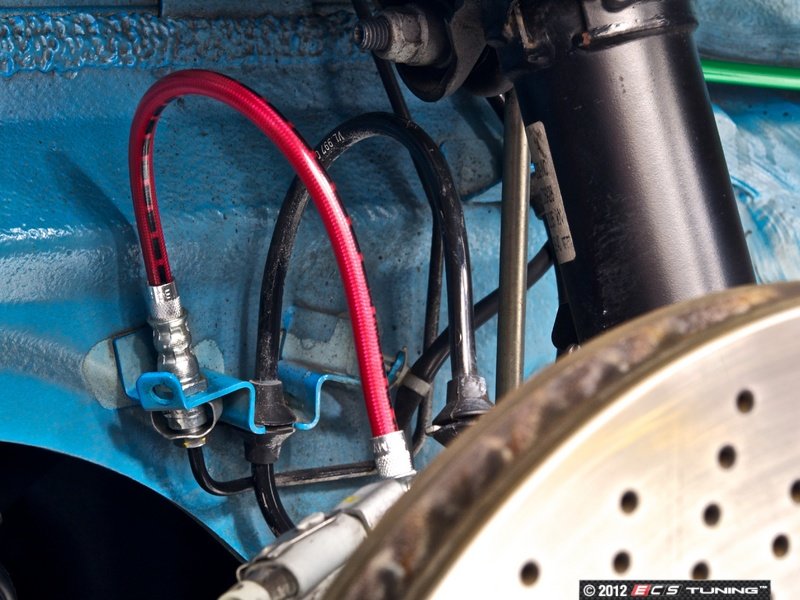
Step 5 – Attach new brake line
Going in the reverse order of how you removed the old brake line, attach the fittings of the new brake line starting with the caliper end first. Once that end is attached, you can then attach the chassis end to the hard metal brake line and replace the metal clip that attaches it to the bracket on the chassis.
Once the new brake line is attached, be sure to check that it is not going to rub on any of the suspension components.
Pro Tip
When swapping the lines, be extra careful that the exposed and open ends of the brake lines and caliper stays clear of any dirt and debris.
Step 6 – Bleed the brake system
Any time you disconnect or loosen any of the brake lines on your car, you will need to bleed the brake system to ensure that no air bubbles got into the system. Plus, there is no brake fluid in the new lines. Bleeding the system will make sure that they get filled with brake fluid and that the brake fluid that was in the old lines gets replaced.
(Related Article: Porsche 997: How to Bleed Your Brakes - Rennlist.com)

Step 7 – Install wheels, lower car, and test drive
After you have replaced all the brake lines and bled the system, you can install the wheels back on the car, lower it back down onto the ground, and then do the best part of any repair: go for a test drive.

Related Discussion and Site
- Brake Line Replacement - Pelicanparts.com
- Porsche 993: How To Replace Brake Lines - Rennlist.com