Porsche 928: How to Apply Vinyl Wrap
Wrapping your car in vinyl is no easy task, but with patience and some diligence, this modification can be performed for a fraction of the cost of a professional install.
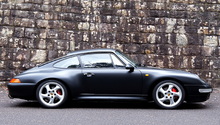
This article applies to the Porsche 928 (1979-1995).
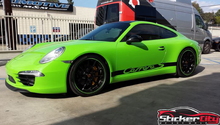
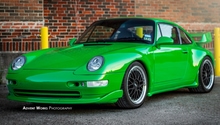
Wrapping your ride in vinyl is one way of updating it without trading it in for something different. Of course, if you're doing it yourself, just keep reminding yourself that if you mess up – or if you decide you don't like it somewhere down the road – then you can remove the vinyl wrap and your car's original color remains intact. This is not something true about painting your car, which some owners do as an alternative. Follow these directions to wrap your car in metallic vinyl. One downside is that metallic vinyl, like paint, will show scratches, dings, and dirt, whereas matte vinyl tends to hide these imperfections.

Materials Needed
- Craft knife, X-acto knife, or vinyl cutter
- Warm water and soap
- Towels
- Flathead screwdriver
- Phillips screwdriver
- Clip removal tool
- Hairdryer or other heat source
- Painter's tape
- Enough vinyl to wrap your car
Pro Tips
- Wrapping bumpers with one continuous piece of vinyl will go a long way to avoiding unsightly seams.
- Cut more for each section than you think you’ll use. Once you start applying heat, the vinyl has a mind of its own. There’s nothing worse than thinking you’re using enough, only to find out that it just isn’t big enough. Along the same lines, order more vinyl than you think you need. For a Porsche 928, expect to use around 60 feet of vinyl.
- Stretch vinyl over flattest part of area first, and then work from side to side. To stretch, pull outward from the largest part of the vinyl. Keep vinyl as level as possible to avoid creating avoidable seams. Go slowly. You must stretch the vinyl as you go, and if you go fast, you increase the likelihood of trapping air bubbles under the vinyl. While you can remove vinyl two or three times before it no longer adheres as well as it should, it’s better to get the vinyl to lay right the first time.
- Use heat to help vinyl cure. A blow dryer set on the hottest setting will work. Be sure to use heat from a few inches away rather than directly on the vinyl. Using heat helps the vinyl cure, but you also run the risk of causing discoloration.
- Use your craft or X-acto knife to cut vinyl, such as for pieces you lay around door handles. It will give you a more exact cut than from using scissors.
Step 1 – Prepare to wrap your car
Wash your car with soap and water, and then dry it. Some Porsche owners applied paint sealer and wax as well, which helps smooth the surface of your can. The smoother the surface, the easier the vinyl will adhere.
Pro Tip
Consider wrapping your car inside an enclosed space, like a garage. Wrapping in extremely cold or hot weather can affect how well the wrap adheres to your car.
Step 2 – Remove trims
Gently pry all trim off and set aside. You must wrap each piece of trim individually, and it makes most sense to do it at the end when you’ll likely have scraps of wrap big enough for these pieces.
Step 3 – Remove other parts
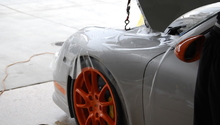
Disassemble as much of your car as you can. The more parts you remove from the get-go, such as the front and rear bumpers, door handles, mirrors, headlight rings, spoiler, etc., the easier wrapping the car will be.
Step 4 – Apply vinyl
Apply vinyl to the car. This is where you have some leeway in terms of the order you complete this project. Some Porsche owners recommend removing the bumper first, then the rocker panels and shark fins, then the hood and sides and doors, and finally the side mirrors. Others suggest starting with the roof and working your way down. The bumper and side mirrors likely will be the hardest part of the job, because of the round edges over which you must stretch the vinyl. When wrapping your doors, be sure to tape off the keyholes. You don't want to accidentally wrap vinyl over your locks.
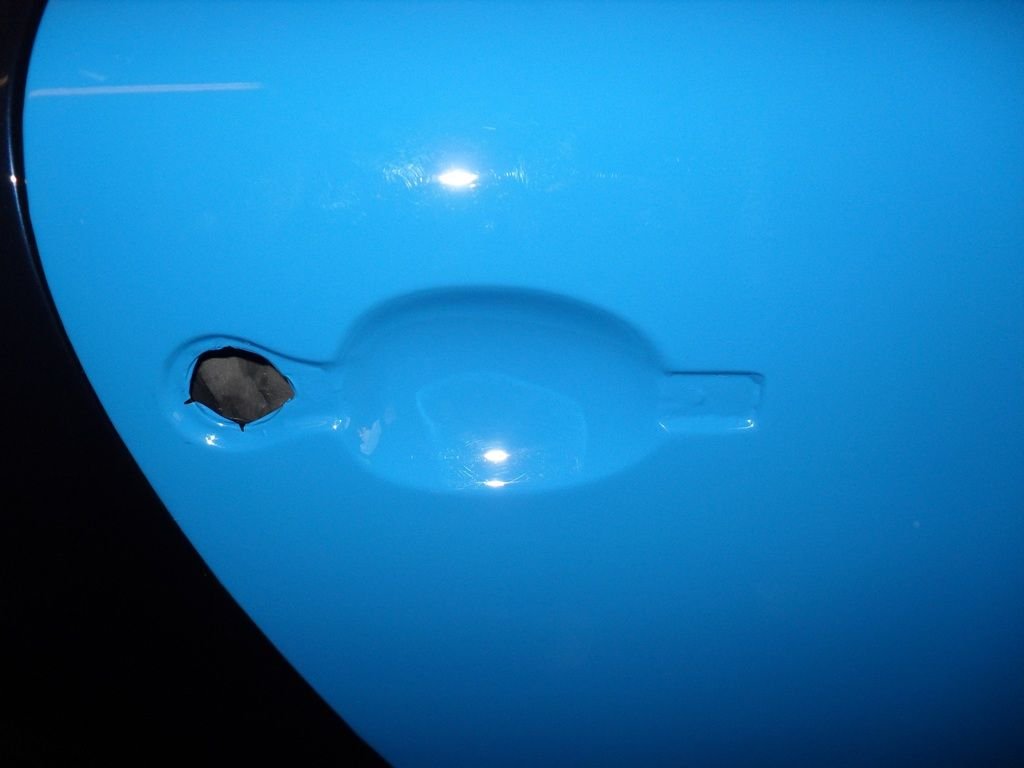
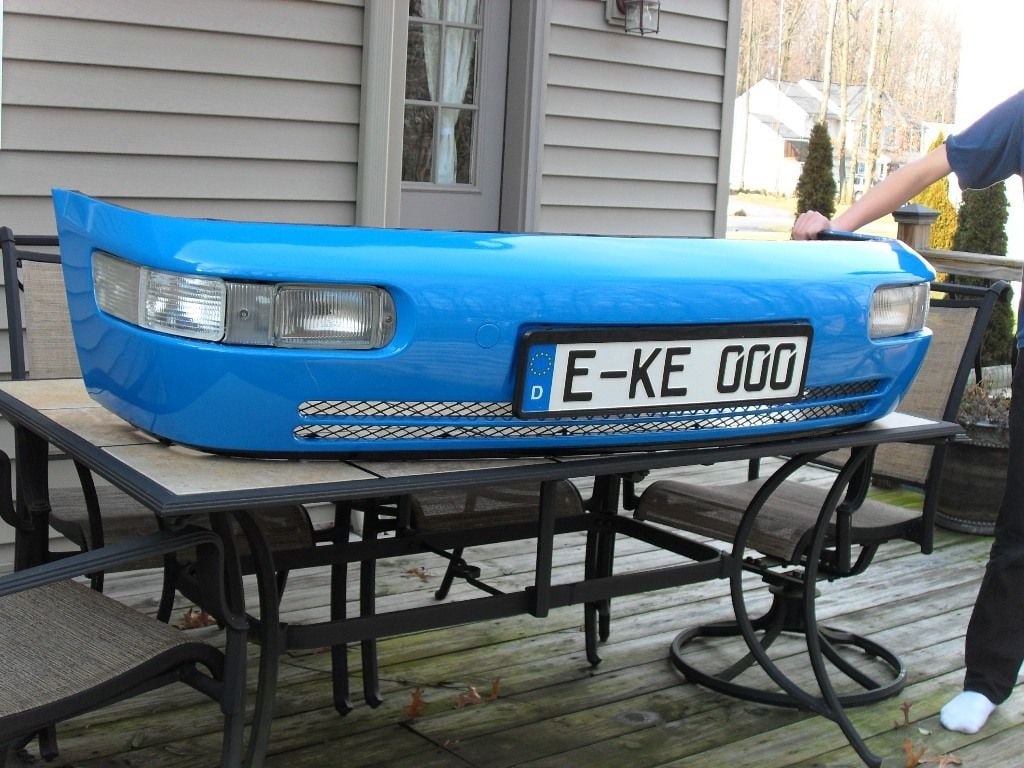
It's likely easiest to wrap your bumper using one piece of vinyl. If you don't, you must not only navigate the curves of your bumper but you also must perfectly align the seams you create by using more than one piece of vinyl.
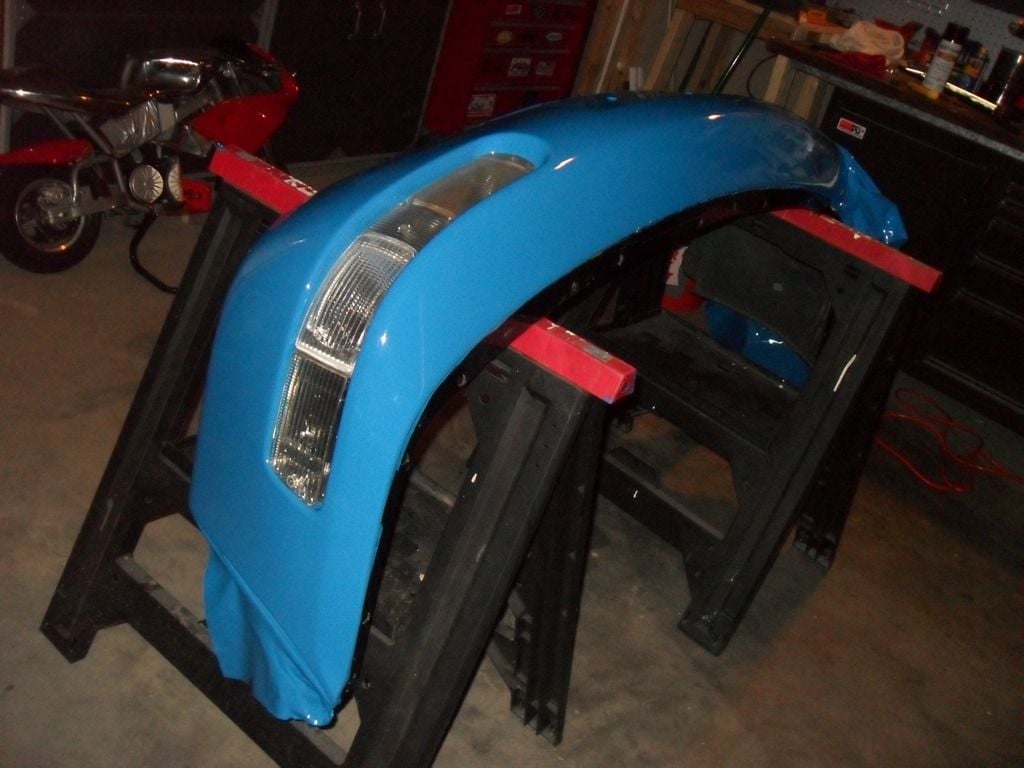
Wrap the parts of your car you've removed on a flat surface. This will help you avoid any complications you would encounter while trying to wrap with one hand while holding the part in your other hand.
The nature of vinyl wrap means you can use more than one color on certain parts of your car, if you're interested in creating a duo-tone effect.

While covering the hood will likely be one of the easiest parts of the job (mostly because it is a mostly flat surface), be sure to account for any emblem or ornament you have on it.
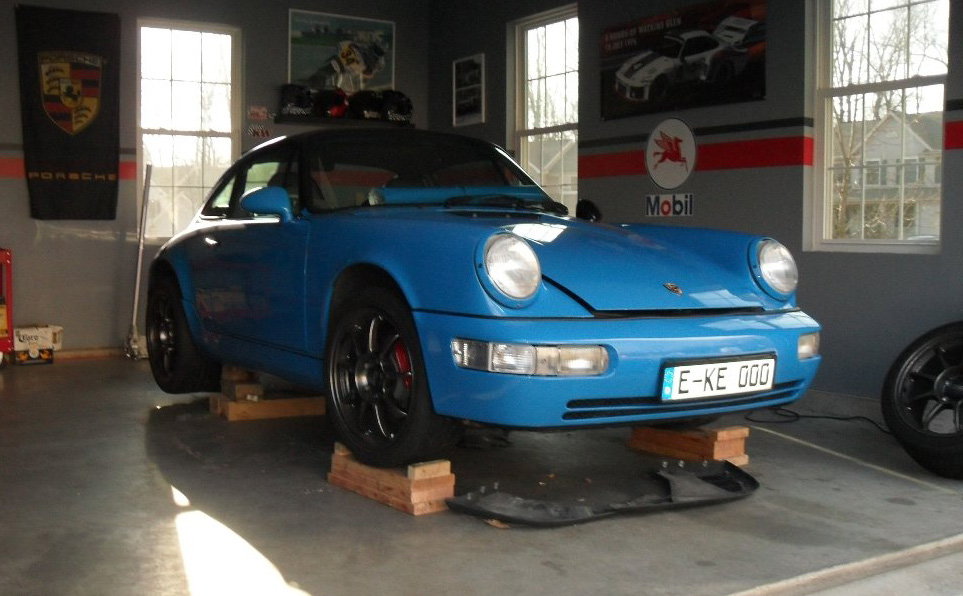
Consider lifting your car on blocks while wrapping your car. This will let you have better access to your wheel wells.
(Related Article: Porsche 928: How to Jack Up Your Car - Rennlist.com)
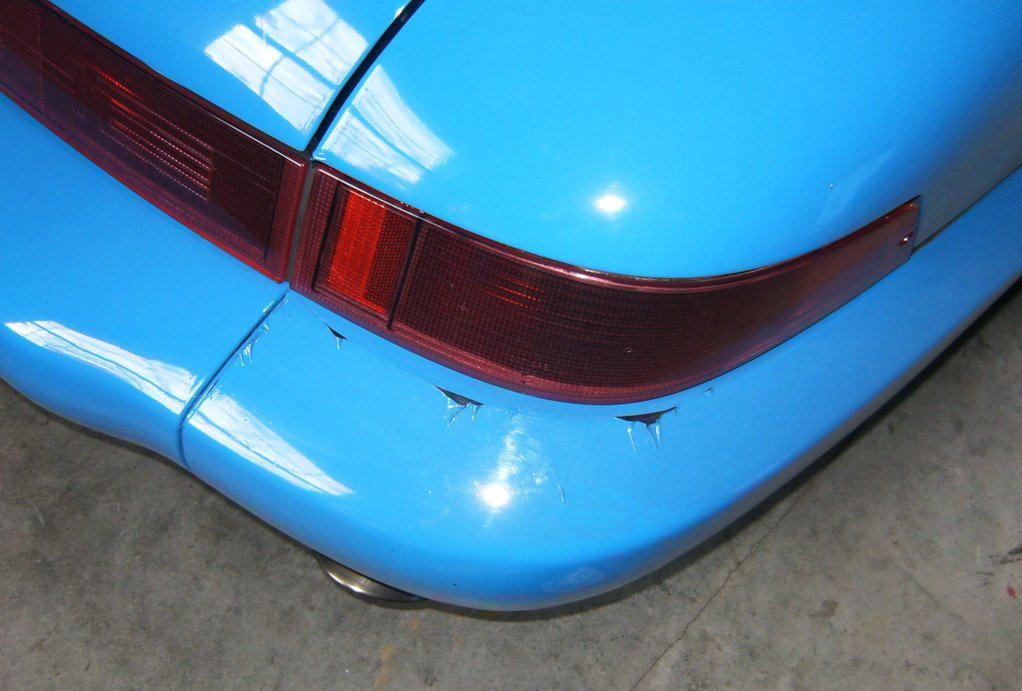
Vinyl you stretch too far or to which you apply too much heat will crack and pull apart at the seams.
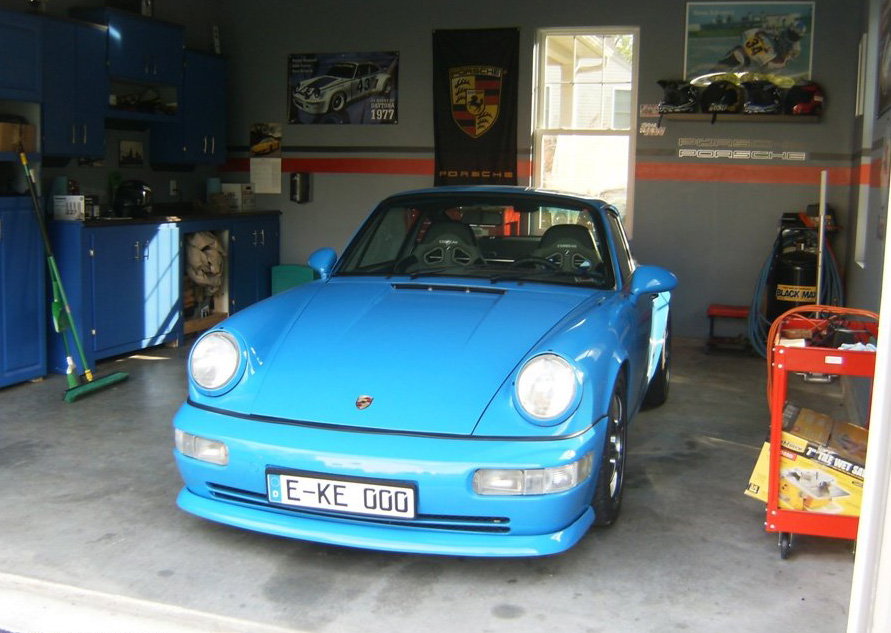
A wrapped car looks great and doesn't harm the underlying paint job.
Step 5 – Reassemble your car
Reassemble your car, re-installing the parts you removed, such as the trims, bumpers, side mirrors, door handles, etc.
Related Discussions and Site
- DIY: Car Vinyl Wrap - Rennlist.com
- The Vinyl-Wrapping Trend - Rennlist.com
- Vinyl Wrap: My Adventure - Rennlist.com
- Vinyl Car Wraps - Rennlist.com
- How to Vinyl Wrap a Car - PopularMechanics.com