Porsche 993: How to Apply Matte Vinyl Wrap
Wrapping your Porsche 993 in matte vinyl is quite a big job, but a well done job will definitely pay off with a different and exclusive look.
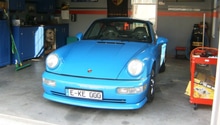
This article applies to the Porsche 993 (1993-1998).
A matte finish on your Porsche 993 can add a fresh, unique look to it. If your paint is a little sun-bleached or scratchy, then it is definitely time to do something about it that isn't necessarily having to repaint your car. If your paint is in superior condition, then you probably want to protect it as well. Vinyl wrapping is a cost-effective alternative to respraying or sealing your paint. Learn how to apply vinyl matte wrap to the exterior of a 993 here.

Materials Needed
- Sharp craft knife
- Vinyl wrap magnets
- Knifeless finish line tape (for butt joints)
- Vinyl squeegee with felt attached and spare felt
- Heat gun or hair dryer
- Microfiber cloths
- Bug & Tar remover
- Clay bar and lubricant (optional)
- Vehicle wrap gripper magnets
- Isopropyl alcohol (optional)
There are many different vinyl wrap suppliers to choose from. You can get vinyl wrap in a wide range of colors, patterns and textures (e.g. carbon fiber). The process of applying the vinyl is very much the same no matter which vinyl you choose, but you might want to stick to good brands like 3M, Avery, or Hexis. Choosing a cheaper vinyl of lesser quality could mean that the outside conditions, like stretching, UV radiation, abrasion, different pollutants, chemical cleaning, and physical damage could affect the vinyl negatively. Even if the vinyl looks good for many months, the damage to the vinyl may be apparent eventually. Make sure to use vinyl that is designed for exterior use on cars and note the expected lifespan communicated by the manufacturer.
Step 1 – Planning
Determine where all the joints will fall. Whether horizontal or vertical, use the natural lines of the vehicle. Use door panels or weld lines to cover overlaps. If you need a joint somewhere visible, it is best to use Knifeless finish tape to get a perfect butt joint.
Featured Video: Knifeless Tape Butt Seam Demo
Pro Tip
Do not wrap in extremely hot or cold weather. The material won't adhere well and the adhesive will not cure properly during cold weather.
Step 2 – Wash and dry your car
Thoroughly wash the vehicle down with soap and water, paying attention to door seals and wheel arches, then allow it to dry for 24 hours. If you have any contaminants on your paintwork, use a clay bar and lubricant to remove. Any small contaminants left on the paintwork will look worse if left trapped beneath the wrap. De-grease the vehicle using Isopropyl alcohol. Alternatively, use a fast-drying panel wipe with silicone killer and pay attention to all the recesses.
(Related Article: How to Wash and Wax Your Porsche 993 - Rennlist.com)
Featured Video: How to Clay Bar Your Car
Step 3 – Remove trim and body panels
Remove all possible trim so they can be individually wrapped at the end. Always pry trims off gently and evenly. Depending on how much of a difference there is between the original car paint and the color of the vinyl film, you should consider removing more or less trim parts from your car. If there is a big difference in color, for example, if you are wrapping a white car in black, you might have to remove quite a lot of parts. You need to check how tight you can get the film to the trim parts without removing them. If you cannot get the film tight to the part, then the part needs to be removed in order to get a good result with none of the original paint being visible after the wrapping.
You probably need to remove at least the front head lights, the tail lights, the front and rear bumpers, and the door handles. Refer to the Related Discussions and Sites below for guides on removing these items.
Step 4 – Apply vinyl to hood, sides, fenders and rear lid
- If you need practice, you could start the vinyl application on the roof or on the hood to get some practice. The roof and the hood are probably the two easiest panels to wrap. Apply the vinyl to the flattest part of the panel first (create a base line) and work from side to side. Try to keep the vinyl as leveled as possible. Stretch the vinyl—without heat—over the whole area. Do not work the film into the more complicated areas such as the recesses until later.
- Next, you will need to wrap the sides and doors. Take your time and do not use a heat gun. If you patiently and evenly apply the film, you will be able to work out any issues. Use the heat gun for extremely difficult situations. You can post-heat the surfaces. This post-heating must be carried out scrupulously on all areas where the wrap has been stretched to fit, especially in deep recesses. Do not overheat or else you might damage the film.
Figure 1. Door and fender wrapped. 
Figure 2. Door, fenders, hood and side mirror wrapped. 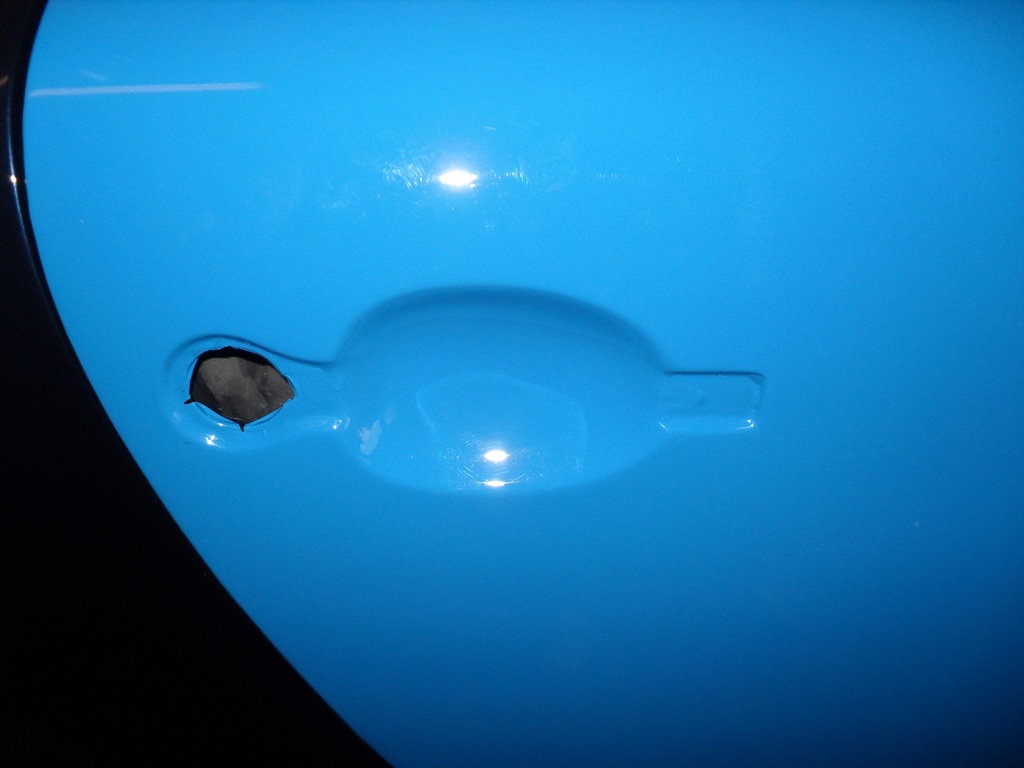
Figure 3. Door handle recess. 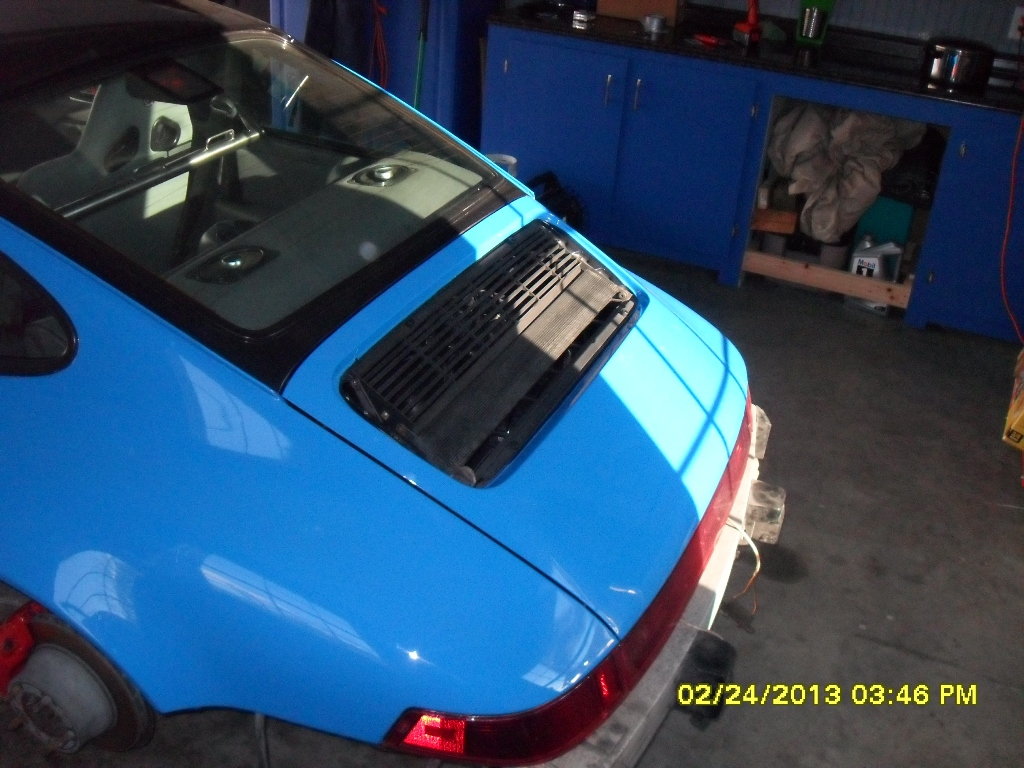
Figure 4. Rear lid.
Pro Tips
- When stretching the vinyl, always pull outwards from the largest area of the vinyl so you can spread the tension. This also applies when you use extra heat to soften and stretch the vinyl. Apply heat to a larger area to help avoid distorting the color.
- When cutting through the vinyl on the bodywork or around handles, you could stick electrical tape to the surface first. Change the blade frequently. The weight of the blade should be enough without having to apply extra pressure.
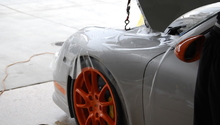
Step 5 – Apply vinyl to bumpers and side mirrors
The bumper covers and the side mirrors are probably the most difficult panels to wrap due to the complex curves and recesses. By the time you get to the bumpers and side mirrors, you should have picked up enough skills to be able to attempt it.
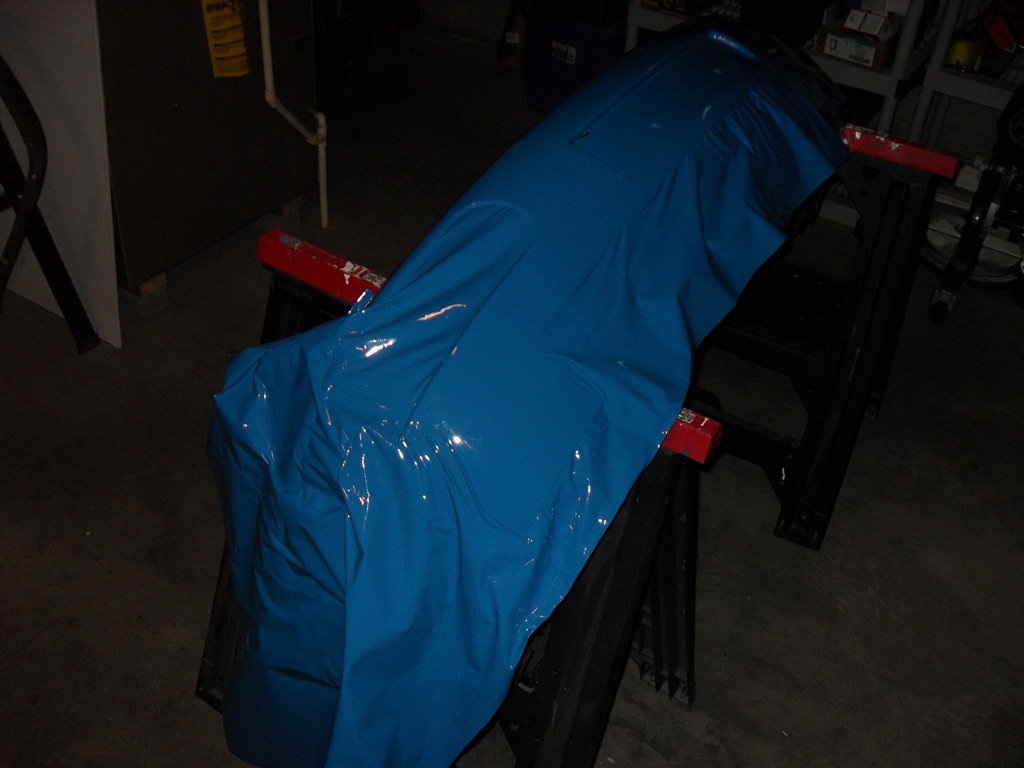
Figure 5. Wrap the front bumper. 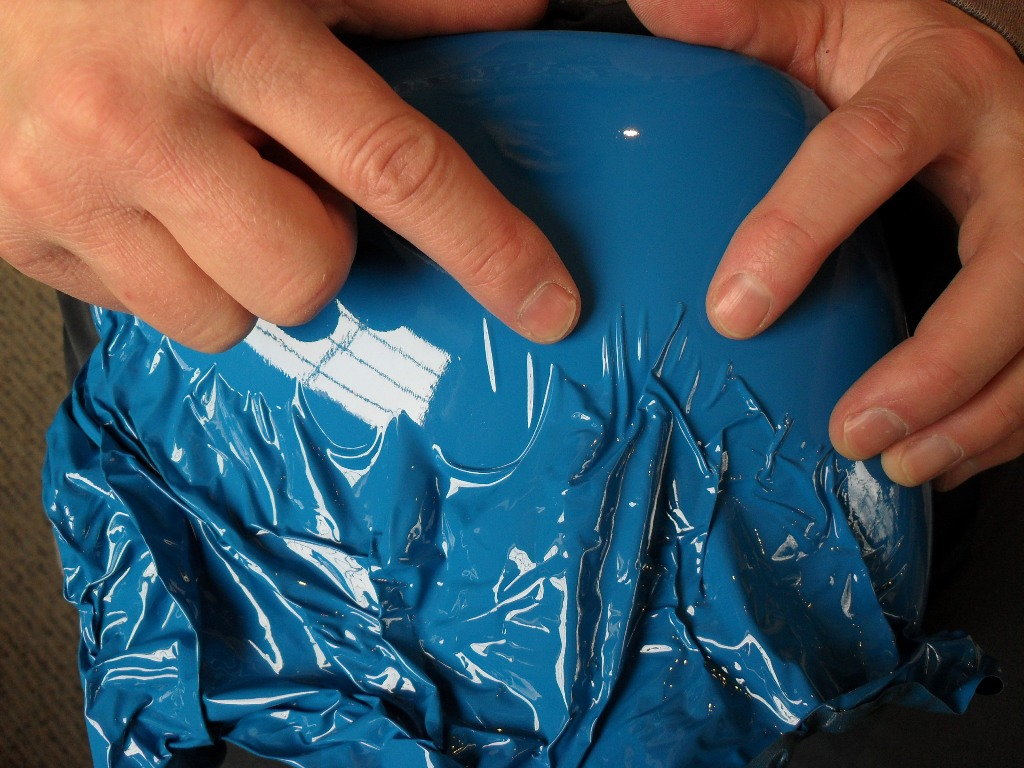
Figure 6. The side mirrors are tricky to wrap in vinyl. 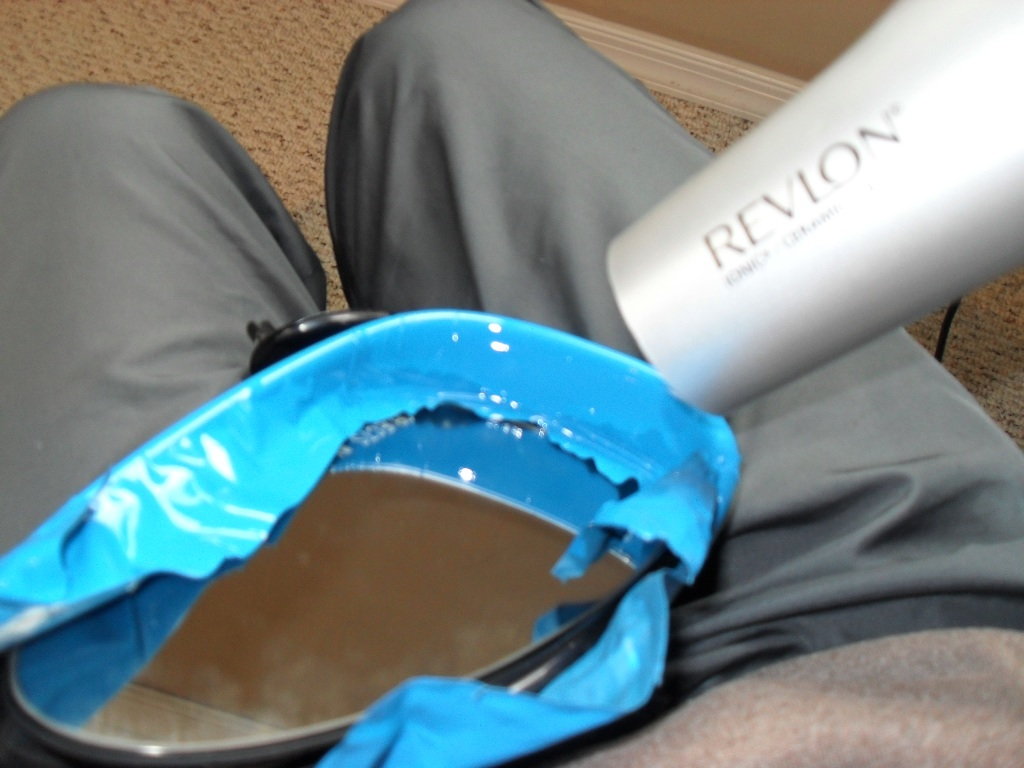
Figure 7. Use a heat gun or a hair dryer to wrap the complicated areas of the side mirrors.
Step 6 – Be careful not to overstretch the vinyl wrapping
For some of the complicated areas you need to apply some heat to get it right. Just be careful not to overstretch the vinyl or else unexpected wrinkles and tears can happen after some time.

Figure 8. Overstretched vinyl after awhile. 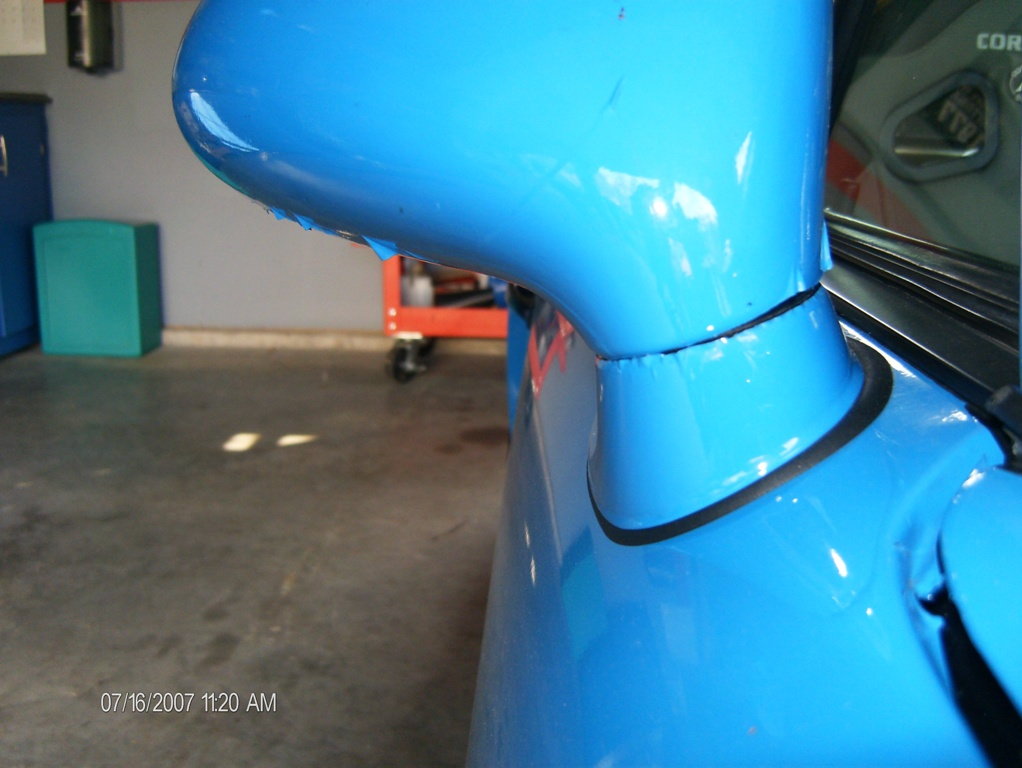
Figure 9. Overstretched vinyl on side mirror.
Related Discussions, Sites and Video
- DIY Car Vinyl Wrap - Rennlist.com
- Expensive Car Vinyl Wrap Design - Rennlist.com
- Dropping the Engine (and Removing Rear Bumper) - Pcarworkshop.com
- Remove Front Bumper - Pelicanparts.com
- Remove Tail Lights - Rennlist.com
- Replace Rubber Gasket on Exterior Door Handle - Rennlist.com
- Remove Headlights - Youtube.com