Porsche 928: How to Wrap Interior Trim
Vinyl wrap has been around for several years, giving drivers a chance to create high-class looks for a low-end price. The wrap itself also acts as a protectant for its pieces, preventing scuffs, scratches or tears that can occur through normal use. This article explains how to wrap your car's interior pieces in vinyl.
This article applies to the Porsche 928 (1979-1995).
The Porsche 928's interior design seemed to be produced far ahead of its time. However, many present day 928 owners agree it can use an update. Vinyl wrapping is an inexpensive solution to dress up the cabin trim as opposed to custom, one-off pieces. Carbon fiber wrap is an excellent example of the material readily available that can add a more modern curb appeal to your vehicle. Although wrapping vinyl is a very tedious task, completing the procedure yourself can easily save hundreds. Read the following instructions to learn how to carefully wrap vinyl on your 928's interior trim pieces.

Materials Needed
- Vinyl wrap
- Knife
- Spray adhesive
- Screwdriver
- Ruler
- Cleaning supplies
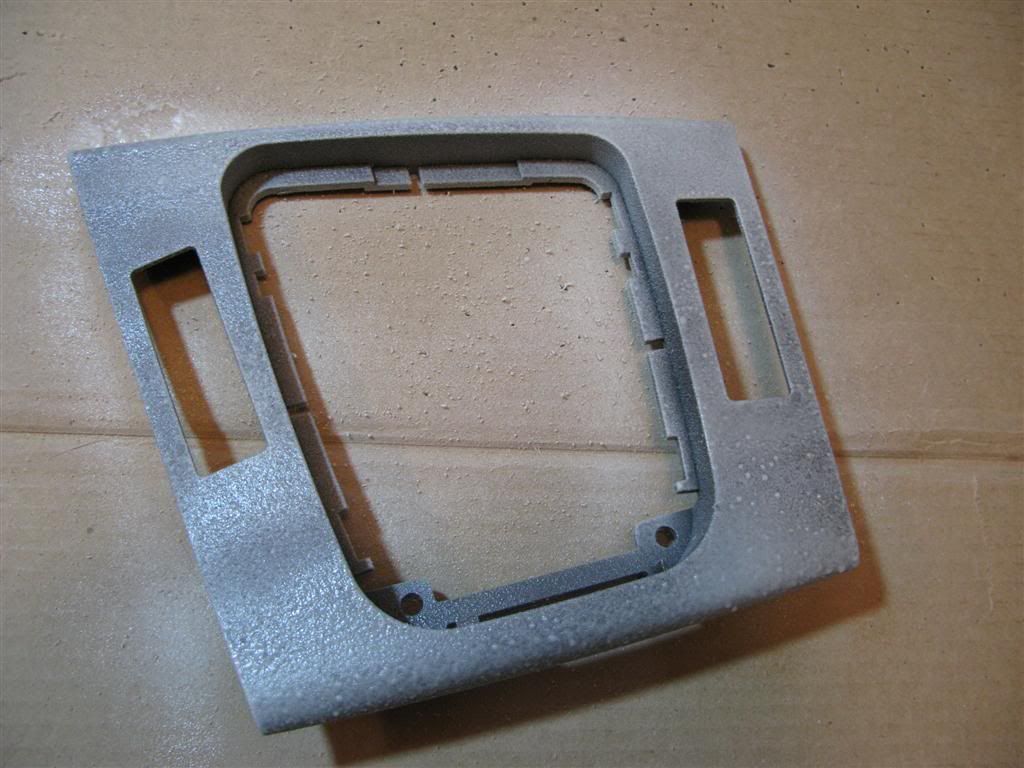
Step 1 – Remove the trim piece
- Grab a screwdriver and begin removing the mounting hardware for the trim pieces. Be meticulous in removing all the plastic inserts and panels on the trim piece.
- With the trim piece removed, take a rag and cleaner to wipe off its surface.
- Thoroughly clean each piece before wrapping them.

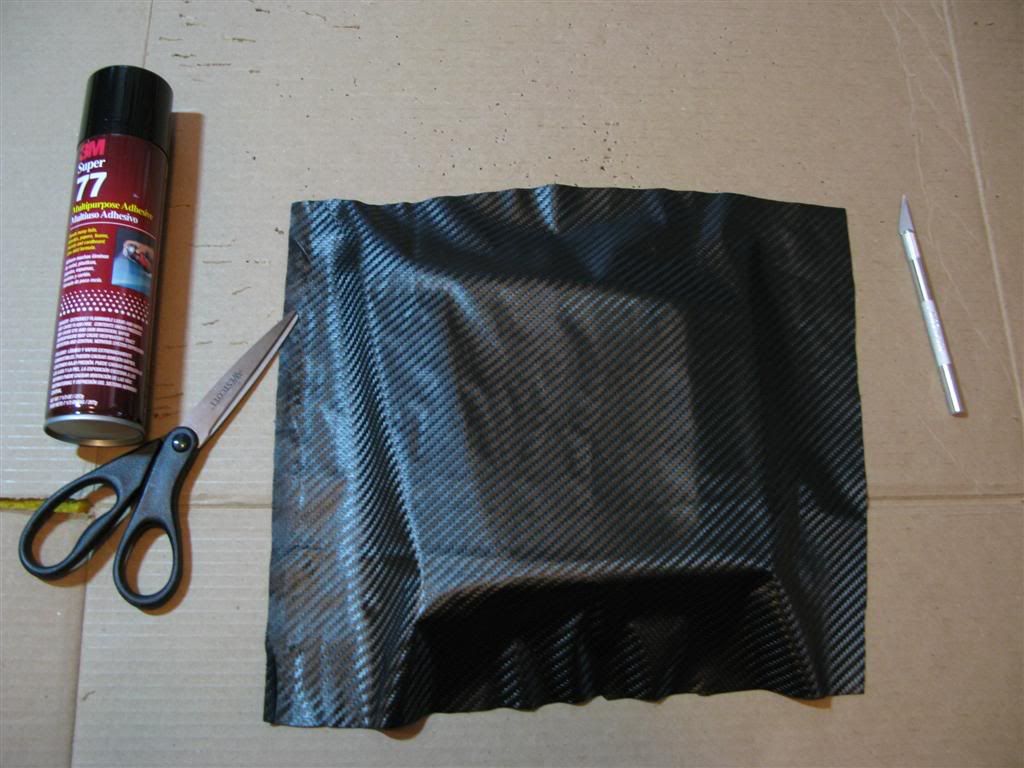
Step 2 – Lay out the vinyl fabric
- Take the role of vinyl and lay it out on a flat surface.
- Use a straight edge to measure the amount needed to fully cover the trim piece.
- Take scissors and cut out the vinyl.
Step 3 – Apply glue to the trim piece
- Use a 3M or quality adhesive and apply a maximum of two layers on it.
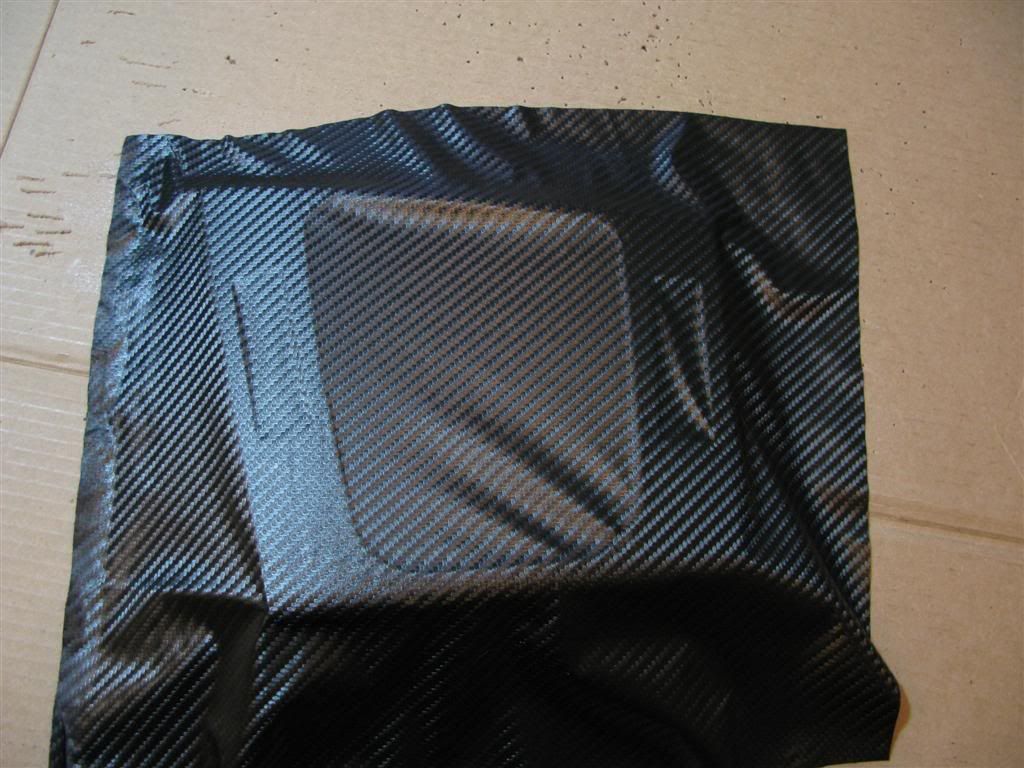
Step 4 – Lay the vinyl on the trim piece
- Carefully, but tightly, lay the vinyl onto the trim piece.
- Use a straight-edge to flatten out the vinyl as you lay it on.
- Make sure there are not air bubbles or folds. Take your time with this step.
Step 5 – Cut out the inner holes of the trim piece (optional)
Note
If this step does not apply to your current piece, then you can skip to Step 6.
- If you are wrapping something with holes, use a knife to cut out enough material so the vinyl fits in between each crevice.
- Leave enough vinyl so it can be pulled and glued to the back of the trim piece.
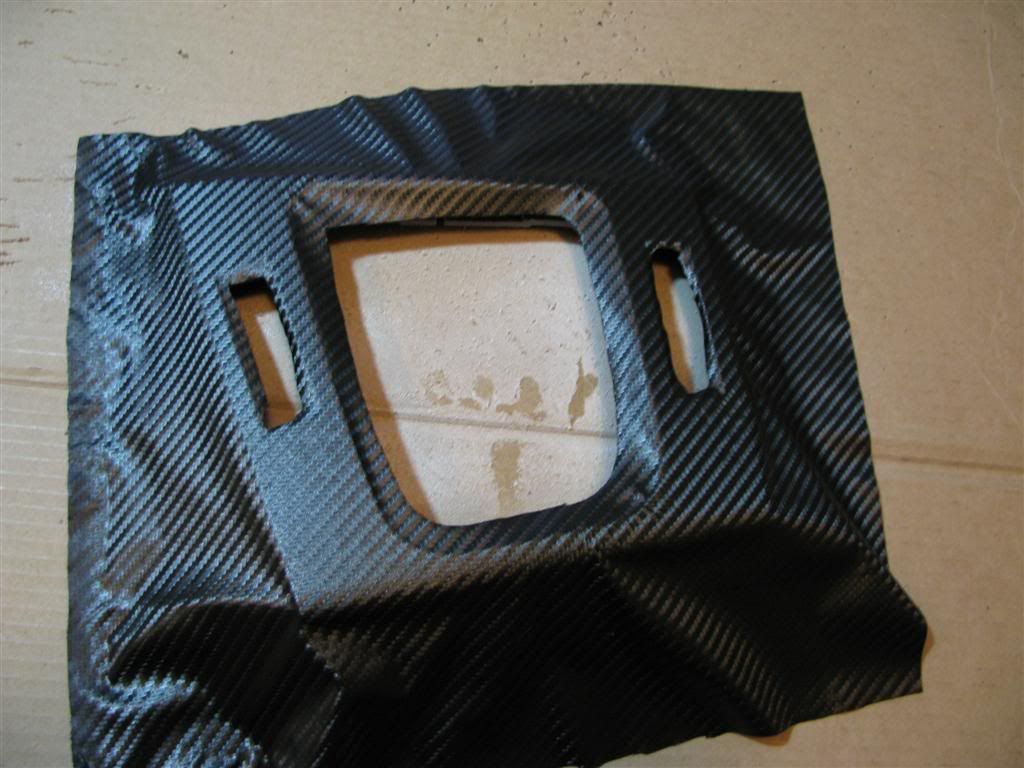
Figure 5. Cut out the holes on the trim piece. 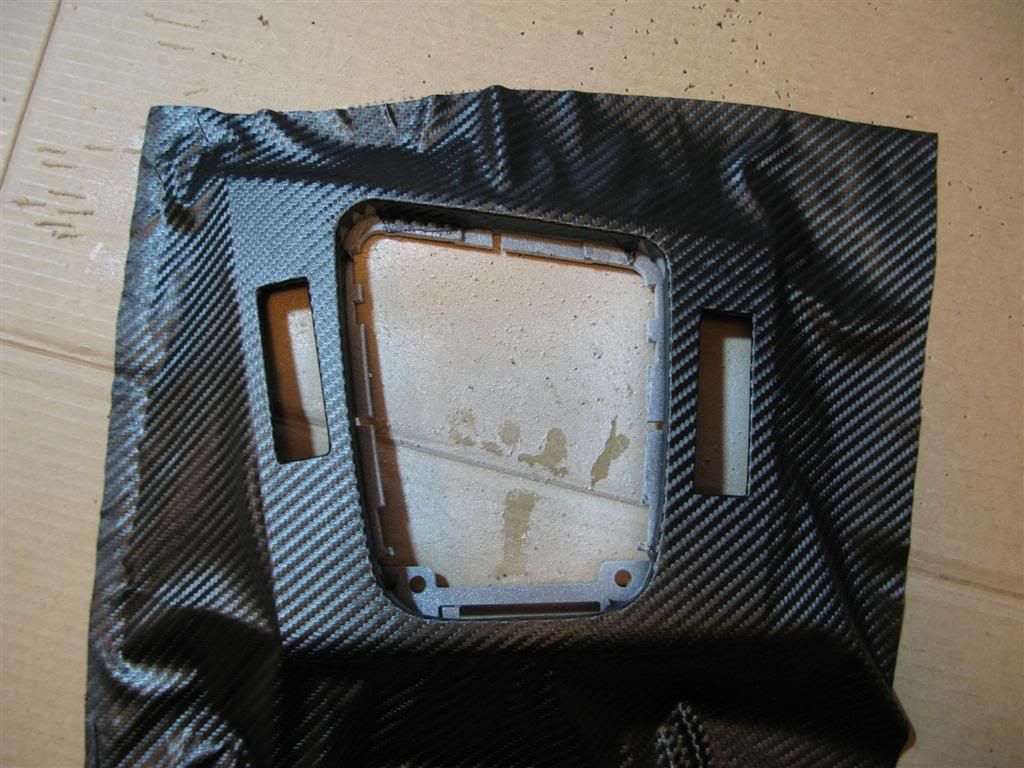
Figure 6. Pull the vinyl in the inside holes back and glue it down.
Step 6 – Finish wrapping the trim
- Take the rest of the vinyl and wrap it around the trim piece, gluing it down.
- Re-install the trim piece back into the cabin and admire your hard work!

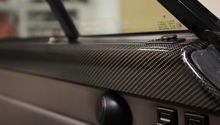
Figure 7. Finish wrapping the vinyl on the trim piece. 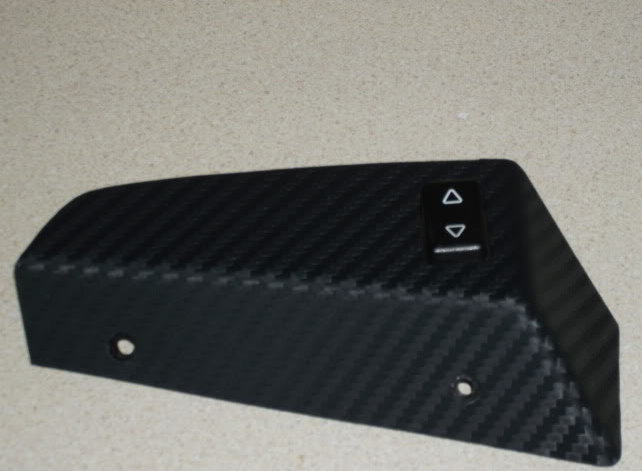
Figure 8. Vinyl wrapped window switch. 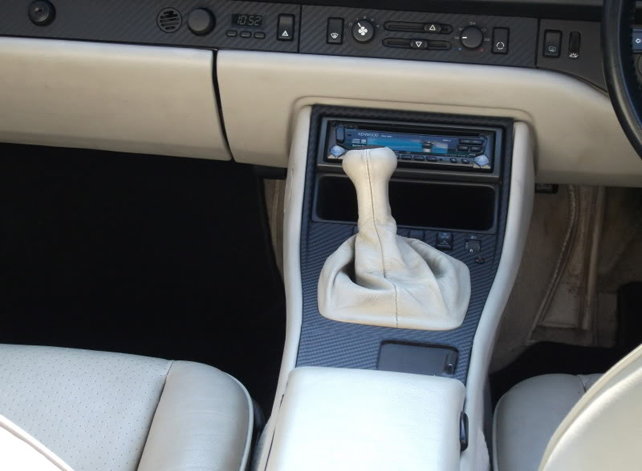
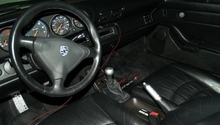
Figure 9. Vinyl wrapped center console. 
Figure 10. Driver-side door switch.
Related Discussions and Site
- Carbon Fiber Vinyl Dash - Rennlist.com
- Easy Carbon Fiber Wrap - Rennlist.com
- DIY: Wrapping Interior Trim Parts - E90post.com