Porsche 997: How to Vinyl Wrap Your Car
There are other options to changing the color of your Porsche 997. This article will explain how to properly wrap your car in vinyl, so you can get the look you want at a fraction of the cost.
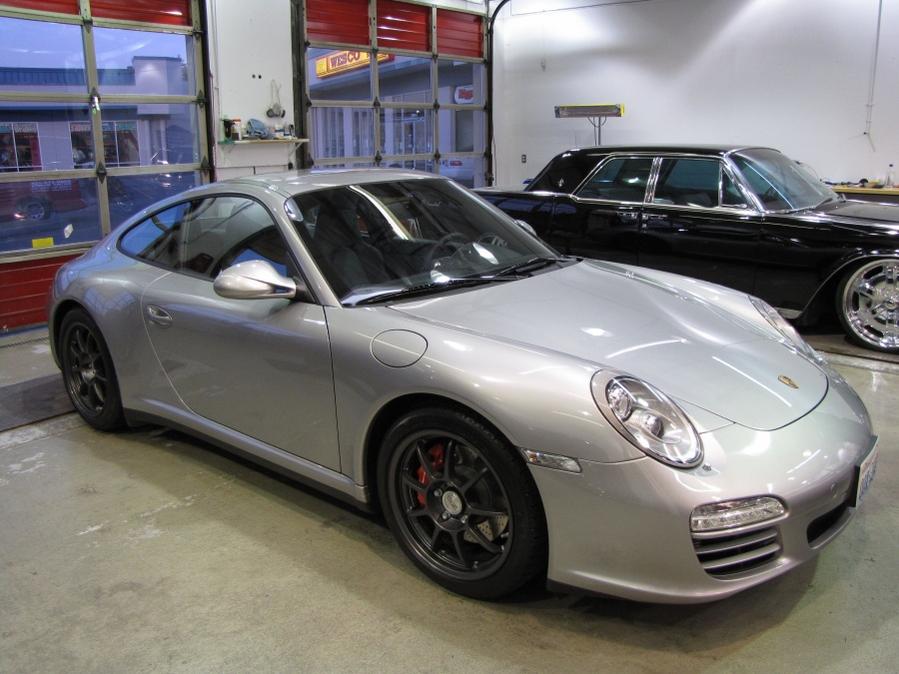
This article applies to the Porsche 997 (2005-2012).
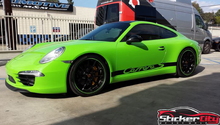
Vinyl wrap is an excellent way to change the color of your Porsche 997, and also protect its original paint job. Best yet, there are hundreds of color options for you to choose from. Although the process of wrapping your 997 is difficult and tedious, it requires a relatively smaller amount of prep work to that of painting your car. And, the costs are also much less expensive. Follow the steps below to learn the proper technique of vinyl wrapping.

Materials Needed
- Vinyl wrap and cutter
- Bucket, water, and soap
- Microfiber towels
- Car wax (optional)
- Squeegee
- Masking tape
- Heat gun
- Trim removal tool or rubber pry bar
- Flat head and Phillips screwdrivers
Step 1 – Prep the car's surface
As you apply the vinyl wrap, there will be a pocket of air between the wrap and the body panels. To ensure you receive the smoothest finish possible, work in an enclosed area and make sure to thoroughly clean all surfaces of the car's exterior.
- Wash your car thoroughly, and make sure that every area that's to be wrapped is free of dirt as well as debris.
- Wash multiple times if necessary, and make sure your car is completely dry before the wrapping begins.
- Wax your car to produce the smoothest results, but this is optional.
Step 2 – Remove the exterior components
With a trim removal tool and the screwdrivers, remove the following:
- Headlights
- Taillights
- Side view mirrors
- Emblems
- License plate covers
Step 3 – Measure the vinyl wrap
- Apply masking tape over the door lock holes, and any other pieces that will not be wrapped.
- Place the vinyl wrap (with adhesive still attached) over each body panel and trim piece. Make sure there is at least six inches of wrap hanging over the edges.
- Use a vinyl cutter to trim the outline of each piece.

Pro Tip
When measuring and cutting each piece of vinyl, do the smaller sections last to save as much vinyl as possible.
Step 4 – Wrap the car
- Stretch the piece of vinyl from opposite ends.
- Very slowly lay the one end of the vinyl piece over one side of the body panel, and work your way to the other end. Make sure to leave an excess of wrap to overlap the edges of the panel.
- Use a squeegee to flatten the wrap onto the body panel, and also remove any trapped air bubbles.
- Once all air bubbles have been removed, run a heat gun over the wrap to loosen and stretch it further over the body panel.
- Follow this same procedure with the smaller trim pieces like the door handles and side view mirror housings.
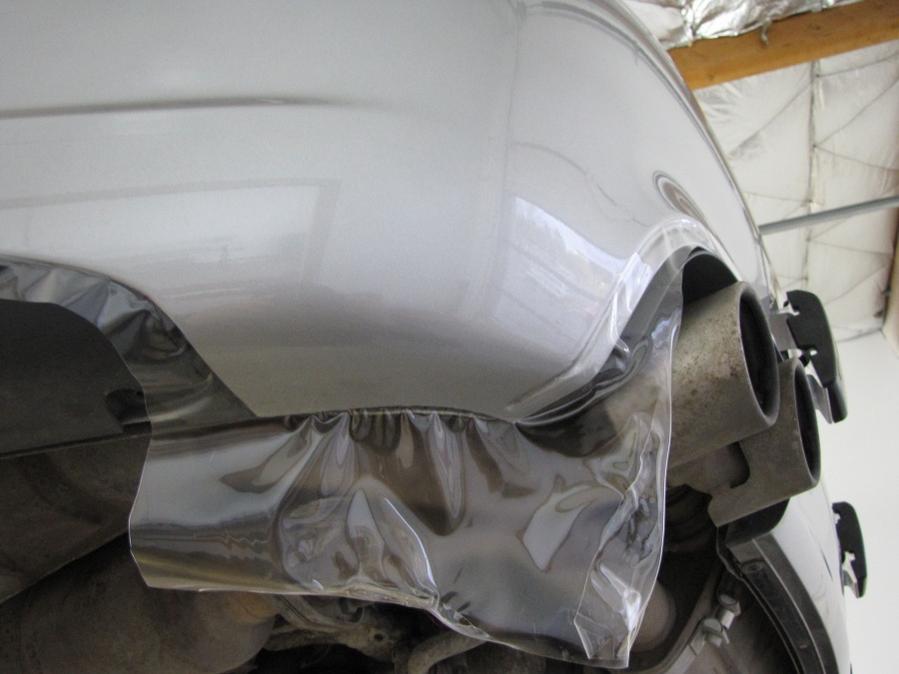
Figure 2. Leave extra wrap over the panel edges. 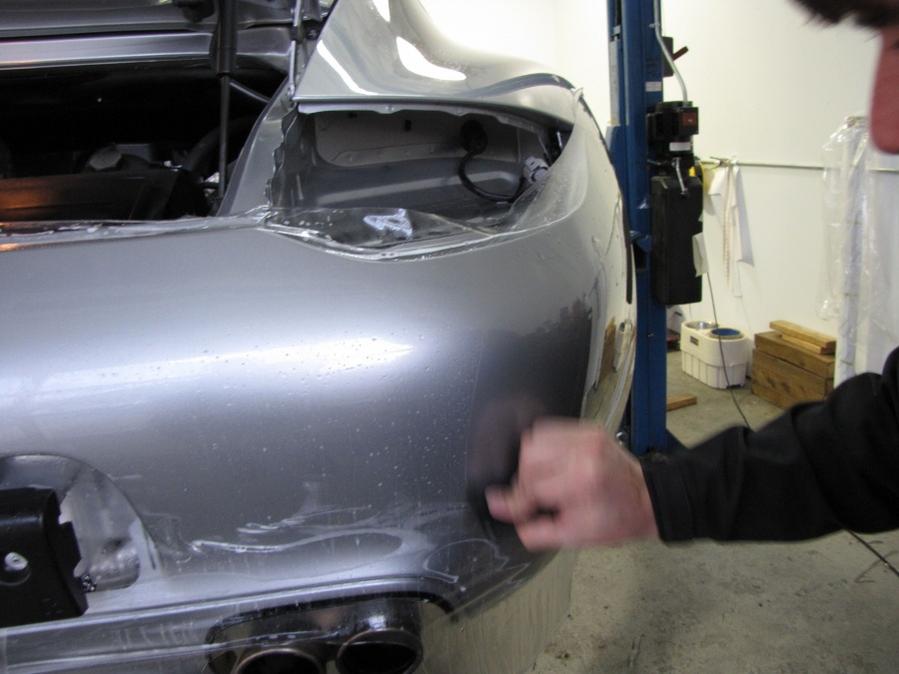
Figure 3. Smooth out any air bubbles in the vinyl. 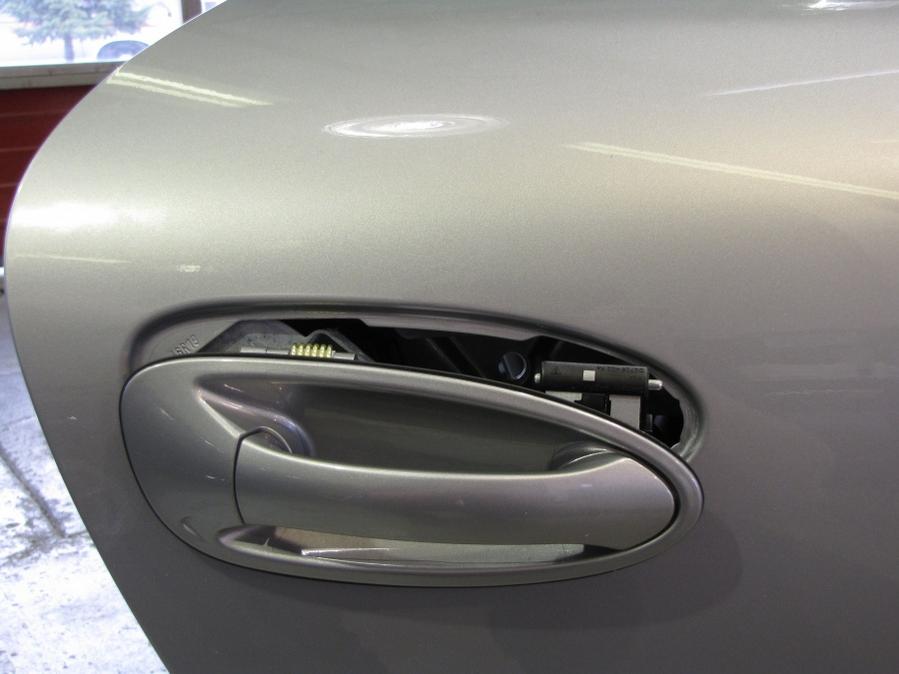
Figure 4. Wrap the door handles and smaller trim pieces.
Step 5 – Reassemble the car
- Make sure that each wrapped panel and trim piece don't have air bubbles or bumps.
- Re-install the removed car components, which included the headlights, taillights, side view mirrors, emblems, and the license plate covers.
Related Discussions
- Vinyl Car Wraps - Rennlist.com
- Porsche Vinyl Wrap DIY - Rennlist.com