Porsche 928: How to Install Shock Absorbers
While driving down a road, does the slightest deflection make you feel like you're atop a pogo stick? It might be time to replace or repair your shocks. Learn how to here.
This article applies to the Porsche 928 (1979-1995).
A vehicle's suspension setup comprises of many different components, all of which play a part in how well the car handles and how comfortable the driver and passengers feel. Each of those components wear over time and require servicing and/or replacement. Shock absorbers take a large amount of the abuse and can be prone to leaking or damage. Luckily, these components can be replaced, repaired, or even upgraded.

Materials Needed
- Jack with jack stands
- Screwdrivers
- Socket wrenches and assorted sockets
- Adjustable wrench
- Breaker bar
Each strut costs around $140 to replace, and it's recommended to get a professional wheel alignment when you're finished, which will cost around $75.
Step 1 – Raise and secure vehicle
To perform this job, you will need to have the car raised on level ground.
- Loosen the front wheels.
- Raise car with hydraulic jack and secure with jack stands.
- Fully remove front wheels to expose brakes and suspension.
(Related Article: Porsche 928: How to Jack Up Your Porsche - Rennlist.com)

Pro Tip
Your owner's manual indicates the specific points under the vehicle called jack points. Use those to properly raise the car.
Step 2 – Remove fender liners
To get the most clearance, the protective liners will need to be removed.
- Remove seven screws securing the liners.
Pro Tip
You can turn the wheel to the full lock of the side you're working on to gain extra clearance.
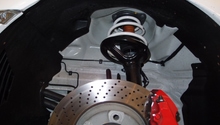
Step 3 – Unbolt strut/shock
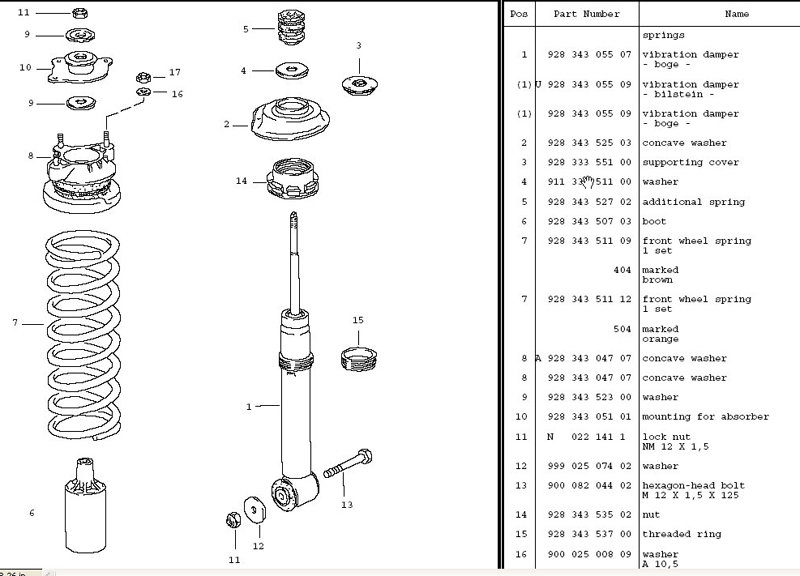
The shock or strut is secured atop by three bolts and on the bottom by a large bolt and a nut which counter holds it.
- Loosen and remove bottom bolt by counter holding the opposite nut with a wrench.
- Remove three top bolts atop the strut.
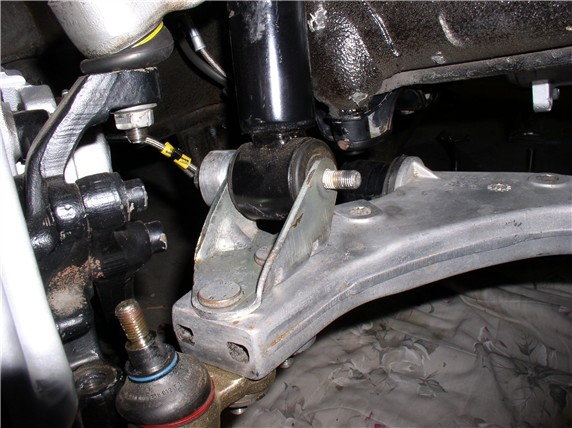
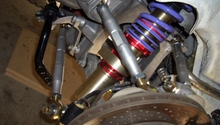
Figure 3. Bottom shock bolt threaded through control arm. 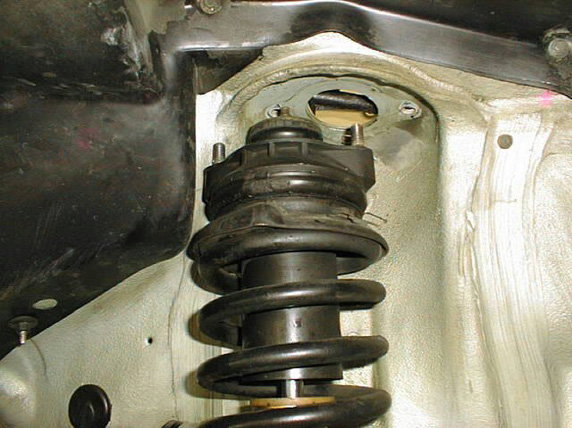
Figure 4. Shock removed from shock tops.
Pro Tip
It is not necessary to remove lower control arm or sway bay bushings or ball joints. Once you have removed the bottom bolt, you can place a scissor jack, block of wood, etc. for when you remove the top of the strut to pass through.
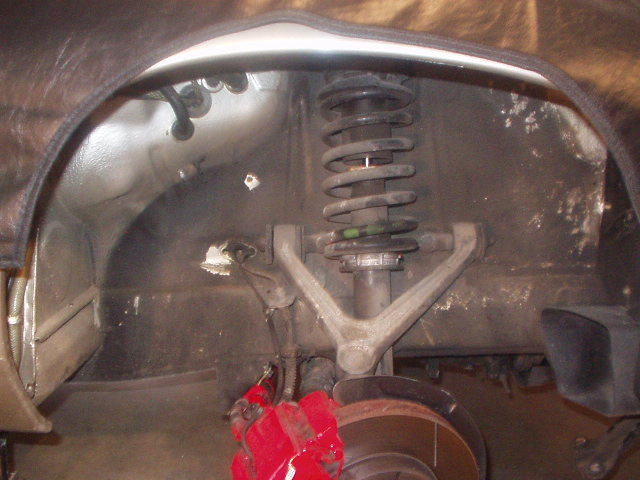
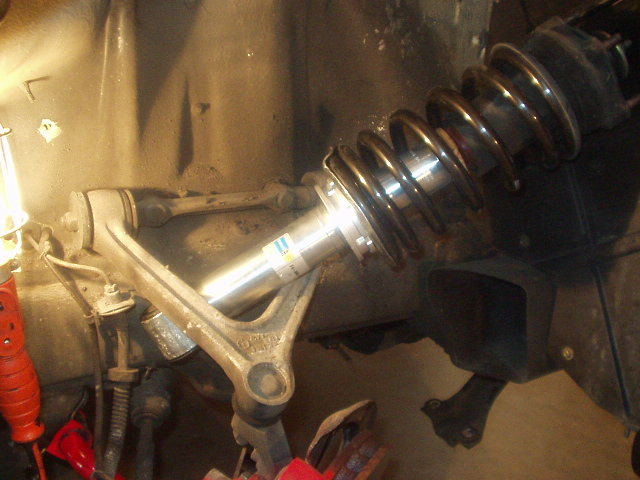
Step 4 – Remove old assembly
Now that both top and bottom of the strut/shock assembly are free of their bolts, the assembly can drop through and be removed.
- Maneuver the assembly left or right and remove from vehicle.
- Repeat for the other side.
Note: If keeping the existing springs, they will need to be decompressed from existing struts and "recompressed" onto new struts.
Step 5 – Install new assembly
Once you have gotten the new assemblies back together, installation is reverse of removal.
- Position the assembly through upper A arm and secure lower bolt.
- Position the assembly so the three studs can line up with the upper strut bolt holes.
- Bolt the top bolts in securely.
- Repeat for the other side.
- Secure wheels and lower the car off the jack stands.
- Drive the car and enjoy!

Pro Tip
If you're not comfortable with using a manual compressor after decompressing the existing springs, take the assemblies to a reputable shop to be swapped out with the new struts. The upper strut mounts can be reused unless you find they are extremely worn and and cracked. As a bonus, since none of the other components to the suspension were touched or altered, your vehicle's alignment will stay in tact.
Related Discussions
- Porsche 928 Front Strut Removal - Rennlist.com
- Components Reused When Replacing Front Struts - Rennlist.com