Porsche 993: How to Replace Cabin Air Filter
Symptoms of a worn cabin air filter generally includes musty odors and an increase in allergies or respiratory problems, especially if they're triggered by common irritants such as pollen and dust. This simple DIY process will help you replace the cabin air filter in your Porsche 993.
This article applies to the Porsche 993 (1993-1998).
The cabin air filter is a small part of any car, but it plays an important role in keeping allergens—such as dust, pollen, and dirt—at bay. This type of filter is responsible for cleaning the air that comes through the interior of the car via the A/C, heating, and ventilation systems. While owners are generally encouraged to replace their air filters between 12,000 to 15,000 miles, this can change depending on where you live or how much you drive.

Materials Needed
- New cabin air filter
- Torx T30 and ratcheting wrench
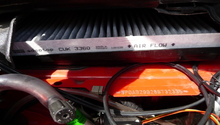
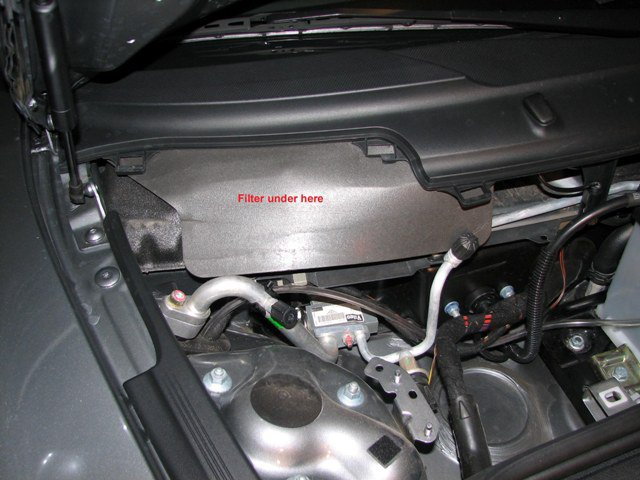
Step 1 – Locate filter and remove fasteners
You'll find the cabin air filter in the car's front trunk by the passenger's windshield wiper. There should be a plastic cover on top. Go ahead and (gently) remove it.

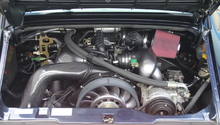
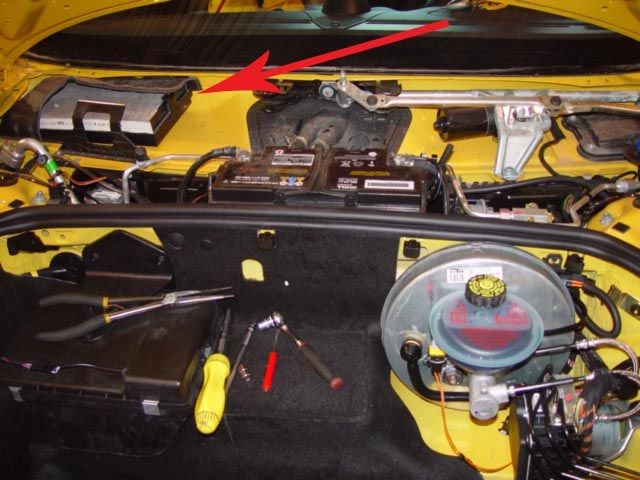
Step 2 – Remove the battery and strut tower covers
Both covers are located on the right-hand side of the car. They should snap out easily. Once the covers are out, you'll see the air cabin filter cover. It may be covered by a flexible foam flap, which you'll need to lift up to see the filter.
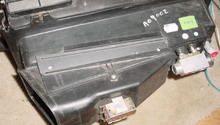
Step 3 – Remove retaining bracket and clip
Start by removing the small retaining bracket, which is held in place with Torx screws. Then, locate the plastic retaining clip on the interior edge of the filter tray. Flip this clip down to release the tray from the filter.

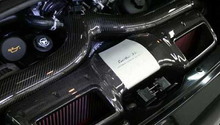
Step 4 – Insert the new filter
Once the old filter is out, you can carefully install the new filter in its place. Be very careful not to crush or mangle the pleats during this process. You may need to gently press around the filter's edges and tabs to get it into position.

Step 5 – Reassemble
Once the new filter is securely in place, start by replacing the retaining clip at the end, followed by the front plastic bracket. The final step is to replace the strut tower and battery covers.
Related Discussions
- Please Don't Pay to Have Cabin Filter Changed - Rennlist.com
- Anyone Know Where Cabin Filter is Located? - Rennlist.com