Porsche 993: How to Replace Dome Light
Replace the dome light in your Porsche 993 in a matter of minutes using these easy-to-follow instructions.
This article applies to the Porsche 993 (1993-1998).
The interior dome light fixture in your vehicle requires regular maintenance. If you notice the light flickering on and off or producing a weak (dull) or delayed stream of light, the bulb is defective. If, on the other hand, the assembly is defective or it is time for an upgrade, you'll need to install a new dome light. This article walks through both repairs for good measure.

Materials Needed
- Screwdriver
- Replacement bulbs
- Shop towel
- Phillips screwdriver or a ratcheting socket wrench with a Phillips head adapter
- Splicer
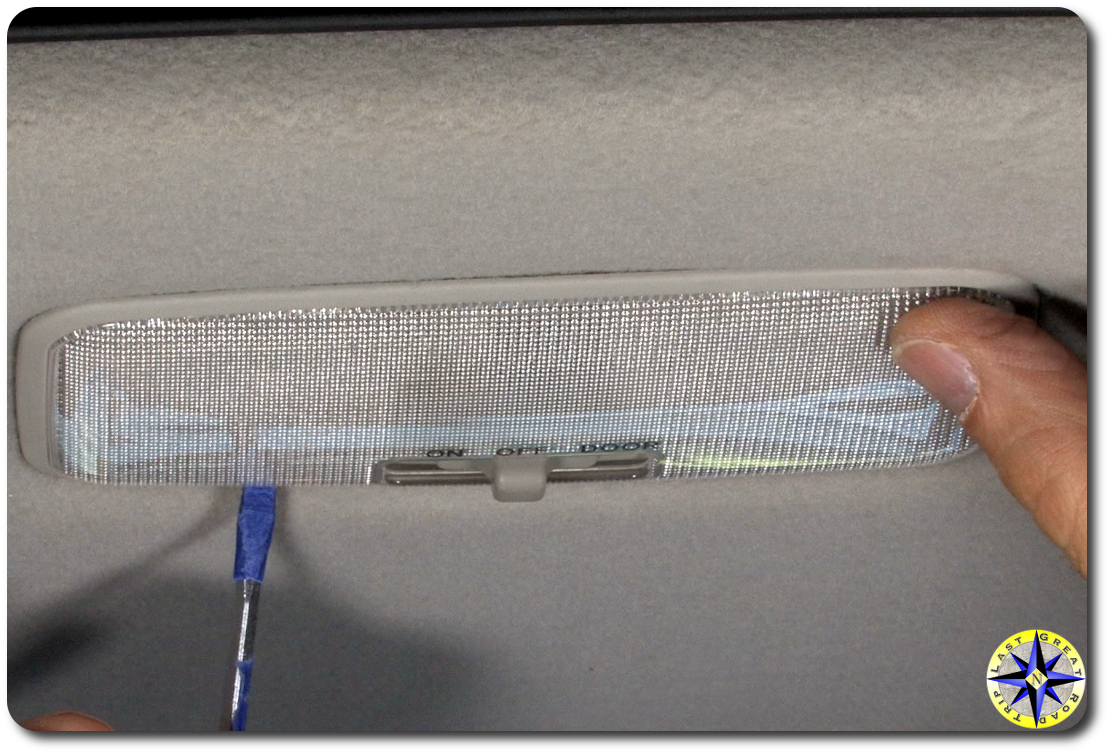
Step 1 – Start with a simple bulb replacement
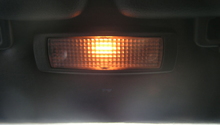
If the dome light in your Porsche 993 no longer activates when the door opens, then the most likely culprit is a blown bulb. This is an inexpensive repair to fix and requires just a few simple materials. Wrap a flat head screwdriver inside a shop towel. Pry the short end of the interior dome light cover free using the screwdriver. Take your time, applying light force as you work the cover loose. Remove the cover by hand, by simply pulling it away from the headliner.
Pro Tip
Use a steady back and forth motion to unseat the cover.
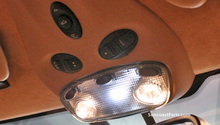
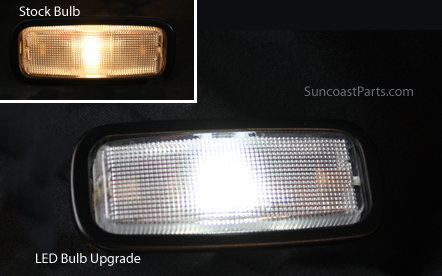
Step 2 – Remove the defective bulb(s)
Pull the defective bulb from between the spring contacts inside the light fixture by hand and replace. You have two options: Incandescent filament bulbs and LED filament bulbs. It's recommended using LED filament bulbs, which are more technologically advanced, energy efficient, and cost-effective than traditional (and cheaper) incandescent filament bulbs. As well, LED bulbs offer greater illumination and color compared to traditional bulbs.
Pro Tip
LED bulbs have a longer lifespan than traditional bulbs and are universal, meaning they can be used in most light assemblies.
Step 3 – Reattach the cover
Snap the cover back into place by simply pressing down on one end. Do the same for the other end until the entire cover snaps back into place. This step does not require the use of any tools.
Pro Tip
Be sure to test your replacement bulbs to ensure you've installed them correctly.
Related Discussions
- Interior Bulb Replacement - Rennlist.com
- Dome Light - Rennlist.com