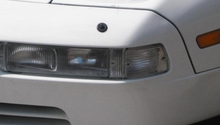
Porsche 993: How to Replace Parking Lights with LEDs
Replacing stock parking light bulbs with LED lights is a fairly simple upgrade that will save you a bundle if you do it yourself.
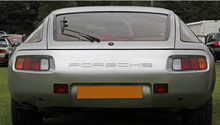
This article applies to the Porsche 993 (1993-1998).
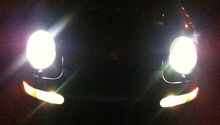
Parking lights help others see your car when you're parked on a poorly lit street or in a dark parking lot. They may not seem as important of a safety feature as your back-up lights, but they're essential all the same. Installing LED lights will cause your parking lights to shine brighter and last longer, as other Porsche 993 owners who have done this upgrade have found. The project is fairly easy and you should be able to replace both parking lights bulbs in under an hour.

Materials Needed
- Gloves (optional)
- T30 torque wrench
- Rivet puller
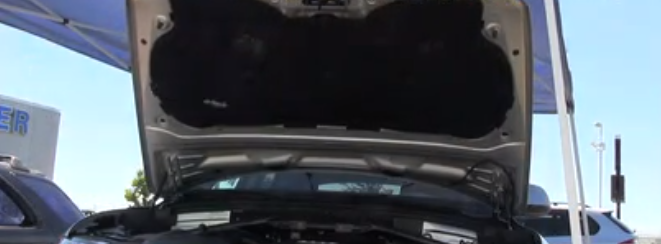
Step 1 – Prepare to replace parking lights
Locate hood release lever on inside of car and engage it. This causes the hood to pop open. Release safety catch of hood and raise it. Disconnect battery.
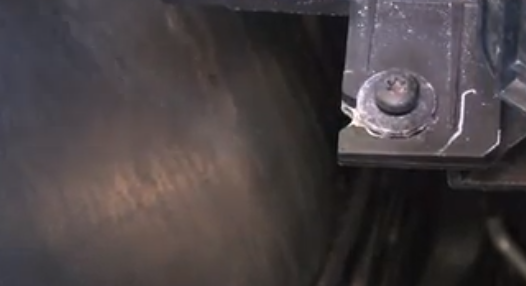
Step 2 – Remove rivets
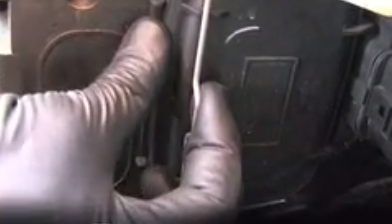
Press down on center of rivets first to unlock them. Pry up base of fastener, and then use rivet puller to pry out rivets. There are likely between six and eight rivets to remove. Once you’ve removed the rivets, remove the panel by lifting it up and out.
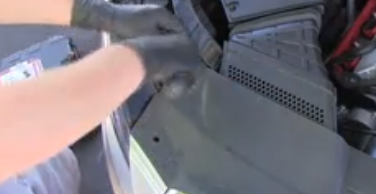
Figure 2. Use rivet puller to remove rivets. 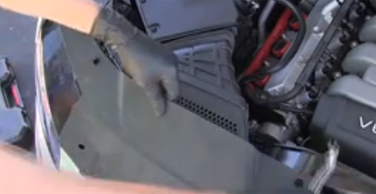
Figure 3. Pull up panel and set it aside.
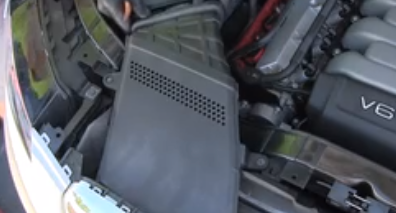
Step 3 – Remove air filter intake system
Remove fasteners on air filter assembly. Lift housing up and out to remove it. You may need to use some force to remove housing. This will give you better access to the parking light bulb.
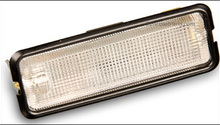
Step 4 – Remove housing
Use a T30 torque wrench to remove the three bolts holding the housing in place. Once you’ve removed these bolts, release the fastener on the rear of the housing.
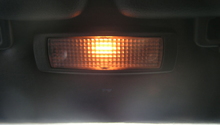
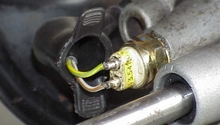
Step 5 – Access parking light bulb
Remove cover by lifting it straight up. Remove bulb by pulling it straight out. Remove old bulb by pulling it from its socket. You should be able to simply pull it out, but you may need to wiggle its base a little in order to loosen it enough for you to remove.
Step 6 – Install new LED bulb
Install new LED bulb by pushing its connector straight into the socket. You should feel it click into place.
Step 7 – Re-install components
- Insert bulb assembly by pushing it straight in. Align tabs before you insert the bulb assembly into place.
- Replace cover.
- Re-engage fasteners.
- Re-insert bulb housing. Make sure it is secure before moving to next step in re-installation.
- Replace air filter housing. The feet on the bottom of the housing must align with their respective slots before you can snap it into place.
- Reconnect hose to air filter housing.
- Re-attach fasteners.
- Replace air intake by snapping it into place.
- Replace panel cover.
- Re-install rivets. They should lock into place.
Step 8 – Test new LED parking lights
Test new LED lights. Either engage parking lights, step out of car, and observe the difference, or ask someone to stand in front of your car when you engage parking lights.
Featured Video: How to Change a Porsche Headlight Bulb
Related Discussions
- Parking Light LED Replacement Update - Rennlist.com
- LED Front Parking Light Options - Rennlist.com
- Parking Light Bulb Replacement - Rennlist.com
- Parking Light Improvement - Rennlist.com
- H4 Parking Light LED Replacement - Rennlist.com