Porsche 928: How to Replace Fog Lights
Fog lights help out on those hazy nights where road visibility is compromised. If your fog lights go out, learn how to replace them here.
This article applies to the Porsche 928 (1979-1995).
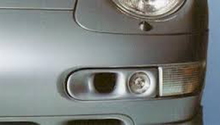
The point of the fog lights on your Porsche 928 is to illuminate the immediate road in front of your car, think of them as low-low-beams. And by lighting up the road in a low, wide arc in front of the car, the light never shines directly at the precipitation that forced you to turn them on in the first place, thereby avoiding shine-back into your eyes. The bulbs in a fog light often need replacing as many drivers forget to turn them off, and then they burn out. The good news is it's a quick and easy job.

Materials Needed
- Fog light bulbs
- Phillips screwdriver
- Cloth
Fog light bulb prices vary by manufacturer and type of bulb. A halogen will cost about $4.50 (#900-631-126-9).
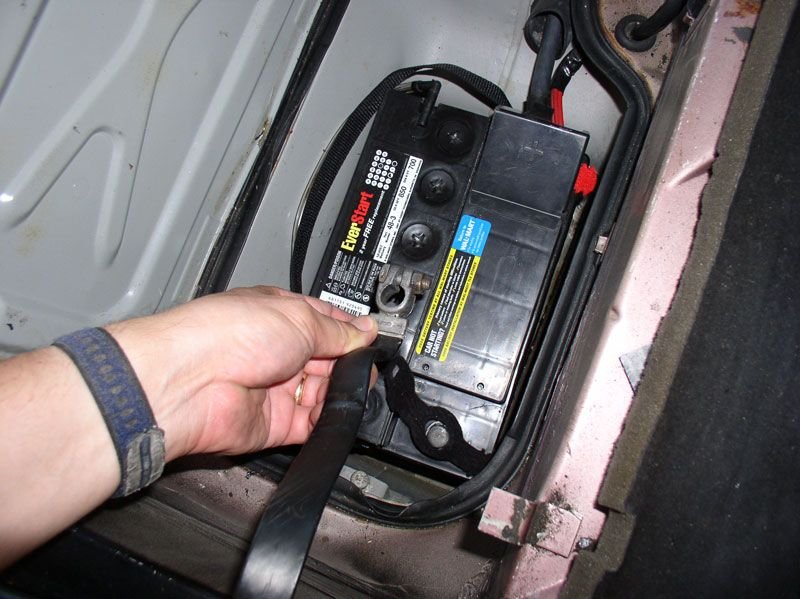
Step 1 – Disconnect the battery
As is the case whenever you are dealing with a component connected to the vehicle’s power supply, you want to disconnect the battery. Disconnect the negative side first, followed by the positive.
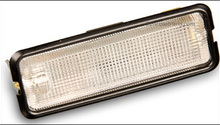
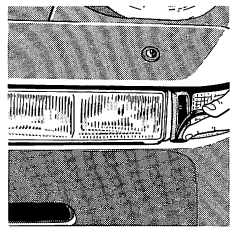
Step 2 – Access defective bulb
First, remove the cover of the rubber buffer. Next, remove the Phillips screws from the rubber buffer and the transparent side cover using a screwdriver. Now remove the Phillips screws holding the lamp and pull out the lens as a unit.
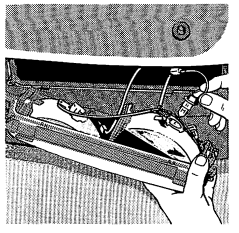
Disconnect the unit wire. Now push down, holding the clamp for the bulb. Remove defective bulb.
Step 3 – Replace bulb and lighting unit
Once the defective bulb has been removed, replace with a new bulb. Give the new bulb a quick wipe with a towel or cloth to ensure there is no dirt or grease anywhere on it, but do not touch the bulb directly with your hands. Finger prints cause hot spots on bulbs, and will lead to premature failure. Once the bulb is in place, double check that guide pins on the bulb base fit into the socket of reflector.
Re-install lamp and tighten screws.

Step 4 – Reconnect battery and replace buffer
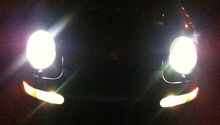
Connect positive line first, followed by negative line. Turn the car on and test the functioning and adjustment of the light.
If everything looks good, install the rubber buffer and side cover. Tighten the retaining screws.
Related Discussions
- How to Replace Fog Light on 928 - Rennlist.com
- Rennlist Member With More Information 87man20 - Rennlist.com
- How Do You Remove the Fog Light - Rennlist.com