Porsche 928: How to Replace Parking Lights with LEDs
It is very important that your car has noticeable and bright parking lights, as they're an extra safety feature that lets other drivers know the width of your Porsche 928 in situations where your headlights are not activated. Here's how to upgrade to LED parking lights.
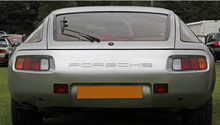
This article applies to the Porsche 928 (1979-1995).
Parking lights, also referred to as position lights or clearance lights, are an added safety feature meant to alert others regarding the width of your Porsche 928 in instances where one or both headlights fail. Replacing them is moderately difficult because you need to work in a tight space, but you'll save a good amount of money by doing this install yourself. Read on to learn more about what it takes to swap your parking lights with LED bulbs.

Materials Needed
- LED bulbs (prices vary by manufacturer)
- Socket/wrench set
- Cloth
Step 1 – Disconnect the battery
As is the case whenever you are dealing with a component connected to the vehicle’s power supply, you want to disconnect the battery. Disconnect the negative side first, followed by the positive.

Step 2 – Locate parking light on driver’s side and remove bulb
- Lie on the ground behind the rear wheel, reach up from under the car towards the marker, and feel around. The assembly is located when you feel a rectangular rubber boot over it with wires coming in the top. Pry off the boot with your fingers.
- Feel around the assembly — in the center will be a circular collar where the bulb socket is. On the inside of the circular collar, towards the front of the car, is a wide vertical tab.
- Squeeze the tab towards the rim of circular collar — the socket will unlatch and you can pivot the bulb socket out.
- The whole socket comes down to below the bumper, where you can easily change the bulb to LED.
LED bulbs are specially designed to fit original factor bulb sockets, so installation is easy.

Step 3 – Replace parking light bulb
- Reach back up, and put the rear edge of the socket back in the circular collar. Pivot the unit forward for the tab to catch.
- Push the rubber boot back on and slide out.

Step 4 – Locate parking light on passenger’s side and remove bulb
You can follow the same steps (2-3), but the fuel filler makes it very tight to get the socket out. If you can wiggle it out, that's great, but if you can’t, then you’ll want to spray the two nuts with WD-40 (with the rubber boot on to protect the light element).
- Next, completely remove the nut and bracket on forward-facing side near the wheel.
- Then, loosen the rear nut with a wrench enough that assembly can be pushed out far enough so that the forward threaded post clears side of the car.
- Slide assembly forward so that the circular collar clears the gas filler tube.
- Remove rubber boot, press tab, and remove the socket.
Step 5 – Replace bulb and assembly
- Replace with LED bulb.Reach back up, put rear edge of the socket back in the circular collar. Pivot the unit forward for the tab to catch. Push rubber boot back on.
- Make sure assembly is back in place, and tighten rear nut.
- Replace bracket and nut near rear wheel and wipe of any excess WD-40 with a dry cloth.
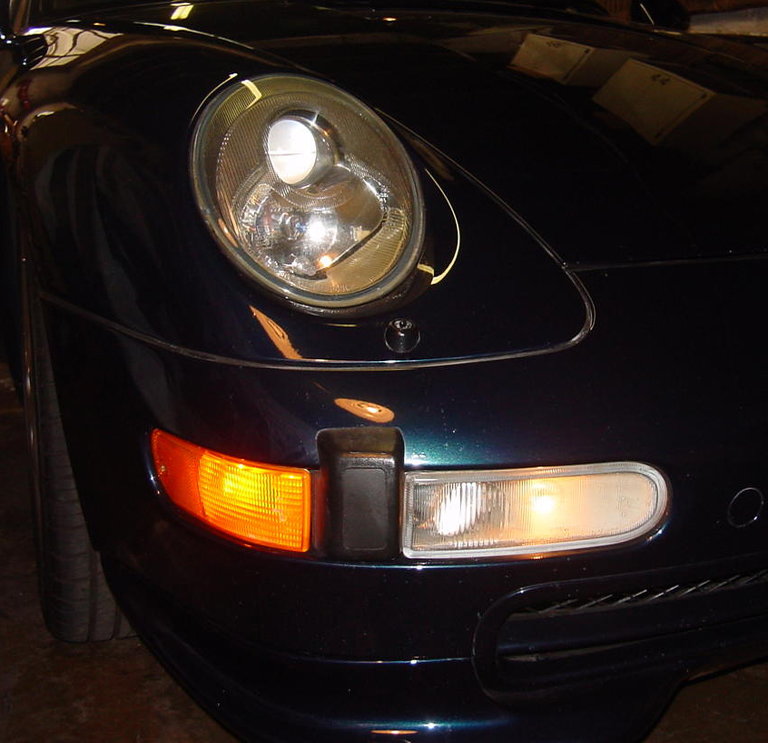
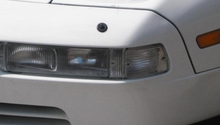
Figure 4. Before LED installation. 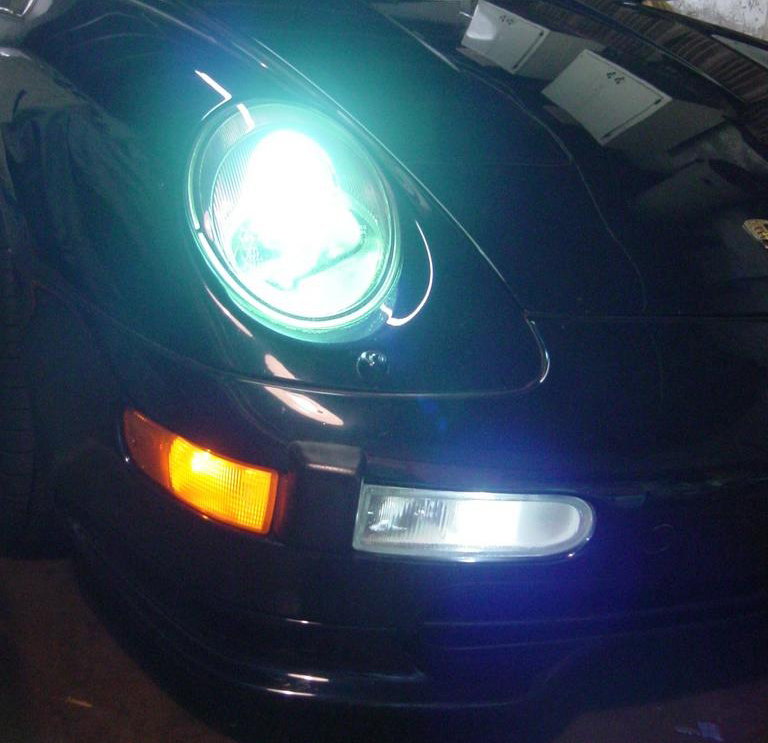
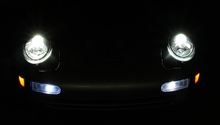
Figure 5. After LED replacement.
Step 6 – Reconnect battery
Connect the positive line first, followed by negative line. Turn the car on, and test the parking lights.
Related Discussions
- H6W Litronic Parking Lights LED Replacement Update - Rennlist.com
- H6W Litronic Parking Lights LED Replacement Update 3 - Rennlist.com
- LED Front Parking Light Options - Rennlist.com
- Parking Light Bulb Replacement Closer Color - Rennlist.com