Porsche 997: How to Replace Starter
You get in, turn the key, and all the lights come on, but when you go to fire it up, nothing happens. Here's how to replace the starter so that something does happen.
This article applies to the Porsche 911 997 (2005-2012).
It's a problem that can actually confuse some people. You go to get in your 911 to go for a drive, but when you turn the key, nothing happens. Most people immediately assume it's the battery, so they install a new one but still have the same issue. The last thing you ever want to admit to yourself is that it could be the starter, probably because it's the more difficult starting system component to replace. So what's next when you've replaced every other starting system part and finally come to grips that you must bite the bullet and replace the starter? Read on to learn what to do.
Materials Needed
- E-10 Torx bit
- E-14 Torx bit
- 7mm socket
- 10mm socket
- 13mm socket
- 24" extension
- Breaker bar
- Universal joint
- Ratchet
- Flat head screwdriver
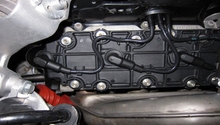
The starter is located at the back of the engine and is very difficult to see when trying to look in the engine compartment. A fair amount of other components will have to be removed to access it. The starter turns the flywheel of the engine which is how it cranks the engine over in order to start it. This is why it is located where it is.
Step 1 – Disconnect the battery
This is very important for safety reasons. A lot of electrical power is required to turn the starter, so you want to be on the safe side and disconnect the electrical supply to the starter. The last thing you want is sparks flying when you're in there. Remove the negative terminal first, then the positive terminal.
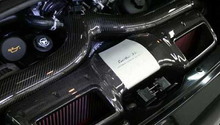
Step 2 – Remove air box
The first component you will have to remove in order to gain access to the engine is the air box, secured with a series of E10 and E14 Torx bits. Removing this will open up a lot more space and will allow you to easily get at the starter once you have removed some other components. It seems like a lot to take off, but doing so makes things a whole lot easier. There isn't much space in these engine compartments, and the air box takes up a lot of what is left. After you have removed it, you'll notice how much more of the engine you can actually see.
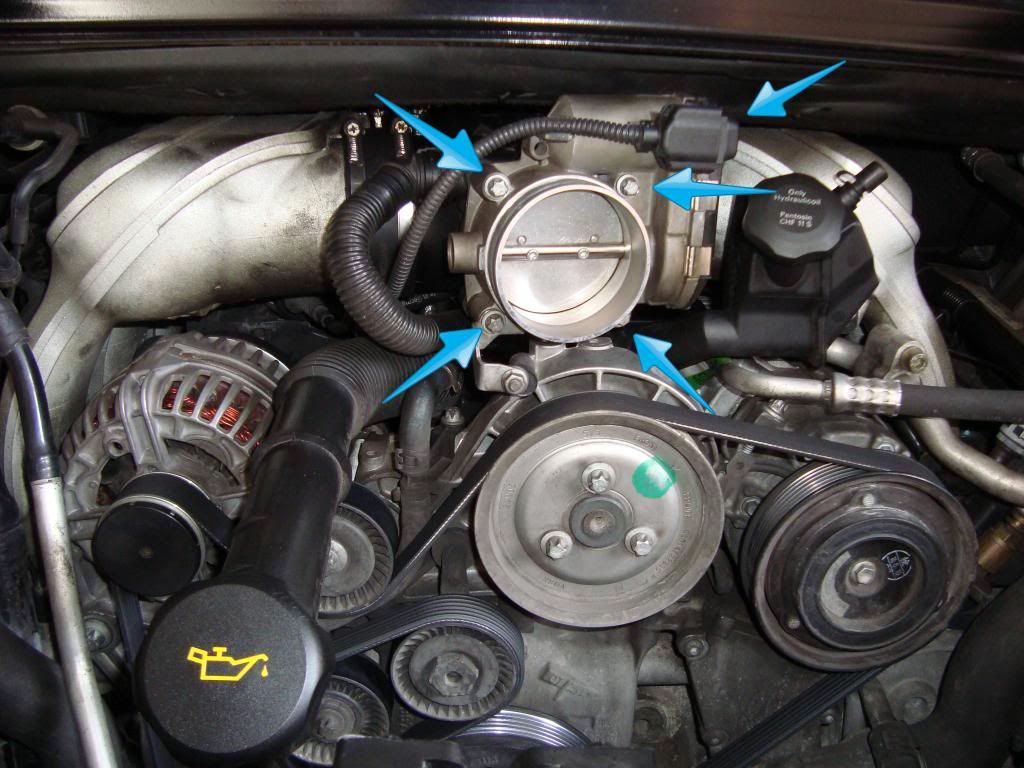
Step 3 – Remove throttle body
After you have removed the air box, you will be able to clearly gain access to the throttle body which will be the next thing you are going to remove. The throttle body is held on by four bolts and has one electrical connection that will need to be unplugged. After disconnecting the electrical connector, use your E-10 Torx bit to remove the four bolts.
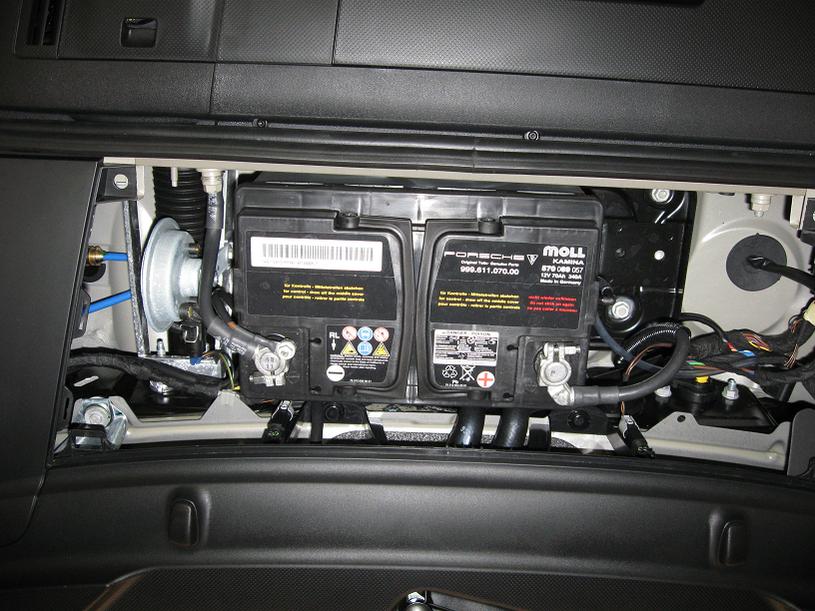
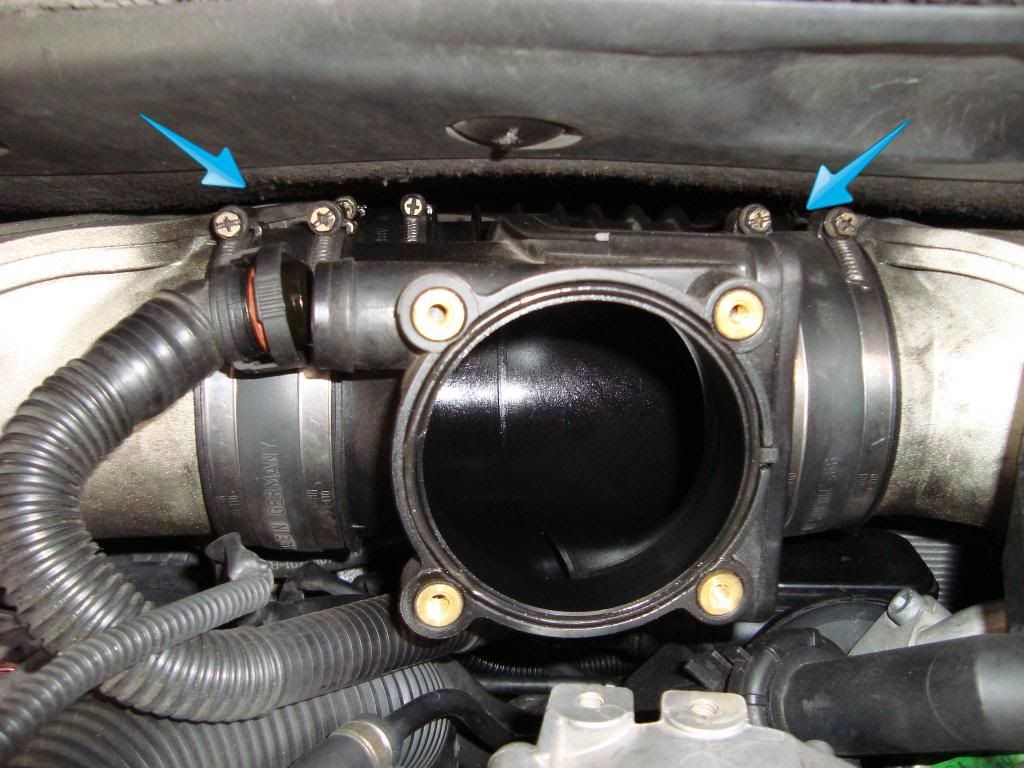
Step 4 – Remove intake plenum tube
After removing the throttle body, you can now gain access to the intake plenum tube which is what the throttle body was connected to. The intake plenum tube is held on by metal clamps and has an air line attached to it that will need to be disconnected also. First thing you will want to do is disconnect the air line, then, using your 7mm socket, loosen the metal clamps. After everything is nice and loose, you should be able to remove the intake plenum tube along with the rubber sleeves.
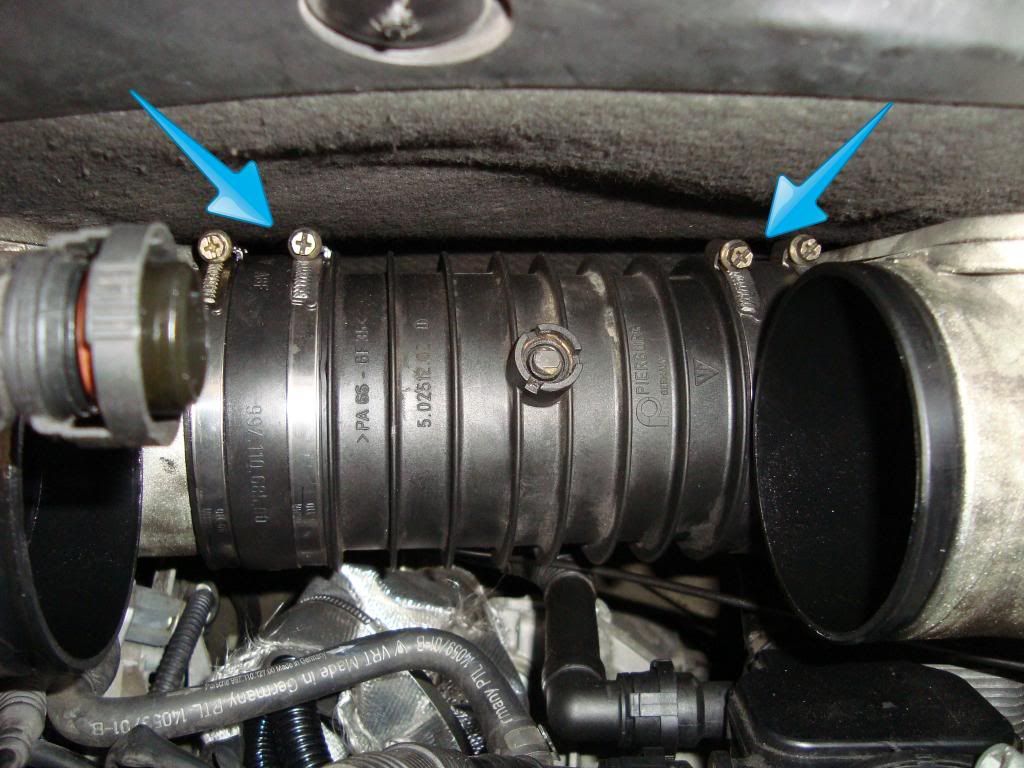
Step 5 – Remove tuning pipe
After you have removed the intake plenum tube, you will see another tube behind it that looks similar but does not have the opening on the front where the throttle body connects. This is the tuning pipe. The tuning pipe has a butterfly valve inside of it that is controlled by a vacuum diaphragm on the backside of it that you cannot see. First, you will want to disconnect the vacuum line that goes to the diaphragm. The tuning pipe is held onto the intake with metal clamps just like the intake plenum. Loosen the metal clamps, and then you should be able to wiggle the tuning pipe free. You might need to use your flat head screwdriver to help with this.
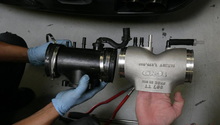
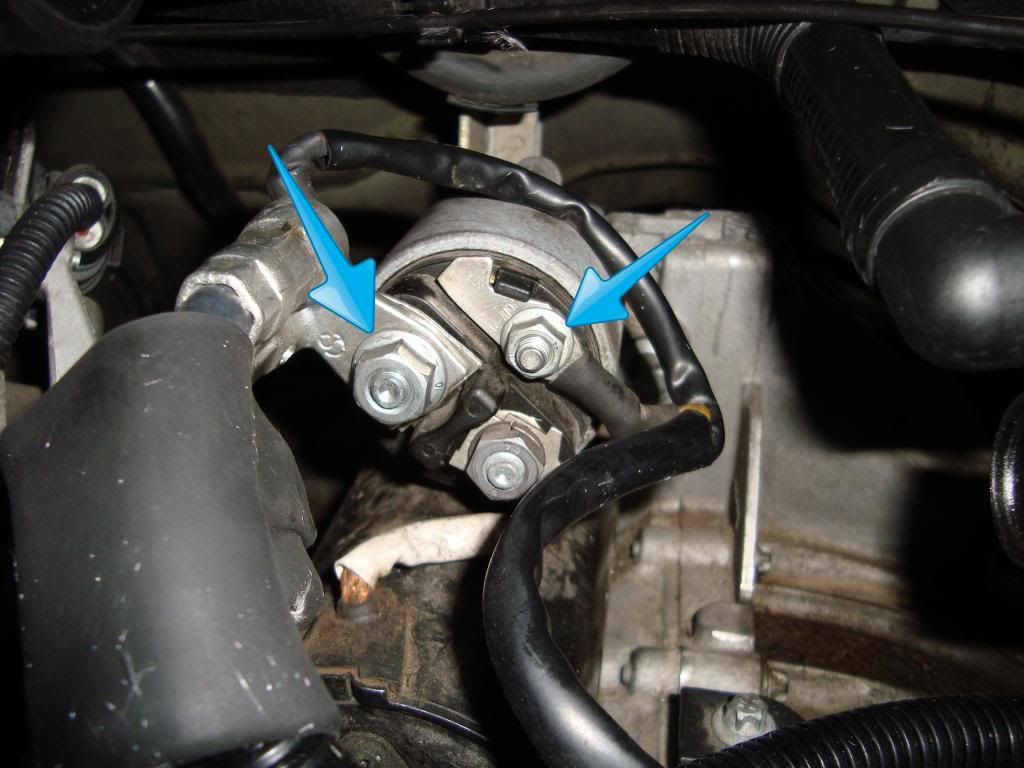
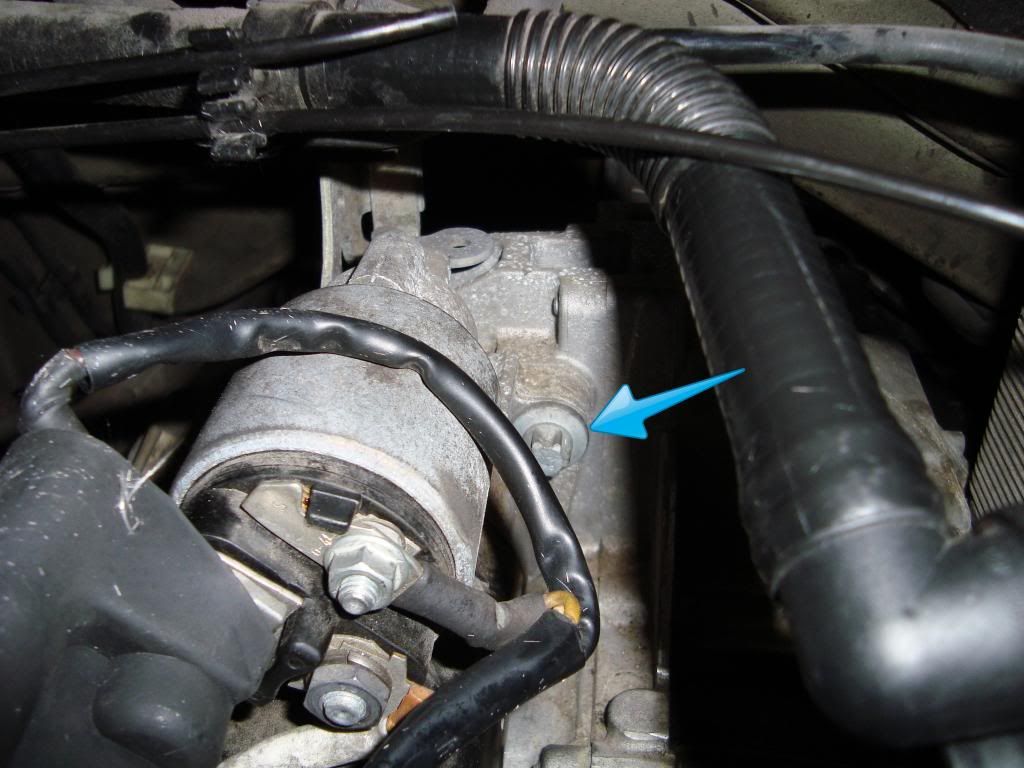
Step 6 – Disconnect electrical leads from starter
Now that you have all those components removed, you will finally be able to see the back of the starter where the electrical leads connect to it. The electrical leads are attached with nuts; one is a 13mm, and the other is a 10mm. But be careful because there are actually three nuts that you will see. You want to disconnect the ones identified by the blue arrows in Figure 6 below.
Step 7 – Loosen bolts that attach starter to engine
Now that you have the electrical leads disconnected, you can loosen the bolts that attach the starter to the engine. To loosen these bolts you will use your E-14 Torx bit. You will also probably need to use a breaker bar as these bolts have a fair amount of torque on them. An extension and universal joint will be required to access the bolts. Be careful when using a universal joint to break torque. It can potentially break, causing pieces to fall in places you might not be able to get them out of. To avoid this, wrap a piece of tape around the joint. This will not only keep the pieces from falling if it breaks, but it will also help the joint not be so floppy so you can have more control over it while placing your socket on the bolt.
Step 8 – Install new starter
After you have loosened the bolts that attach the starter to the engine and have removed it, you can now place your new starter in place. Installation is exactly the reverse steps as removal.
- Reinstall starter and reconnect all electrical connections.
- Reassemble the intake tuning tube and intake plenum.
- Refit the the throttle body to the manifold, and then the intake plumbing to the throttle body.
- Reinstall the air box.
- Connect the battery.
- Start the car (hopefully) and listen for vacuum leaks in the intake area, just to make sure that intake is fully reassembled.
Related Discussions and Site
- DIY 997 Starter Replacement - Rennlist.com
- 997 Won't Start - Rennlist.com
- 997 Light Flashing Won't Start - Rennlist.com
- 911 Carrera Starter Replacement - pelicanparts.com