Porsche 993: Why are My Headlights Dim?
Dim headlights mean less visibility. Here's how to diagnose the source of the problem.
This article applies to the Porsche 993 (1993-1998).
If your headlights dim and then go back to normal while driving, keep reading. What you are experiencing is a common problem that is easy to remedy and fortunately, does not require the costly help of a mechanic (unless you choose to go that route). In most cases, you can complete this simple repair in under an hour; however, it is very likely you won't need the full hour. While you will need to work under the hood of your Porsche 993 to complete this DIY project, you can rest assured this guide will assist you every step of the way. Let's get started!

Materials Needed
- Battery terminal cleaner
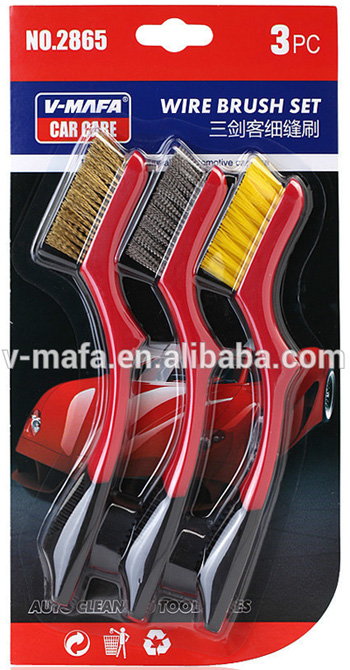
- Wire brush
- Headlight restoration kit
- New headlight switch
- Screwdriver
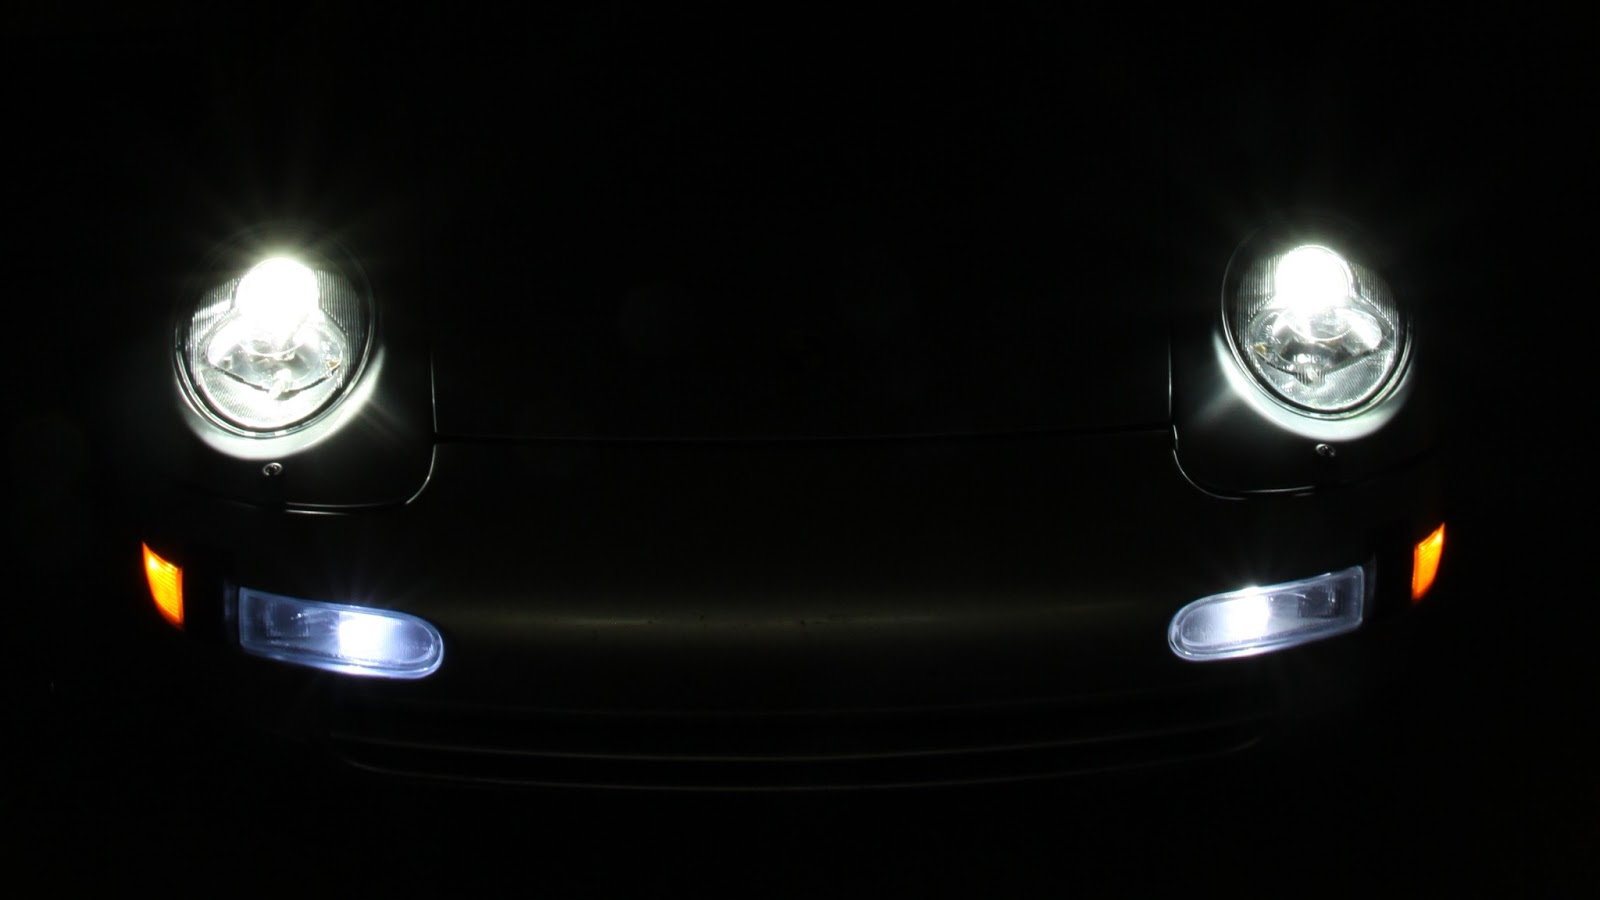
Step 1 – Know what's normal
You might not be experiencing a "problem" at all!
Your Porsche's electrical system is designed to prevent overloading.
- If you apply the brakes, switch on your emergency lights, or roll up your windows while driving with your headlights on, dimming is likely to occur; however, this dimming effect will only occur for a quick second.
- Battery life has no bearing on normal dimming, as described above.
- There is no need to see a mechanic or make any adjustments or repairs to your headlights.
Pro Tip
Your headlights should always go back to normal, if the dimming you are experiencing is due to normal activity.
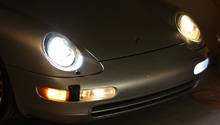
Step 2 – Clean cloudy headlight covers
They might be reducing the amount of light that passes through.
Clean using a headlight restorer cleaner from your local auto parts store. If the product does not remove yellow or cloudy lenses, lightly sand the lens using 1000-grit wet sandpaper.
- If a proper and thorough cleaning of the lenses does not reduce the appearance of cloudiness and discoloration, replace.
(Related Article: Porsche 993: How to Repair Cloudy Headlights - Rennlist.com)

Pro Tip
While the headlight cover is off, we recommend taking a moment to ensure you are using the correct temperature and color bulbs, as this could also be the cause of the dimming problem you are experiencing.
Step 3 – Inspect your battery
It might be on its last leg, or there might be a loose terminal connection.
Start by turning your vehicle's engine off.
- Disconnect both the positive and negative battery terminals.
- Next, clean the posts and terminals using a premium quality battery cleaner and bristled wire brush.
- The brush should be strong enough to clean corrosion from the terminals.
Pro Tip
Replace your battery after 3 to 5 years or as directed by the manufacturer to ensure your vehicle runs at optimum capacity and function.
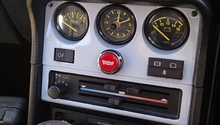
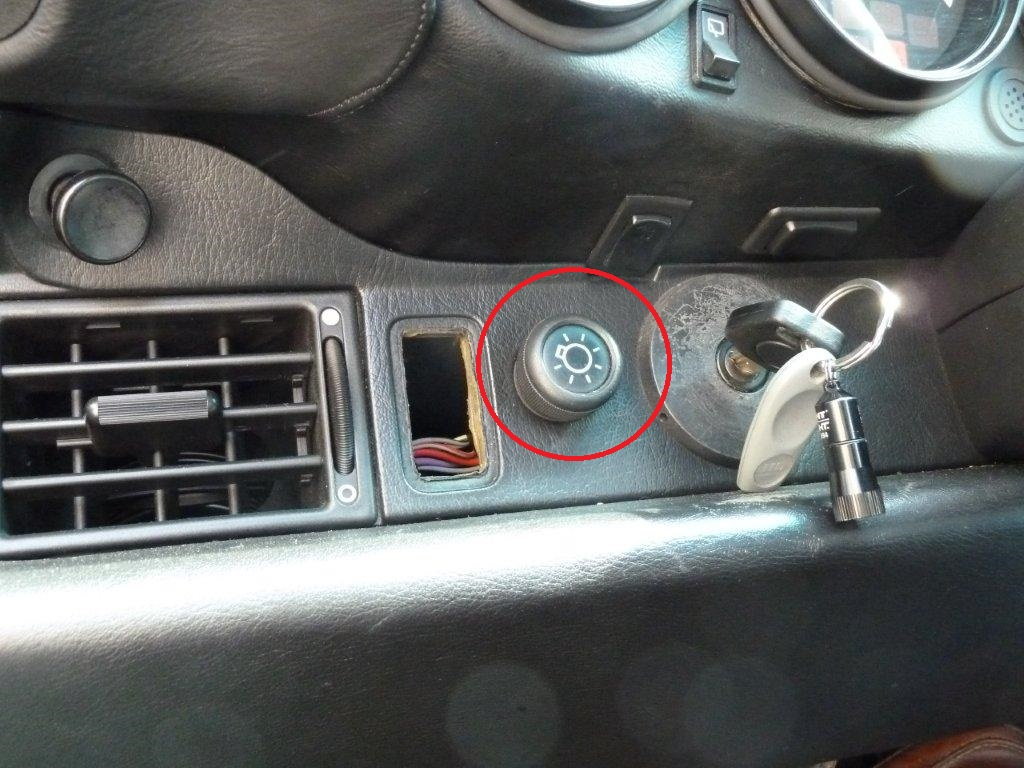
Step 4 – Check your headlight switch
It might be malfunctioning.
If after rotating the headlight switch there is no change in brightness, the problem is most likely a malfunctioning switch. Before switching out your headlight switch, check the headlight fuse. If the fuse is not blown, replace the headlight switch, as directed below.
- Rotate the switch once, checking that each position provides normal illumination.
- If the switch is bad, you'll need to replace it.
- To remove the headlight switch, you'll need to remove the negative battery cable and steering column cover. Next, disconnect the wiring from the wiring connection.
- You'll need a screwdriver to perform this DIY project.
Related Discussions
- Headlight Dim - Rennlist.com
- Dimmed Headlights - Rennlist.com