Porsche 928: How to Replace Headlights
Repairing a broken headlight doesn't have to be an expensive repair if you know what you're doing. All it takes is a few tools and a replacement headlight. This guide will help you the rest of the way, so continue reading to repair the headlights on your Porsche 928.
This article applies to the Porsche 928 (1978-1995).
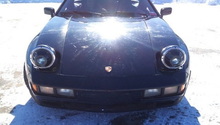
There are many reasons why a Porsche 928 owner may want to change their headlights. Maybe you don't like the look of the pop-up headlights and want to do a modification, or maybe your current headlights are broken. Whatever your reasons for removing the headlights, this how-to is here to help you.

Materials Needed
- Replacement headlight assembly
- Drill and torx bit set
- Philips head screwdriver
- Tire iron
- Jack and jack stands
Pro Tip
Buying an OEM headlight assembly can be expensive. As a cheaper alternative, you can buy a used headlight assembly online or from another Porsche 928 owner.
Step 1 – Lift the car, remove the front wheels and wheel well lining
To remove the headlight assembly, you're going to need to go under the car. So jack the car up, and then set it on jack stands. Remove the front wheels, and set them aside. Then, remove the wheel well lining by undoing the torx screws.

(Related Article: How to Jack Up Your Car - Rennlist.com)
Step 2 – Remove the headlight harness
Before you begin working on anything electrical, be sure to disconnect the positive (red) and negative (black) terminals on the battery. This way you don't risk causing a short. The headlight harness is the cable that connects the headlight assembly to the fuse box. Unplug and remove this harness.
Pro Tip
European models use a hydraulic system to control the tilt of the headlight. If you have one of these, you'll have to carefully disconnect it from the rest of the assembly before you remove any other components.
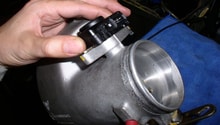
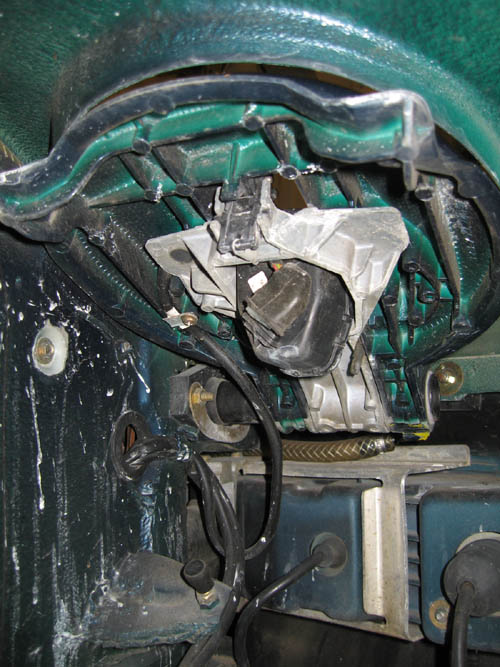
Step 3 – Remove the motor shaft
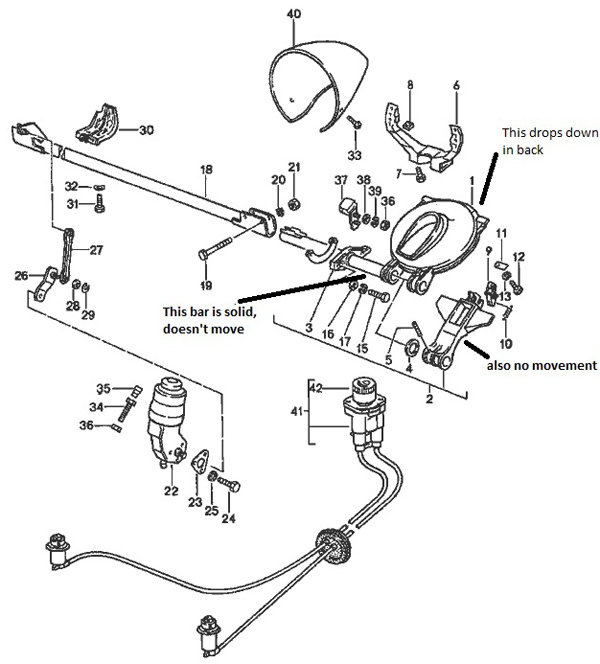
There is a central bar that the whole assembly is attached to. Undo the four screws that hold this bar to the car. Then, undo the circlip from the shaft. To remove it, tilt the headlight assembly sideways to slide it out.
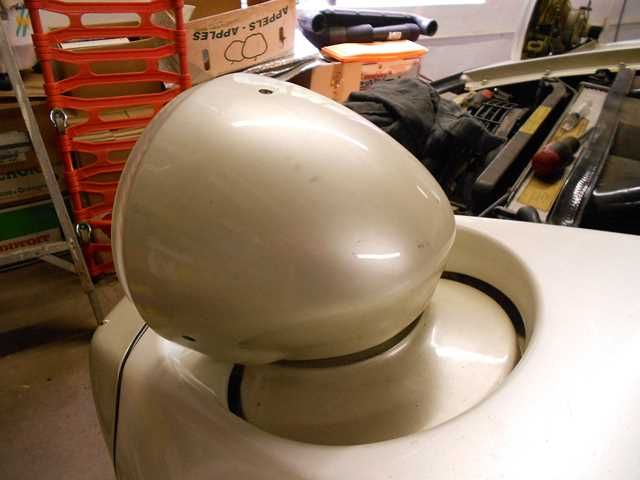
Step 4 – Remove the headlight assembly
Remove the two screws that hold the shaft bearing along the inner fender. Then, pull the headlight assembly out from underneath the car.

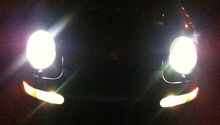
Step 5 – Install new headlight assembly
Hold the replacement headlight assembly up, and screw in the shaft bearing. Then, install the new motor shaft. Replace the circlip and screws to the motor shaft. Then, plug in the headlight harness.
Pro Tip
Before you test the headlights, make sure the e-clips on the pivot arm next to the headlight motor are still in place. If they aren't there, then replace them immediately. Without those clips, the arm will move and damage the radiator on your car.
Related Discussions
- Headlight Assembly Removal - Rennlist.com
- Headlight Adjustment - Rennlist.com